Easy Chocolate Cobbler Recipe – Warm, Fudgy & Irresistible
This post may contain affiliate links (disclosure).
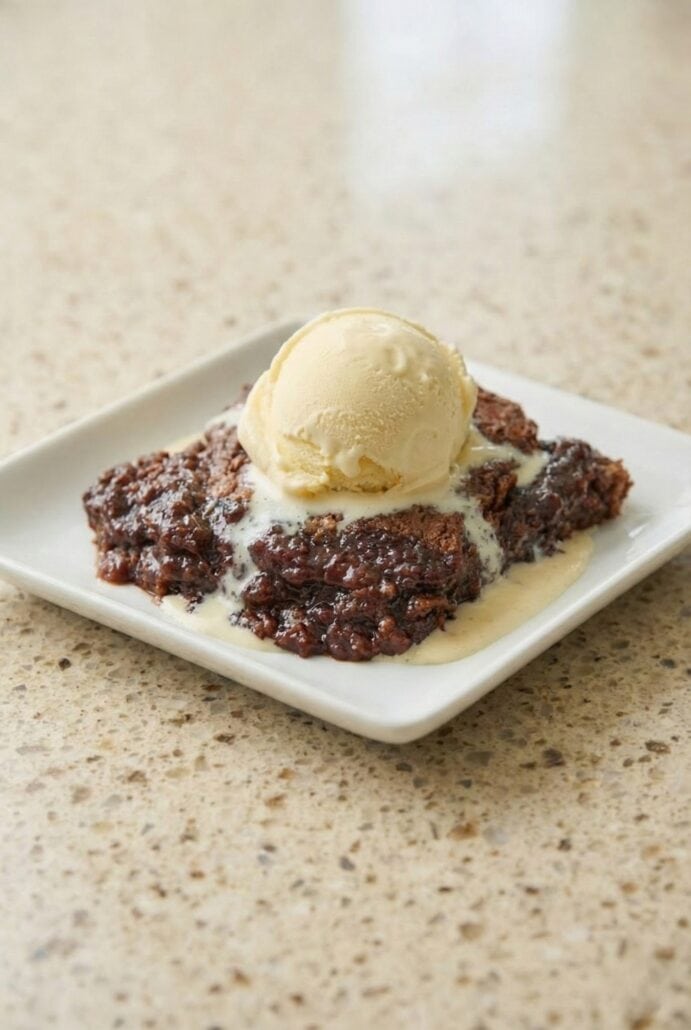
Chocolate Cobbler is the ultimate old-fashioned chocolate dessert that creates its own rich chocolate sauce as it bakes. With a soft, cake-like top and a gooey fudgy layer underneath, this easy chocolate cobbler recipe is pure comfort food. Made with simple pantry ingredients and ready in just 45 minutes, it’s the perfect dessert for holidays, potlucks, or anytime you’re craving something warm and chocolatey.
Want to save this recipe?
Why You’ll Love Chocolate Cobbler
-
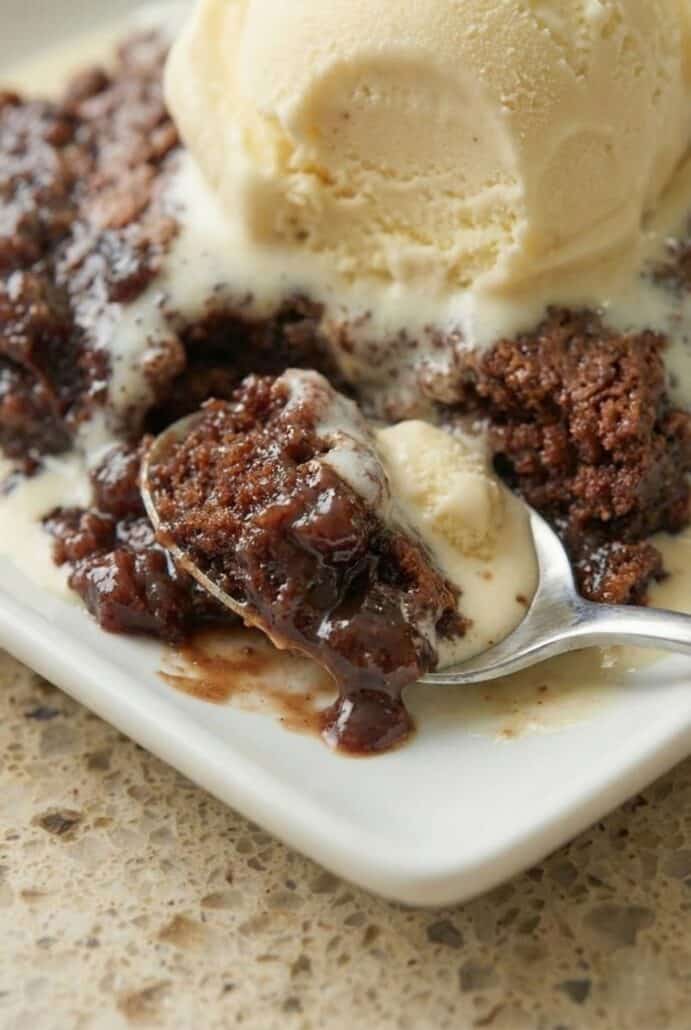
This dessert has an incredible texture contrast that makes every bite exciting. The top bakes into a soft, tender chocolate cake while the bottom transforms into a rich, fudgy sauce. It truly feels like magic when you scoop into it and discover that gooey layer underneath. If you love chocolate desserts with depth and richness, this one will absolutely satisfy your cravings.
-
It’s made with simple pantry ingredients you probably already have at home. There’s no need for fancy chocolate or complicated techniques. Just flour, cocoa powder, sugar, milk, and butter come together beautifully. That makes it perfect for last-minute dessert emergencies.
-
The recipe is incredibly easy to follow, even for beginner home cooks. You don’t need any special skills or equipment. Just mix, layer, pour, and bake. The oven does all the hard work for you.
-
It’s perfect for feeding a crowd without a lot of effort. This cobbler serves eight and can easily be doubled for larger gatherings. It’s a wonderful option for potlucks, holidays, or family dinners. Everyone loves a warm chocolate dessert.
-
The self-saucing effect makes it extra special and unique. There’s no need to prepare a separate frosting or sauce. As it bakes, it creates its own rich chocolate pudding layer. That surprise element makes it feel like a bakery-style dessert made right at home.
Ingredients For Chocolate Cobbler
-
Unsalted butter – Melts in the baking dish and creates a rich base for the cobbler. It also helps form that irresistible gooey sauce underneath.
-
Self-rising flour – Gives the cobbler its soft, cake-like texture without needing additional leavening. It keeps the recipe simple and beginner-friendly.
-
White sugar – Sweetens the dessert and helps create both the cake layer and the fudgy sauce layer. It’s divided to build those signature layers.
-
Unsweetened cocoa powder – Adds deep chocolate flavor to both the batter and the topping. Using it in two layers makes the dessert extra rich and chocolatey.
-
Milk – Brings the batter together and creates a smooth, pourable consistency. It keeps the cake layer soft and tender.
-
Vanilla extract – Enhances the chocolate flavor and adds warmth and depth to the dessert.
-
Boiling water – This is the magic ingredient. It helps create the self-saucing chocolate pudding layer as the cobbler bakes.
For the exact measurements of the ingredients, see the printable recipe card at the bottom of this article.
Kitchen Tools You Need To Make Chocolate Cobbler
-
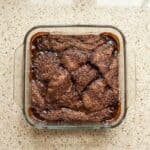
8-inch square baking dish – This is the perfect size for baking the cobbler and creating the right thickness for the cake and sauce layers.
-
Medium mixing bowl – Used to mix together the flour, sugar, cocoa, milk, and vanilla for the batter.
-
Small mixing bowl – Helps you combine the sugar and cocoa topping separately before layering.
-
Measuring cups – Essential for measuring the flour, sugar, milk, and boiling water accurately.
-
Measuring spoons – Needed for the cocoa powder and vanilla extract to ensure perfect flavor balance.
-
Whisk or spoon – Used to stir the batter until smooth and fully combined.
-
Oven – Bakes the cobbler and creates the signature gooey chocolate sauce layer.
How To Make Chocolate Cobbler
-
Start by heating your oven and placing the butter in the baking dish so it melts as the oven warms up.
-
In a bowl, combine the dry ingredients for the batter, then stir in the milk and vanilla until you have a smooth chocolate mixture.
-
In a separate bowl, mix together the remaining sugar and cocoa powder to create the topping layer.
-
Once the butter has melted, carefully remove the dish from the oven. Pour the chocolate batter directly over the melted butter without mixing.
-
Evenly sprinkle the cocoa-sugar mixture over the batter to create the next layer.
-
Slowly pour boiling water over the top. Resist the urge to stir, this is what creates the magic sauce underneath.
-
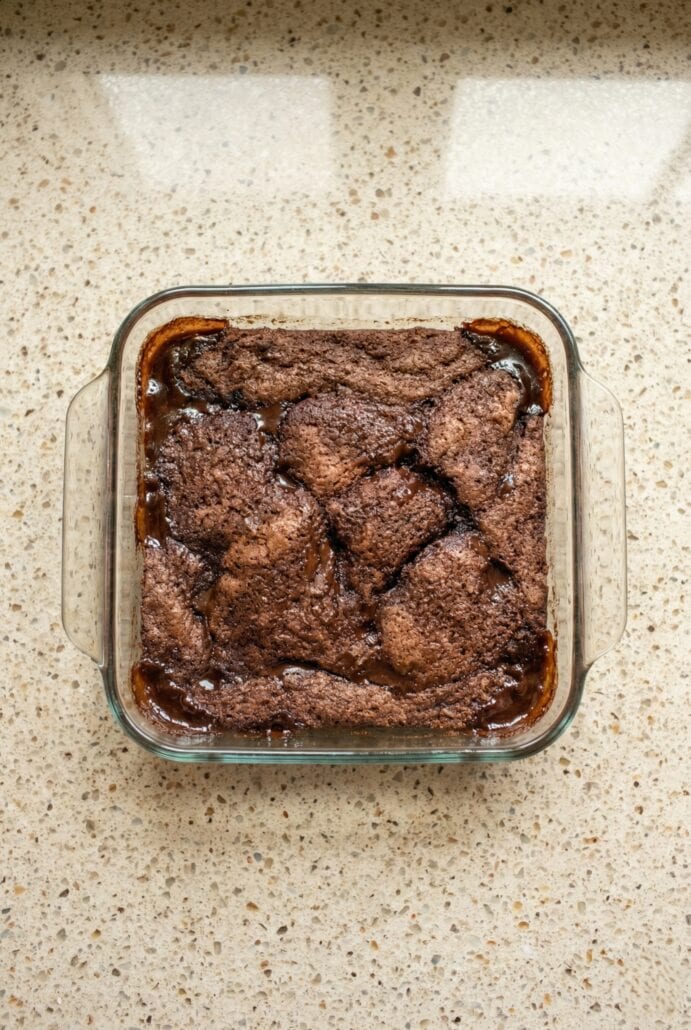
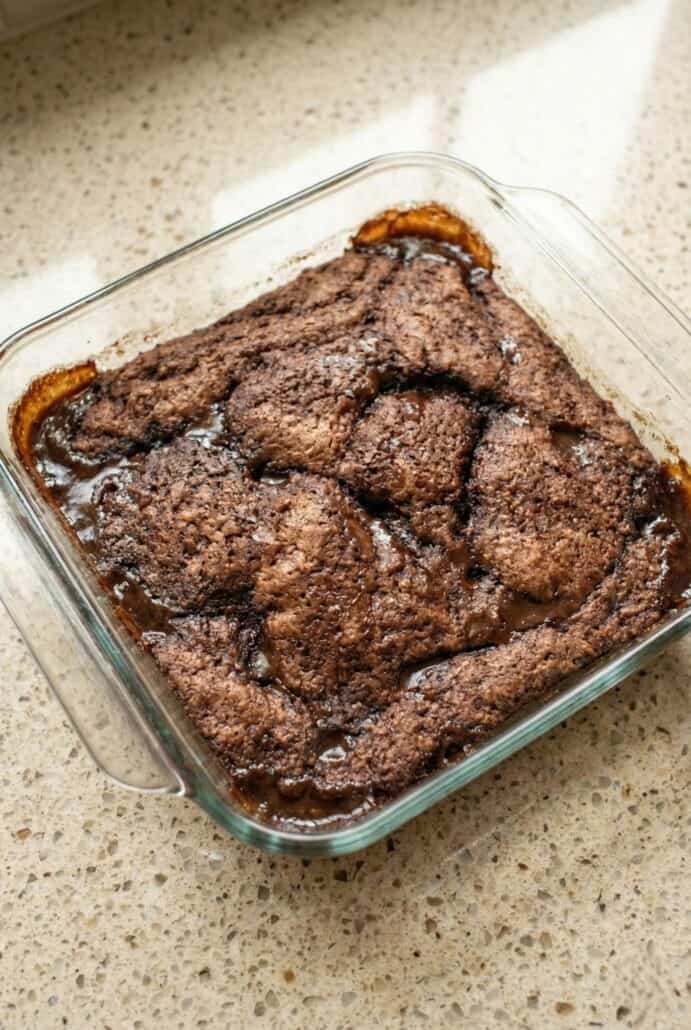
Place the dish in the oven and bake until the top looks set and baked through.
-
Let it cool slightly before serving so the sauce thickens a bit.
Serving Suggestions
-
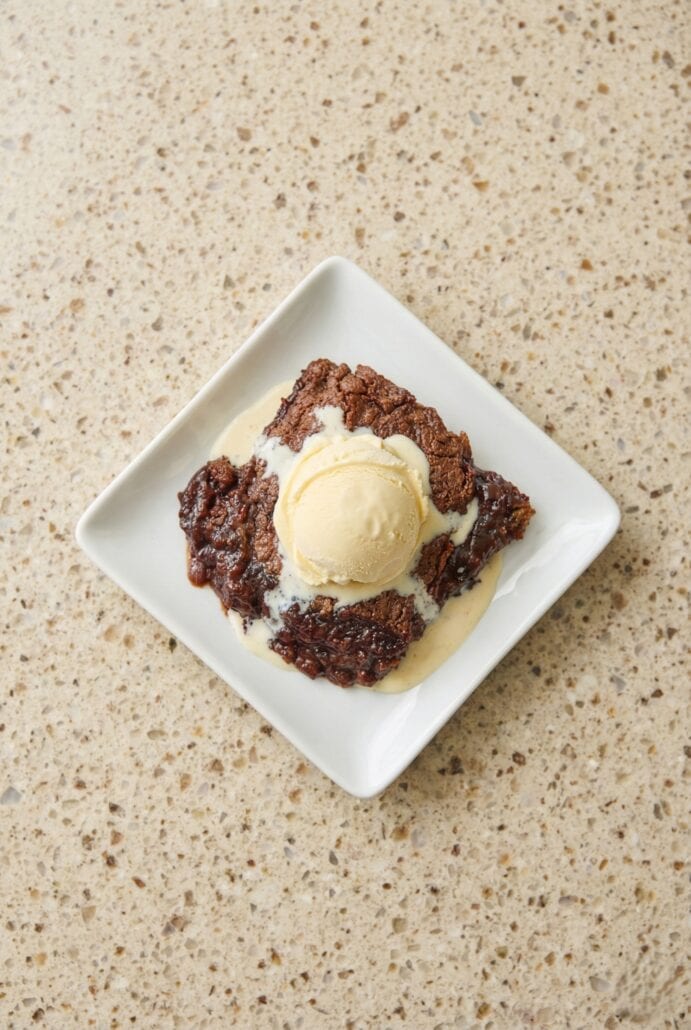
Serve this chocolate cobbler warm straight from the baking dish for a cozy, comforting dessert. The gooey chocolate sauce on the bottom makes it extra special when freshly baked. Scoop it into bowls so you get both the cake layer and the fudgy sauce in every serving. It’s perfect for family dinners or casual gatherings.
-
Top each serving with a scoop of creamy vanilla ice cream. The cold, creamy ice cream melts into the warm chocolate layers and creates the most incredible combination. The contrast of hot and cold makes every bite even more indulgent. It feels like a restaurant-quality dessert at home.
Want to save this recipe?
-
Add a dollop of sugar-free whipped cream for a light and fluffy topping. It balances the richness of the chocolate beautifully. You can also dust a little cocoa powder on top for a simple presentation. This makes it look extra pretty for guests.
-
Serve it with fresh berries on the side. Strawberries or blueberries add a pop of color and a slight tartness that complements the deep chocolate flavor. The freshness brightens up the dessert. It’s a great option if you want something a little lighter alongside it.
-
Pair it with a glass of homemade iced coffee latte or a creamy vanilla milkshake. The bold flavor of coffee enhances the chocolate notes. Milk keeps things classic and comforting. Either option makes this dessert even more satisfying.
Tips For Success
-
Make sure your butter is fully melted before adding the batter. The melted butter creates a rich base and helps form the gooey chocolate sauce underneath. If the butter isn’t completely melted, the layers may not form properly. Let it sit in the oven just until fully liquefied, but don’t let it brown.
-
Do not stir after layering the ingredients. This is the most important part of the recipe. The magic of chocolate cobbler happens because of the layering technique. Pour the batter over the butter, sprinkle the cocoa-sugar mixture on top, add the boiling water, and leave it alone.
-
Use truly boiling water, not just hot water. The boiling water is essential for creating the self-saucing effect. It interacts with the sugar and cocoa topping to form that rich pudding layer at the bottom. If the water isn’t hot enough, the texture may not turn out the same.
-
Pour the boiling water slowly and evenly. Try to distribute it gently across the entire surface so everything bakes evenly. Avoid dumping it all in one spot. A slow, steady pour works best.
-
Bake just until the top looks set. The center may still look slightly soft, and that’s okay. Overbaking can reduce the gooey sauce layer. Start checking around the 30-minute mark and remove it once the top appears baked but still tender.
-
Let the cobbler rest for several minutes before serving. This allows the sauce to thicken slightly and makes it easier to scoop. If you serve it immediately, it may be very loose. A short resting time improves the final texture.
-
Use an 8-inch baking dish for best results. A larger dish will spread the batter too thin and affect the sauce-to-cake ratio. If doubling the recipe, use a 9×13-inch dish as noted in the recipe card. Proper pan size makes a big difference in texture.
-
Measure ingredients carefully. Baking is all about balance. Too much flour can make the top dry, and too little sugar can affect the sauce formation. Level off your measuring cups for consistent results every time.
Variations And Substitutions
-
Use all-purpose flour instead of self-rising flour if needed. Since this recipe specifically calls for self-rising flour, the texture depends on it for lift. If you only have all-purpose flour on hand, you can still make the recipe work by ensuring your dry ingredients are well combined. The key is maintaining that soft cake layer on top while still allowing the pudding sauce to form underneath.
-
Try using brown sugar in place of some of the white sugar. Brown sugar will add a deeper, slightly caramel-like flavor to the cobbler. This can make the chocolate taste even richer and more complex. It’s a great option if you love a warm, molasses-style sweetness.
-
Swap the milk for a dairy-free alternative. Unsweetened almond milk or oat milk can work well in this recipe. Make sure the substitute is plain and unflavored so it doesn’t overpower the chocolate. This makes the cobbler suitable for those who avoid dairy.
-
Use plant-based butter instead of regular butter. This simple switch keeps the recipe vegetarian while also making it dairy-free. Just melt it the same way in the baking dish before adding the batter. The layering technique remains exactly the same.
-
Add chocolate chips for extra richness. Sprinkle a small handful over the batter before adding the sugar-cocoa topping. They will melt into the cobbler as it bakes. This makes the dessert even more indulgent for true chocolate lovers.
-
Stir a pinch of espresso powder into the batter. Espresso enhances the chocolate flavor without making the dessert taste like coffee. It simply deepens the richness. This is a great trick if you want a more intense chocolate experience.
-
Add chopped nuts for texture. Walnuts or pecans can be sprinkled on top before baking. They add a slight crunch that contrasts beautifully with the soft cake and gooey sauce. This is perfect if you enjoy texture in your desserts.
-
Make it extra chocolatey by using dark cocoa powder. Dark cocoa will give the cobbler a deeper color and a more intense flavor. It’s ideal for those who prefer a less sweet, more bold chocolate taste. The baking method stays exactly the same.
-
Double the recipe for a crowd. Simply prepare it in a 9×13-inch baking dish instead of an 8-inch pan. This is perfect for holidays or large gatherings. It’s an easy way to serve more people without changing the technique.
Storage and Reheating
-
Storing – Allow the chocolate cobbler to cool completely before storing. Cover the baking dish tightly with plastic wrap or transfer leftovers to an airtight container. Store in the refrigerator for up to 4 days. The sauce layer will thicken as it chills.
-
Reheating – To reheat, scoop a portion into a microwave-safe bowl and warm in 20–30 second intervals until heated through. You can also reheat the entire dish in the oven at 300°F until warmed. The cobbler will loosen up again as it heats, bringing back that gooey chocolate texture.
Frequently Asked Questions
Why does chocolate cobbler create its own sauce?
Chocolate cobbler creates its own sauce because of the unique layering method used before baking. The batter goes over melted butter, then a dry sugar and cocoa mixture is sprinkled on top, followed by boiling water poured over everything. As it bakes, the liquid sinks and combines with the sugar and cocoa, forming a rich pudding-like layer underneath the cake. The top sets into a soft cake while the bottom stays gooey and fudgy. It may seem unusual not to stir it, but that’s exactly what allows the magic to happen.
Do I really not stir after adding the boiling water?
Correct, do not stir after adding the boiling water. It may feel strange to leave it unmixed, but stirring would prevent the layers from forming properly. The separation of batter, sugar topping, and hot water is what creates the signature sauce layer. If everything is mixed together, you’ll end up with a completely different texture. Trust the process and let the oven do the work.
Can I make chocolate cobbler ahead of time?
Yes, you can make it ahead of time, but it’s best enjoyed fresh and warm. After baking, the sauce layer will be loose and gooey. As it cools and chills in the refrigerator, the sauce thickens significantly. You can reheat it to bring back some of that soft texture. If serving for guests, baking it shortly before serving will give you the best results.
How do I know when chocolate cobbler is done baking?
The top should look set and baked through, similar to a soft chocolate cake. The edges may appear slightly crisp, while the center should no longer look wet on top. Keep in mind that underneath the cake layer there will still be a gooey sauce. That is completely normal and expected. Avoid overbaking, as that can reduce the amount of sauce.
Can I double the recipe?
Yes, this recipe doubles very well. Simply prepare it in a 9×13-inch baking dish instead of an 8-inch square dish. The layering process remains exactly the same. Baking time may need slight adjustment, so keep an eye on the top and bake until it looks set. This makes it perfect for larger gatherings or holidays.
Can I use a different type of cocoa powder?
You can experiment with different types of unsweetened cocoa powder. Regular unsweetened cocoa gives a classic chocolate flavor. Dark cocoa powder will produce a deeper color and a more intense taste. Either option works as long as it is unsweetened. The key is maintaining the balance between the batter and the sugar topping.
Why is my cobbler too runny?
If your cobbler seems too runny, it may simply need more time to rest after baking. The sauce thickens slightly as it cools. Make sure you used the full amount of boiling water and measured ingredients carefully. Also check that the oven temperature was accurate and that it baked long enough for the top to set. A slightly loose sauce is normal, but it should not be watery.
Can I freeze chocolate cobbler?
Chocolate cobbler can be frozen, but the texture may change slightly after thawing. The sauce layer may thicken more than when freshly baked. To freeze, allow it to cool completely, then store in an airtight container. Thaw in the refrigerator and reheat gently before serving. While freezing works, it’s best enjoyed freshly baked for the ultimate gooey texture.
Other Easy Chocolate Recipes
Moist Chocolate Zucchini Cake – A rich and incredibly moist chocolate zucchini cake that’s packed with deep chocolate flavor and hidden veggies for the perfect tender crumb.
Seven Layer Magic Bars with Chocolate and Coconut – These seven layer magic bars combine chocolate, coconut, and sweet layers of goodness into one irresistible, chewy dessert.
One-Bowl Chocolate Cake – This easy one-bowl chocolate cake is ultra moist, fluffy, and made with simple pantry ingredients for a no-fuss homemade dessert.
Dubai Style Chocolate Bar – A decadent Dubai style chocolate bar filled with rich flavors and a luxurious texture that feels gourmet but is easy to make at home.
Chocolate Banana High-Protein Smoothie – This chocolate banana high-protein smoothie is creamy, naturally sweet, and perfect for a filling breakfast or post-workout boost.
Chocolate Chip Frosting – Creamy chocolate chip frosting made with melted chocolate chips for a smooth, rich topping that’s perfect for cakes and cupcakes.
Chocolate Drizzled Popcorn – Sweet and salty chocolate drizzled popcorn is a crunchy, addictive snack that’s perfect for parties, movie nights, or gifting.
Chocolate Cobbler
Want to save this recipe?
Ingredients
- 6 tbsp butter unsalted
- 1 cup self-rising flour
- 1 ¾ cups white sugar divided
- 1 ½ tbsp cocoa powder unsweetened
- ½ cup milk
- 1 tsp vanilla extract
- ¼ cup cocoa powder unsweetened
- 1 ½ cups water boiling
Recommended Kitchen Tools (click the links below to see the items used to make this recipe)
Instructions
- Preheat the oven to 350°F. Place the butter in an 8-inch square baking dish and put it in the oven to melt while it preheats.
- In a medium bowl, mix together the self-rising flour, ¾ cup sugar, and 1 ½ tablespoons cocoa powder. Stir in the milk and vanilla until smooth.
- In a small bowl, combine the remaining 1 cup sugar and ¼ cup cocoa powder.
- Remove the baking dish from the oven once the butter is melted.
- Pour the batter evenly over the melted butter. Do not stir.
- Sprinkle the sugar and cocoa mixture evenly over the batter.
- Slowly pour the boiling water over the entire dish. Do not stir.
- Bake for about 30 minutes, or until the top is set. Let cool slightly before serving.
Notes
- For a larger batch, double the ingredients and bake in a 9x13-inch baking dish.
- Do not stir after adding the boiling water, this creates the signature gooey chocolate sauce layer on the bottom.
Nutrition
More Dessert Recipes
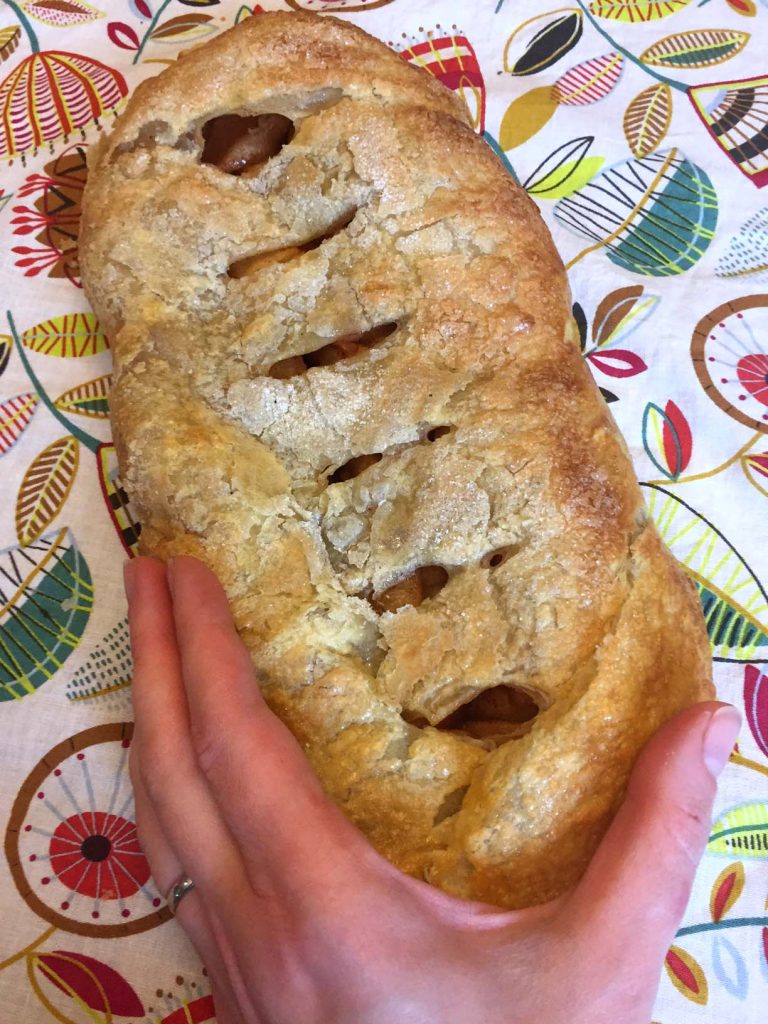
- Apple Dumplings with Cinnamon Sauce
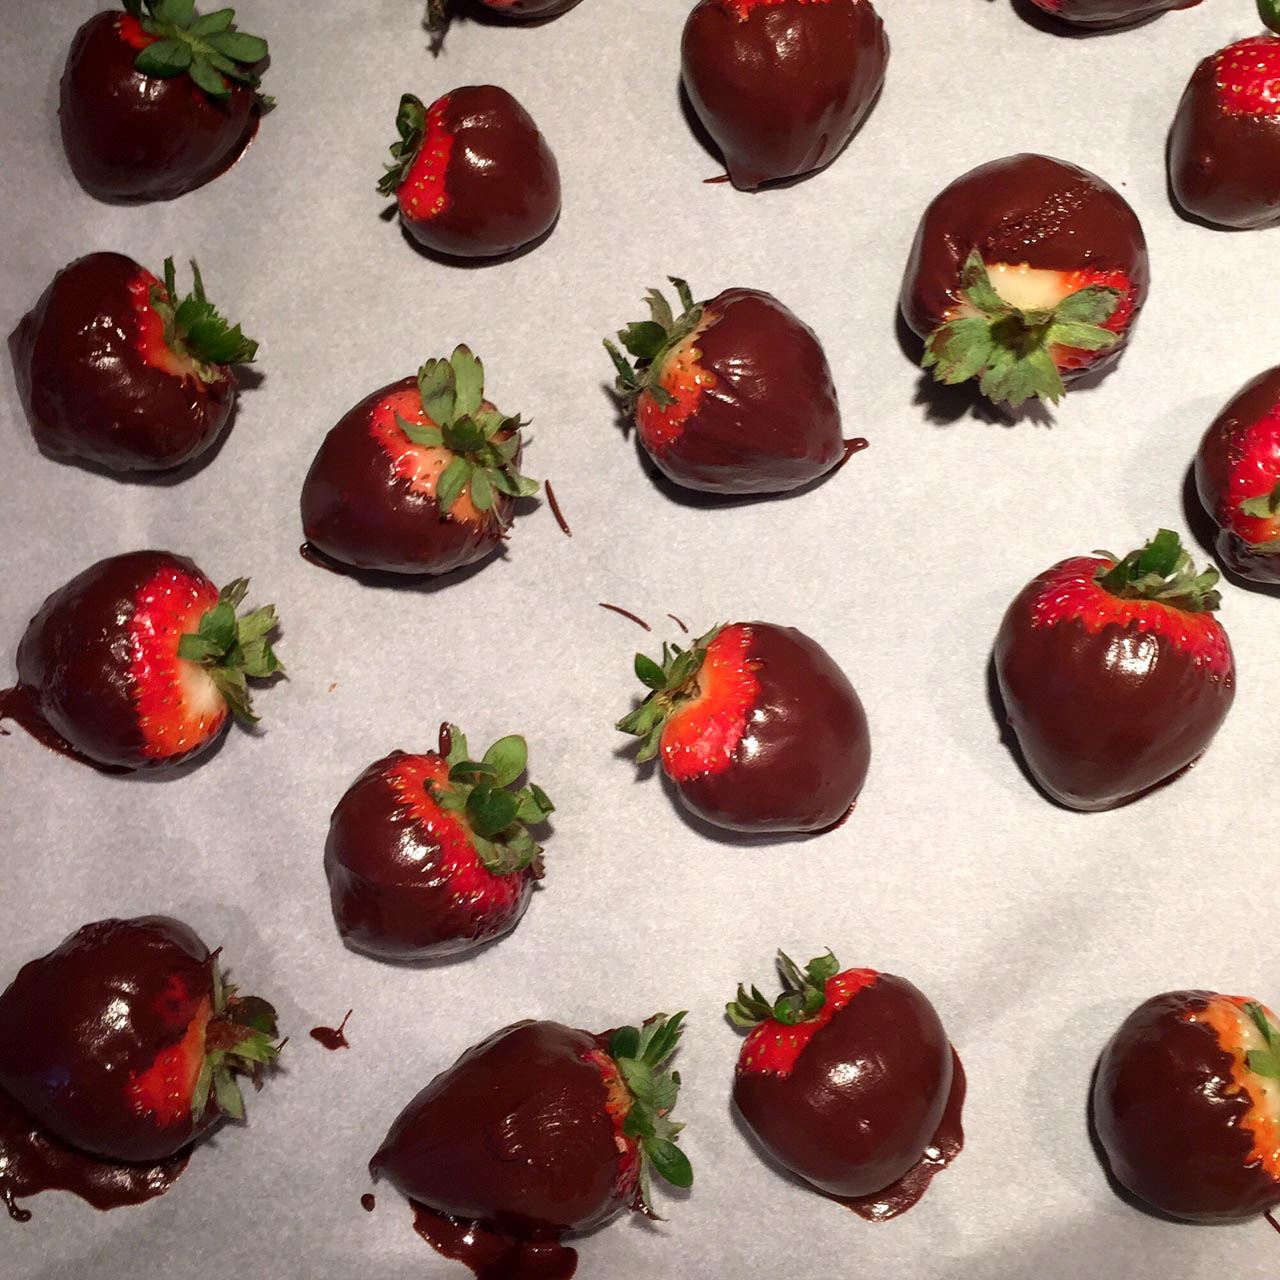
- Red, White and Blue Chocolate-Dipped Strawberries
- No-Churn Mixed Berry Sorbet