Perfect Mini Cheesecakes (No Water Bath)
This post may contain affiliate links (disclosure).
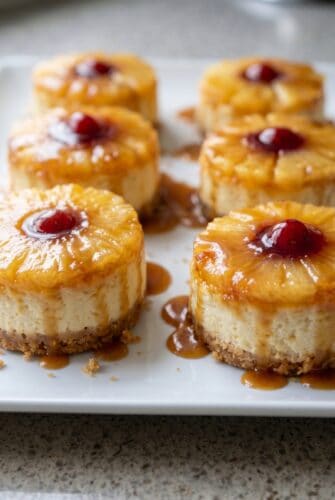
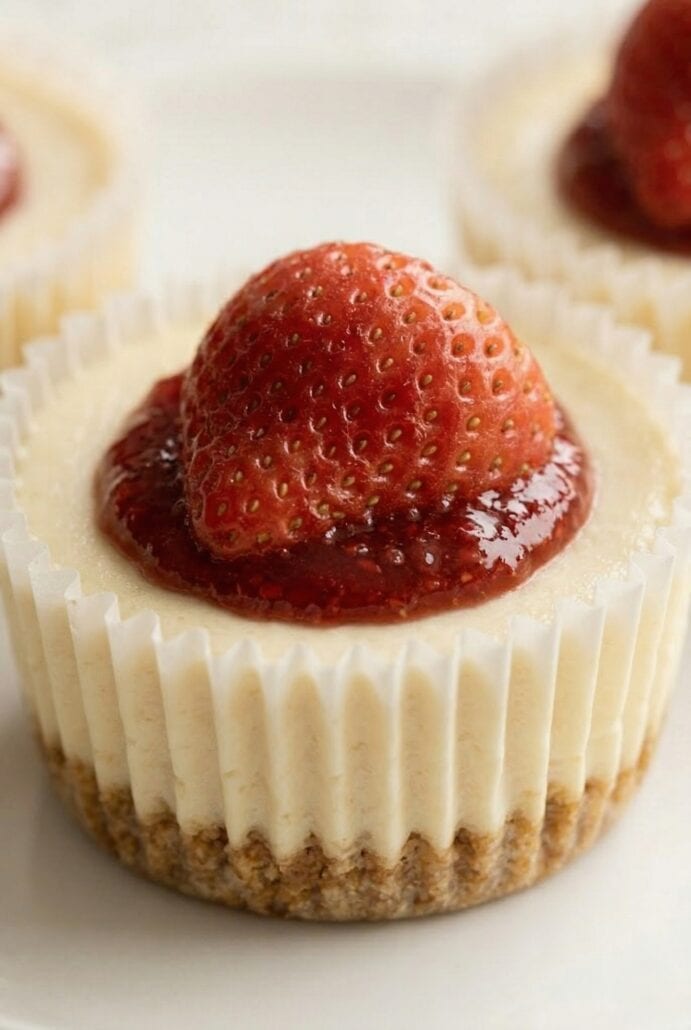
If you’re looking for the perfect bite-sized dessert, these mini cheesecakes are exactly what you need. They are creamy, rich, and incredibly easy to make with no water bath required, making them perfect for beginners and experienced bakers alike. Topped with fresh strawberries and strawberry jam, these mini cheesecakes are a beautiful and delicious treat for parties, holidays, or any sweet craving.
Want to save this recipe?
Why You’ll Love Mini Cheesecakes
- These mini cheesecakes are incredibly creamy and smooth with the perfect rich texture in every bite. You get all the flavor of a classic cheesecake without the extra work. They bake evenly and come out beautifully every time. It’s a foolproof dessert that feels fancy but is actually very simple to make.
- This recipe is super quick and convenient, with only 15 minutes of bake time. There’s no need for a complicated water bath, which saves time and effort. The steps are straightforward and beginner-friendly. You can easily make these even if you’ve never baked cheesecake before.
- The individual portions make these mini cheesecakes perfect for serving at parties or gatherings. Everyone gets their own little dessert, which looks elegant and neat. They are easy to transport and serve without slicing. Plus, they’re great for portion control too.
- These cheesecakes are very versatile when it comes to toppings. You can keep it simple with fresh strawberries and strawberry jam or try other toppings you love. They pair well with fruit, chocolate, or caramel. This makes it easy to customize for any occasion or taste preference.
- They store well and can be made ahead of time, which is perfect for busy schedules. Just chill them in the fridge and they’re ready when you need them. The flavor and texture actually improve after chilling. This makes them an ideal make-ahead dessert option.
Ingredients For Mini Cheesecakes
- Biscuit crumbs – These form the base of the crust and give the cheesecakes a delicious, slightly crunchy foundation. You can use graham crackers or similar cookies for best results.
- Unsalted butter – Melted butter binds the crumbs together and helps create a firm, buttery crust that holds its shape.
- Cream cheese – The star of the recipe that gives the cheesecakes their rich, creamy texture. Make sure it’s full-fat and softened for a smooth filling.
- Granulated sugar – Adds sweetness and balances the tanginess of the cream cheese. It also helps create that classic cheesecake flavor.
- Eggs – These help set the cheesecake and give it structure. Adding them one at a time keeps the batter smooth and prevents overmixing.
- Vanilla extract – Adds a warm, sweet flavor that enhances the overall taste of the cheesecake.
- Lemon juice – A small amount brightens the flavor and adds a subtle tang that makes the cheesecake taste fresh.
- All-purpose flour – Helps stabilize the filling so the mini cheesecakes hold their shape and bake evenly.
- Sour cream – Makes the filling extra creamy and adds a slight tang for that perfect cheesecake texture.
- Fresh strawberries – An optional topping that adds freshness, color, and natural sweetness.
- Strawberry jam – Another optional topping that adds a glossy, sweet finish and enhances the strawberry flavor.
For the exact measurements of the ingredients, see the printable recipe card at the bottom of this article.
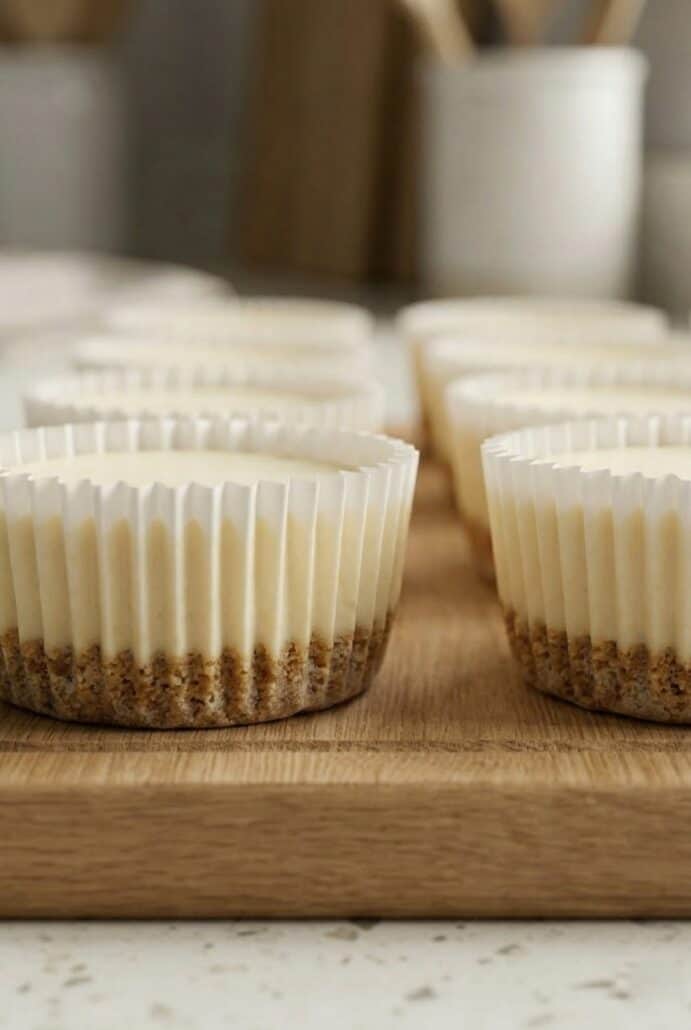
Kitchen Tools You Need To Make Mini Cheesecakes
- Muffin pan – A 12-cup muffin pan is essential for creating perfectly portioned mini cheesecakes. It helps them bake evenly and hold their shape.
- Paper liners – These make it easy to remove the cheesecakes from the pan without sticking. They also make serving and cleanup much simpler.
- Mixing bowls – You’ll need a couple of bowls to mix the crust and the cheesecake filling separately. This keeps everything organized and easy to manage.
- Electric mixer – Helps blend the cream cheese until smooth and creamy without lumps. It also makes mixing faster and easier.
- Measuring cups – Important for accurately measuring ingredients like crumbs, sugar, and sour cream. Proper measurements ensure consistent results.
- Measuring spoons – Used for smaller amounts like vanilla extract, lemon juice, and flour. Accuracy here helps balance the flavors perfectly.
- Ice cream scoop or spoon – Makes it easy to evenly divide the cheesecake batter between the muffin cups. This ensures all cheesecakes bake evenly.
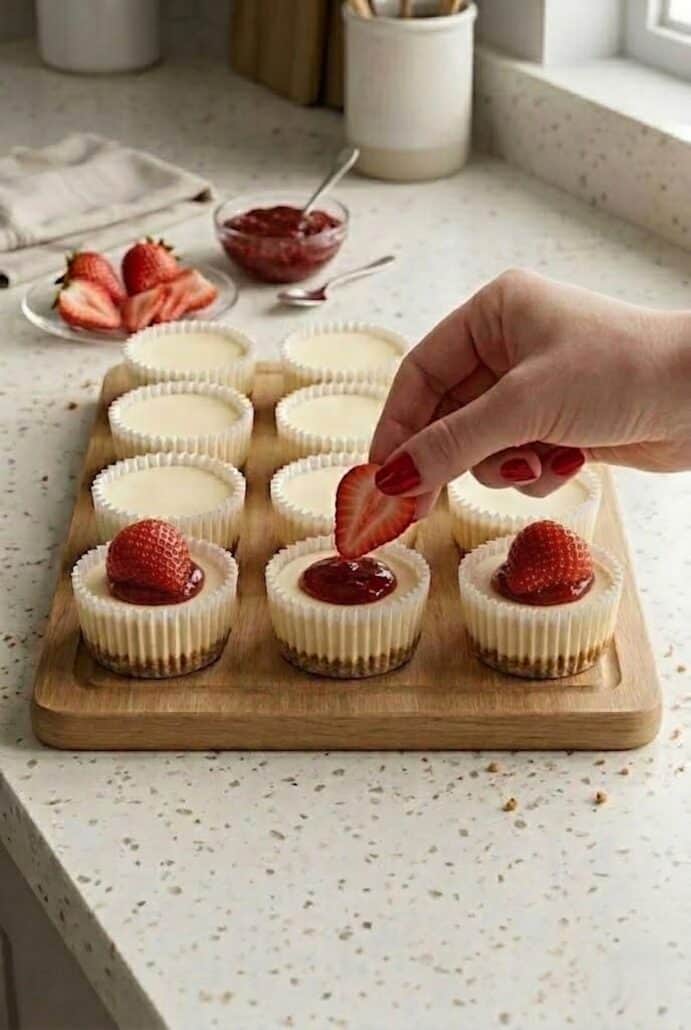
How To Make Mini Cheesecakes
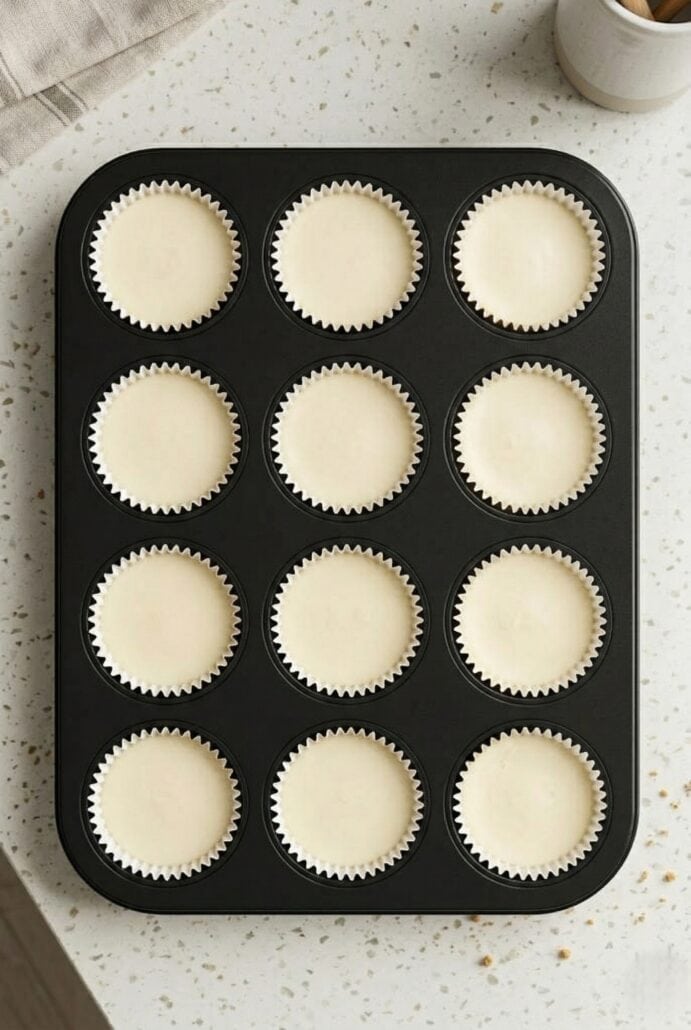
- Start by preparing your pan with paper liners and heating your oven so it’s ready to go.
- Combine the crushed biscuits with melted butter until the texture resembles wet sand, then press it firmly into each liner to create the base.
- In a separate bowl, mix the softened cream cheese until it becomes smooth and creamy with no lumps.
- Blend in the sugar, then gently incorporate the eggs one at a time, mixing just enough to combine.
- Add the vanilla, lemon juice, and flour, stirring lightly so the batter stays smooth without too much air.
- Fold in the sour cream until the mixture is silky and fully combined.
- Spoon the filling over the crusts, then bake until the edges look set but the centers still have a slight jiggle.
- Let them cool completely, then chill in the refrigerator until firm and ready to serve with your favorite toppings.
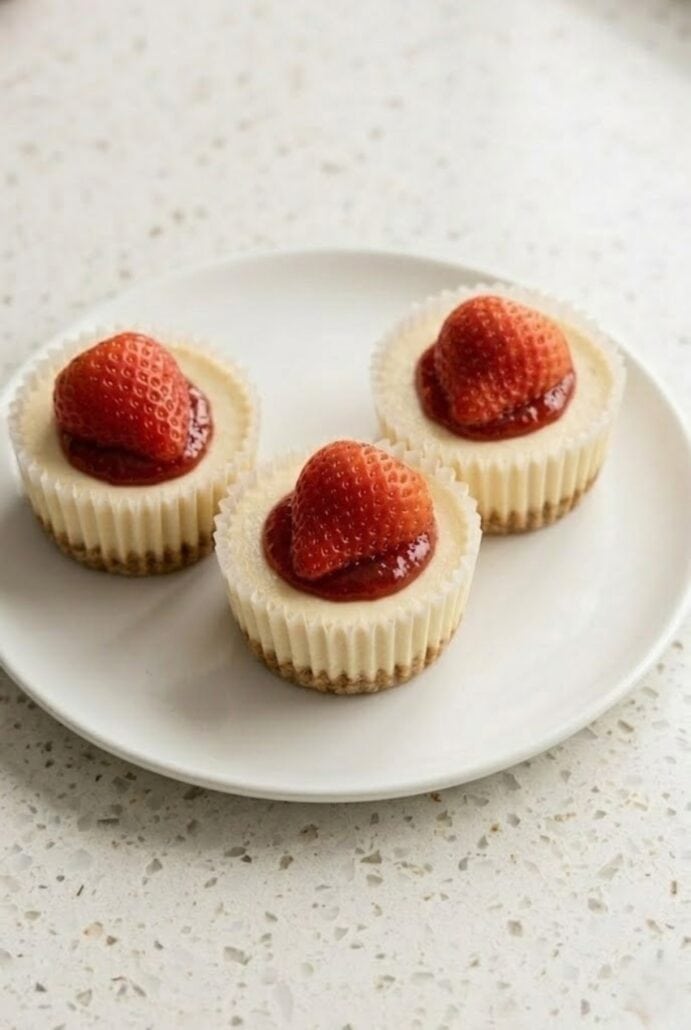
Serving Suggestions
- Serve these mini cheesecakes chilled for the best creamy texture. Add fresh strawberries and a spoonful of strawberry jam right before serving for a fresh and vibrant finish.
- Create a dessert platter with a variety of mini cheesecakes and toppings. Include options like chocolate ice cream, cranberry sauce, or vanilla buttercream frosting so guests can customize their treats.
- Pair these mini cheesecakes with hot black coffee, tea with lemon, or even an iced coffee latte. The rich and creamy flavor balances perfectly with warm drinks for a cozy dessert experience.
- Serve alongside other bite-sized desserts like chocolate caramel brownies, snowball cookies, or black bottom cupcakes. This creates a beautiful and varied dessert table that’s perfect for parties and gatherings.
- Add a dollop of vanilla whipped cream and extra fruit on the side for a more elevated presentation. This simple addition makes the dessert feel more special without extra effort.
- For a fun twist, offer a topping bar with different jams like kiwi or watermelon, and fresh fruit like blueberries. This lets everyone build their own mini cheesecake just the way they like it.
Tips For Success
- Making mini cheesecakes is simple, but a few key tips will help you get perfect results every time. Start by making sure all your refrigerated ingredients are at room temperature before mixing. This is especially important for the cream cheese, as cold cream cheese can create lumps in your batter that are hard to smooth out later. Let it sit on the counter for about an hour before you begin for the best texture.
- When mixing the batter, keep your mixer on low speed and avoid overmixing, especially after adding the eggs. Too much air in the batter can cause the cheesecakes to rise too much in the oven and then crack as they cool. Mix just until each ingredient is incorporated to keep the texture dense, creamy, and smooth.
- Pay close attention to baking time and temperature. A lower oven temperature helps the cheesecakes cook gently and evenly, which is key for that creamy consistency. You’ll know they’re done when the edges look set but the centers still have a slight jiggle. They will continue to firm up as they cool, so don’t wait until they look completely solid in the oven.
- Cooling is just as important as baking. Let the mini cheesecakes cool completely in the pan at room temperature before transferring them to the refrigerator. Sudden temperature changes can cause cracks, so avoid moving them too quickly. Once cooled, chill them for at least 4 hours or overnight for the best flavor and texture.
- For the crust, press the crumb mixture firmly into the liners so it holds together after baking. If the crust is too loose, it may fall apart when you remove the liners. Using the back of a spoon or a small glass can help create an even, compact base.
- Finally, always add your toppings right before serving. Fresh strawberries and strawberry jam taste best when they are added at the last minute, keeping them vibrant and fresh. This also prevents the cheesecakes from becoming soggy and keeps their presentation looking beautiful.
Variations And Substitutions
- This mini cheesecake recipe is very easy to customize, making it perfect for different tastes and dietary needs. One simple variation is to switch up the crust by using different types of cookies. Graham crackers, chocolate cookies, or even spiced biscuits can completely change the flavor profile. Each option gives the cheesecakes a slightly different texture and taste while still keeping that delicious base.
- You can also experiment with the topping combinations to create new flavors. Instead of strawberries and strawberry jam, try other fruit toppings like blueberries or raspberries. You can also use different types of jam to match your favorite flavors. This is an easy way to make the recipe feel new every time without changing the base.
- If you want a slightly lighter option, you can substitute the sour cream with Greek yogurt. This keeps the creamy texture while adding a bit more tang. It’s a simple swap that still delivers great results. Just make sure it is plain and similar in consistency.
- For a gluten-free version, replace the biscuit crumbs with a gluten-free alternative. There are many gluten-free cookies available that work just as well for the crust. You can also substitute the flour with an equal amount of cornstarch. This helps maintain the structure of the cheesecake without using wheat flour.
- If you prefer a different flavor profile, you can adjust the filling slightly. For example, you can skip the lemon juice for a milder taste or keep it for a brighter, tangy flavor. The vanilla extract can also be slightly increased for a more pronounced sweetness. Small tweaks like this let you tailor the recipe to your personal preference.
- Another fun variation is to create a mix-and-match dessert platter. Make a batch of mini cheesecakes and top each one differently using a variety of fruits, jams, or sauces. This is perfect for parties and gives guests more options to enjoy. It also makes your dessert table look more colorful and inviting.
Storage and Reheating
- Store mini cheesecakes in an airtight container in the refrigerator for up to 5 days. Keep them plain if possible and add toppings just before serving for the best texture and appearance.
- If already topped with strawberries and jam, store them in the fridge and enjoy within 1–2 days. The toppings may release moisture over time, so they are best eaten sooner.
- To freeze, wrap each mini cheesecake individually and place them in a freezer-safe container. They can be frozen for up to 2 months without losing quality.
- When ready to enjoy, thaw the cheesecakes overnight in the refrigerator. Add fresh strawberries and jam after thawing for the best flavor and presentation.
- These mini cheesecakes are best served chilled, so reheating is not necessary. Simply take them out of the fridge, add toppings, and serve.
Frequently Asked Questions
Can I make mini cheesecakes without a water bath?
Yes, this recipe is designed so you don’t need a water bath at all. The cheesecakes bake at a lower temperature, which helps them cook gently and evenly. This method reduces the chances of cracking while still giving you a creamy texture. It’s much easier and more beginner-friendly than traditional cheesecake methods.
How do I keep mini cheesecakes from cracking?
To prevent cracks, avoid overmixing the batter, especially after adding the eggs. Too much air in the mixture can cause the cheesecakes to rise and then collapse. Also, make sure to bake them at the correct low temperature and avoid sudden temperature changes while cooling. Letting them cool gradually and fully before chilling makes a big difference.
Want to save this recipe?
How long do mini cheesecakes need to chill?
Mini cheesecakes should chill for at least 4 hours in the refrigerator. This allows them to fully set and develop their creamy texture. For best results, you can chill them overnight. The longer they chill, the better the flavor and consistency will be.
Can I freeze mini cheesecakes?
Yes, mini cheesecakes freeze very well. It’s best to freeze them without any toppings to maintain their texture. Wrap each one individually and store them in a freezer-safe container. When ready to eat, thaw them overnight in the fridge and add fresh toppings before serving.
Can I make mini cheesecakes ahead of time?
Absolutely, these are perfect for making ahead. You can prepare them a day or two in advance and store them in the refrigerator. This actually improves their flavor and texture as they chill. Just wait to add toppings like strawberries and jam until right before serving.
What kind of crust works best for mini cheesecakes?
Biscuit crumbs or graham crackers work great for the crust. They create a firm and slightly crunchy base that pairs perfectly with the creamy filling. You can also experiment with other cookies if you want to change the flavor. Just make sure to mix them well with melted butter so the crust holds together.
Why is my cheesecake batter lumpy?
Lumpy batter usually happens when the cream cheese is too cold. Always let it come to room temperature before mixing so it blends smoothly. Using an electric mixer on low speed also helps create a creamy consistency. Taking this extra step ensures a silky, lump-free filling.
How do I know when mini cheesecakes are done baking?
You’ll know they’re ready when the edges look set but the centers still jiggle slightly. They should not look completely firm in the oven. The residual heat will continue to cook them as they cool. This is the key to getting that perfectly creamy texture.
Other Easy Cheesecake Recipes
Japanese Cotton Cheesecake – This Japanese cotton cheesecake is light, fluffy, and airy with a delicate texture that melts in your mouth.
Cheesecake Brownies – These cheesecake brownies combine rich, fudgy chocolate with a creamy cheesecake swirl for the perfect decadent dessert.
Oreo Cheesecake Cookie Recipe – These Oreo cheesecake cookies are soft, creamy, and packed with cookies and cream flavor in every bite.
Instant Pot Pumpkin Cheesecake – This Instant Pot pumpkin cheesecake is smooth, creamy, and full of warm fall spices with an easy pressure cooker method.
Mini Cheesecakes
Want to save this recipe?
Ingredients
- 1 ½ cups biscuit crumbs 150 g
- ¼ cup unsalted butter 60 g, melted
- 10.5 oz full-fat cream cheese 300 g, room temperature
- ½ cup granulated sugar 100 g
- 2 large eggs room temperature
- 1 tsp vanilla extract
- 1 tbsp lemon juice
- 1 ½ tbsp all-purpose flour 14 g
- ¾ cup full-fat sour cream 185 g
- ½ cup fresh strawberries sliced, optional
- ¼ cup strawberry jam optional
Recommended Kitchen Tools (click the links below to see the items used to make this recipe)
- 12-cup muffin pan
- Paper Liners
- Mixing bowls
- Ice-cream scoop or spoon
Instructions
- Preheat oven to 320°F (160°C) and line a 12-cup muffin pan with paper liners.
- Mix biscuit crumbs with melted butter, then press evenly into the muffin liners to form the crust.
- Beat cream cheese until smooth, then mix in sugar until creamy.
- Add eggs one at a time, mixing gently after each addition to avoid adding too much air.
- Stir in vanilla extract, lemon juice, and flour until just combined.
- Mix in sour cream until the batter is smooth, then divide evenly between the muffin cups.
- Bake for 15–18 minutes until edges are set and centers slightly jiggle, then cool completely in the pan.
- Refrigerate for at least 4 hours before serving, then top with fresh strawberries and strawberry jam if desired.
Notes
- Make sure all refrigerated ingredients are at room temperature for a smooth batter.
- Do not overmix after adding the eggs to help prevent cracks.