Butterscotch Graham Cracker Cheesecake Bars – Perfect Holiday Dessert Recipe
This post may contain affiliate links (disclosure).
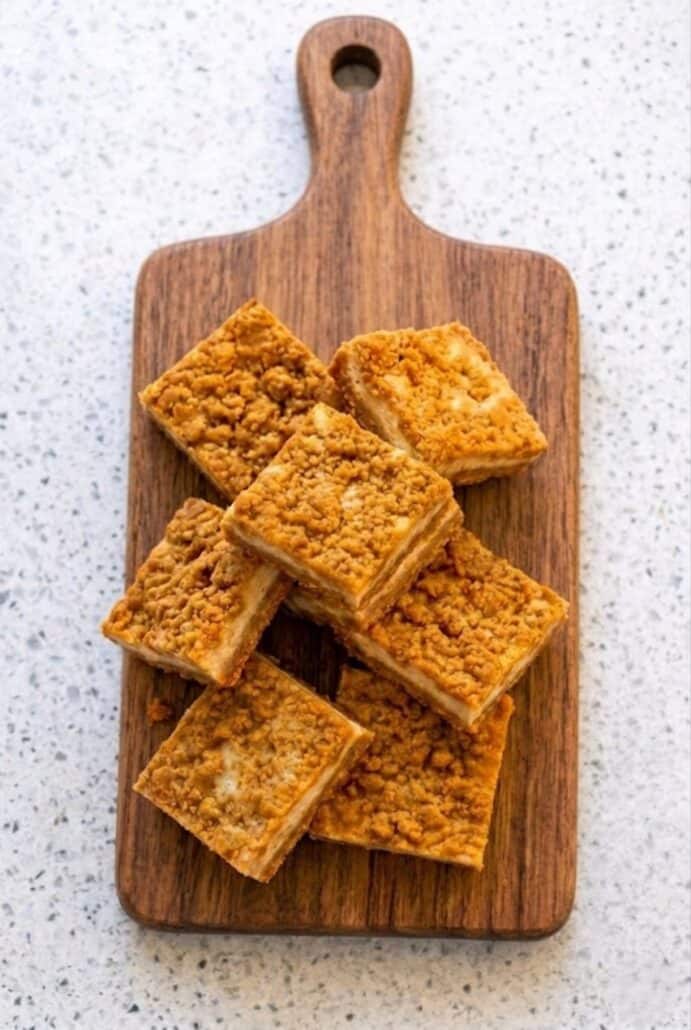
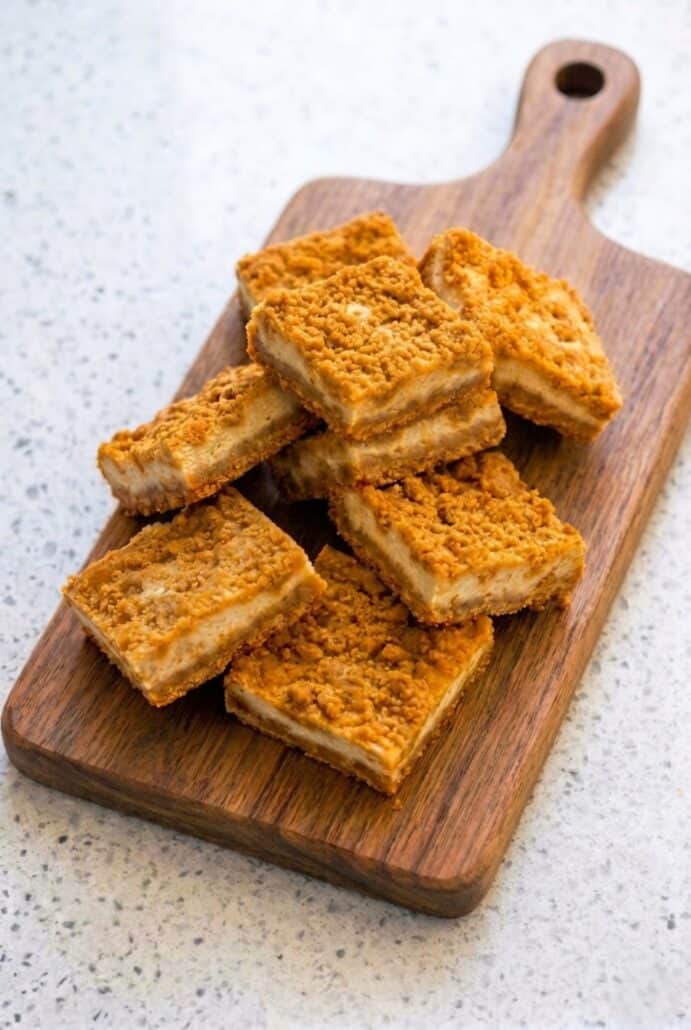
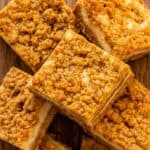
If you love rich, indulgent desserts that are easy to make, these Butterscotch Graham Cracker Cheesecake Bars are going to become a new favorite. They combine a chewy butterscotch graham cracker crust with a smooth and creamy cheesecake filling for the perfect balance of texture and flavor. This simple dessert recipe is perfect for parties, holidays, or anytime you want a sweet treat that truly stands out.
Want to save this recipe?
Why You’ll Love Butterscotch Graham Cracker Cheesecake Bars
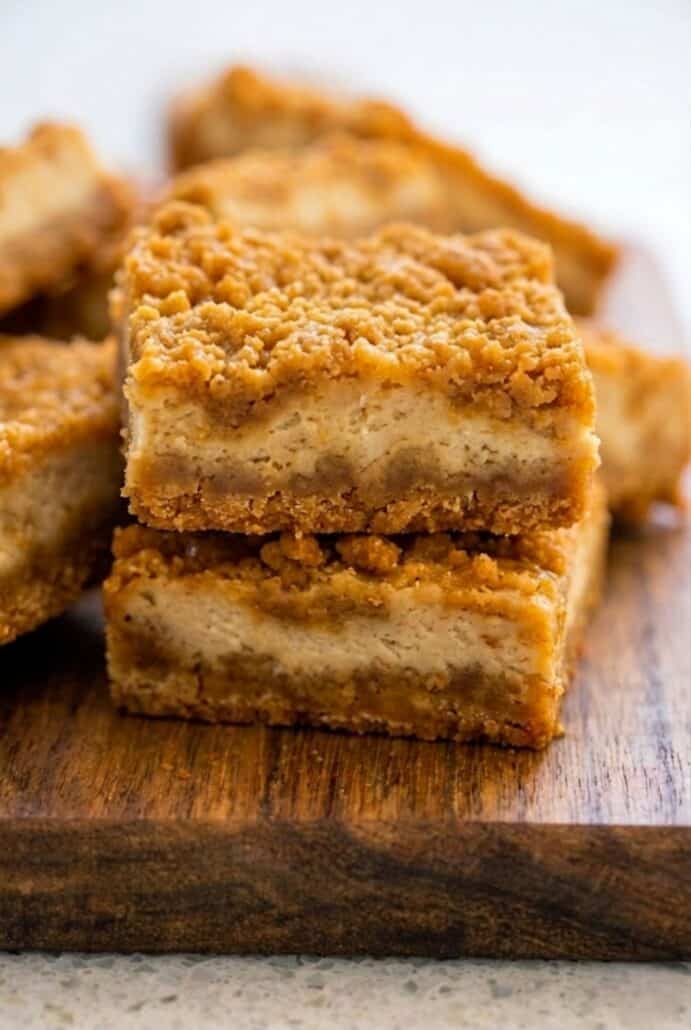
- These bars have an incredible texture combination that makes every bite exciting. The crust is chewy and rich, while the cheesecake layer is smooth and creamy. On top, you get a slightly crisp crumble that adds even more contrast. It’s the kind of dessert that keeps you coming back for just one more piece.
- The flavor is perfectly balanced between sweet and tangy. Butterscotch brings a deep caramel-like richness that feels cozy and indulgent. The cream cheese layer cuts through that sweetness with a slight tang. Together, they create a dessert that’s not overly sugary but still very satisfying.
- This recipe is surprisingly easy to make with simple ingredients. You don’t need any complicated techniques or special skills to pull it off. The crust and topping use the same mixture, which saves time and effort. It’s a great recipe for beginner bakers who want impressive results.
- These bars are perfect for making ahead of time. Since they need to chill, you can prepare them a day or two before serving. This makes them ideal for parties, holidays, or gatherings. Just slice and serve when you’re ready.
- You only need a handful of basic kitchen tools. No fancy equipment required, just a saucepan, mixer, and baking dish. Cleanup is also easy thanks to the foil-lined pan. It’s a low-stress dessert from start to finish.
Click Here To Pin This Recipe
Save This Recipe
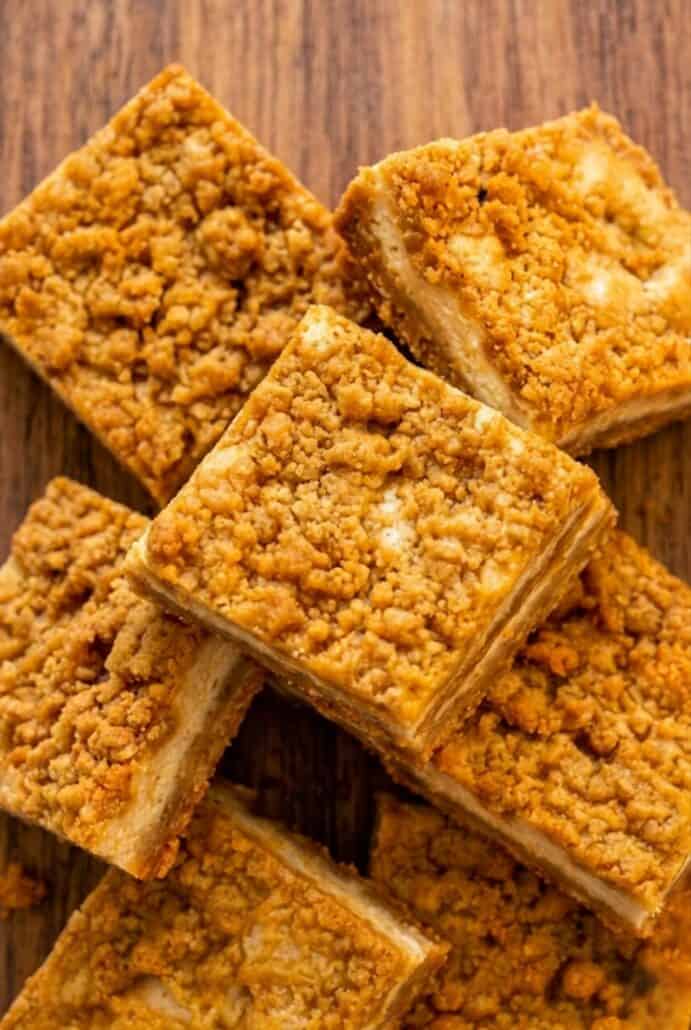
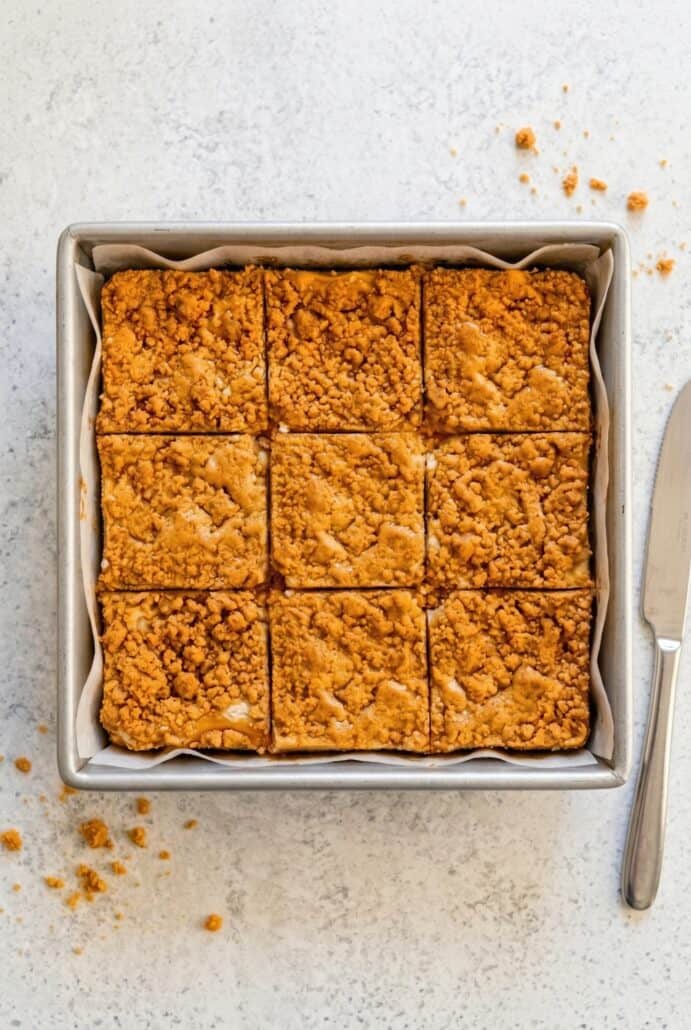
Butterscotch Graham Cracker Cheesecake Bars
These butterscotch cheesecake bars are rich, chewy, and absolutely irresistible. The buttery graham cracker and butterscotch mixture creates both the crust and topping, making this recipe extra simple. A creamy, slightly tangy cheesecake layer balances the sweetness perfectly in every bite.
Servings: 16
Calories: 306kcal
Want to save this recipe?
Ingredients
- 11 oz butterscotch chips
- 1/2 cup unsalted butter
- 2 cups graham cracker crumbs
- 8 oz cream cheese softened
- 1 large egg
- 14 oz sweetened condensed milk 1 can
- 2 tsp vanilla extract
- 1/2 tsp salt
Instructions
- Preheat your oven to 350°F. Line a 9x9-inch baking dish with foil and spray with cooking spray.
- In a saucepan, combine butterscotch chips and butter. Heat on medium-low, whisking constantly until melted and smooth.
- Stir in graham cracker crumbs until fully combined.
- Set aside about 1 heaping cup of this mixture for the topping.
- Press the remaining mixture firmly into the bottom of the prepared pan to form the crust.
- In a mixing bowl, beat the softened cream cheese until smooth and fluffy.
- Add egg, sweetened condensed milk, vanilla, and salt. Beat until well combined and creamy.
- Pour the cheesecake mixture over the crust and spread evenly.
- Sprinkle the reserved crumb mixture evenly over the top.
- Bake for 30–35 minutes, until the center is set but still slightly jiggly.
- Let cool at room temperature for about 1 hour, then refrigerate until fully chilled before slicing.
Notes
- Melting butterscotch chips takes patience, keep the heat low and whisk constantly to avoid burning.
- Chill the bars completely before cutting for clean slices and best texture.
NEVER MISS A RECIPE!I publish a new recipe several times per week. Want the new recipes in your inbox? Sign up for FREE notifications!
Nutrition
Calories: 306kcal | Carbohydrates: 40g | Protein: 4g | Fat: 15g | Saturated Fat: 9g | Polyunsaturated Fat: 1g | Monounsaturated Fat: 4g | Trans Fat: 0.2g | Cholesterol: 50mg | Sodium: 299mg | Potassium: 136mg | Fiber: 0.4g | Sugar: 32g | Vitamin A: 468IU | Vitamin C: 1mg | Calcium: 97mg | Iron: 1mg