This post may contain affiliate links (disclosure).
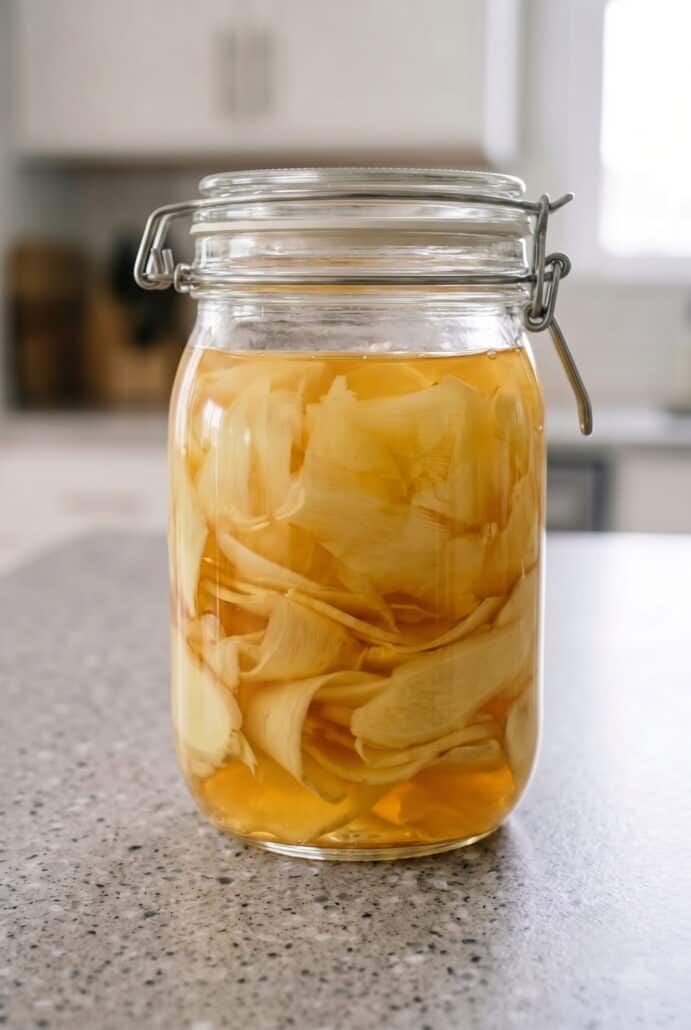
Pickled ginger is a delicious way to add a bright, tangy, and slightly sweet flavor to your favorite meals. This easy homemade recipe uses fresh ginger, rice vinegar, hot water, honey, and salt for a simple condiment that tastes amazing with sushi, rice bowls, stir-fries, and more. Keep a jar in the refrigerator so you can enjoy a refreshing bite of pickled ginger anytime.
Want to save this recipe?
Just enter your email and I’ll send it right to you, plus great new recipes weekly!
Why You’ll Love Pickled Ginger
Fresh, bold flavor – Pickled ginger has a bright, tangy, and slightly sweet taste. It adds a refreshing bite to sushi, rice bowls, and stir-fries. The vinegar balances the natural heat of the ginger. Every slice is full of flavor.
Easy to prepare – This recipe uses only a few simple ingredients. You just slice the ginger and combine it with the pickling mixture. There is no cooking required. Most of the time is spent letting the ginger chill in the refrigerator.
Perfect for meal prep – A jar of pickled ginger is easy to keep in the refrigerator. It is ready whenever you want to add extra flavor to a meal. You can make it ahead of time and enjoy it throughout the week. Always use a clean utensil when removing slices from the jar.
Versatile serving options – Pickled ginger is delicious with sushi and sashimi. It can also be added to protein bowls, stir-fries, hot tea, or cocktails. You can chop it into smaller pieces or serve the slices whole. It also tastes great straight from the jar.
Simple homemade condiment – Making pickled ginger at home lets you control the sweetness. Honey or maple syrup can be used in the pickling liquid. Young ginger gives the most tender texture, but mature ginger also works. The result is a flavorful homemade condiment with minimal effort.
Ingredients For Pickled Ginger
Ginger – Fresh ginger is the main ingredient in this recipe. Young ginger is preferred because it is less fibrous and has a milder flavor, but mature ginger also works.
Rice vinegar – Rice vinegar gives the pickled ginger its tangy flavor. It is the traditional choice for this type of recipe.
Boiling hot water – Hot water helps blend the pickling mixture and dissolve the sweetener and salt.
Honey or maple syrup – Either option adds sweetness and balances the sharp flavor of the vinegar and ginger.
Kosher salt – Salt seasons the ginger and helps create the simple pickling liquid.
For the exact measurements of the ingredients, see the printable recipe card at the bottom of this article.
How To Make Pickled Ginger
Peel the fresh ginger, then cut it into very thin slices using a vegetable peeler or mandoline.
Place all of the sliced ginger into a small glass jar or storage container.
Pour in the rice vinegar and boiling hot water.
Add the honey or maple syrup and kosher salt.
Stir the mixture well so the sweetener and salt blend into the liquid.
Seal the container and leave it at room temperature for 1 hour.
Move the jar to the refrigerator and chill the ginger for at least 4 hours before serving.
Add a small amount to hot tea with lemon or use it as a flavorful garnish for cocktails.
Enjoy a few slices straight from the jar as a refreshing snack.
Tips For Success
Slice the ginger very thinly – Thin slices absorb the pickling liquid more evenly. A vegetable peeler can help you make delicate slices. A mandoline also works well. Take your time so the slices are as even as possible.
Use young ginger when available – Young ginger is less pungent, less fibrous, and more tender than mature ginger. It can be difficult to find, so do not worry if you only have mature ginger. Look for larger pieces because they are easier to peel and slice. Mature ginger will still make delicious pickled ginger.
Adjust the sweetness when needed – Mature ginger can have a stronger and spicier flavor. You can add a little more honey or maple syrup if you want to soften that heat. Stir the mixture well so the sweetener blends with the vinegar and hot water. Taste preferences can vary, so use the amount that works best for you.
Use boiling hot water – The hot water helps the honey or maple syrup and salt mix into the pickling liquid. Stir everything thoroughly after adding it to the jar. Make sure the sweetener and salt are evenly combined. This creates a balanced flavor throughout the ginger.
Give the ginger enough time to pickle – Let the covered jar sit at room temperature for 1 hour. After that, place it in the refrigerator for at least 4 hours. The ginger needs this resting time to absorb the tangy and slightly sweet flavors. Waiting longer before serving can give the slices more time to soak.
Choose the right container – Use a small glass jar or storage container with a tight-fitting lid. The recipe makes about 1 cup of pickled ginger. A properly sized container helps keep the ginger covered with the pickling liquid. Seal it tightly before leaving it at room temperature and refrigerating it.
Always use a clean utensil – Remove the ginger from the jar with clean chopsticks, a fork, or another fresh utensil. This helps prevent new bacteria from entering the container. Avoid placing a used utensil back into the jar. This simple step helps the pickled ginger stay fresh longer in the refrigerator.
Do not worry about the color – Some pickled ginger is naturally pink because very young ginger can have pink tips. Those tips may color the entire batch during pickling. Homemade pickled ginger made with regular ginger may stay pale. The color does not change the simple preparation method or serving possibilities.
Variations And Substitutions
Use mature ginger instead of young ginger – Young ginger is preferred because it is tender, less fibrous, and less pungent. However, it can be difficult to find throughout the year. Mature ginger works well and still makes flavorful pickled ginger. Look for larger pieces because they are easier to peel and slice thinly.
Adjust the sweetness for mature ginger – Mature ginger can taste stronger and spicier than young ginger. Add a little more honey or maple syrup if you prefer a milder flavor. The extra sweetness helps balance the heat of the ginger and the tanginess of the vinegar. Stir the pickling mixture well so the sweetener is evenly distributed.
Substitute apple cider vinegar – Rice vinegar is the traditional choice for pickled ginger and gives it a mild, tangy taste. Apple cider vinegar can be used instead when you need a grain-free option. It will still provide the acidity needed for the pickling mixture. Use it in place of the rice vinegar while keeping the remaining ingredients the same.
Choose honey or maple syrup – Honey adds natural sweetness and balances the sharp flavors of the ginger and vinegar. Maple syrup works as an easy alternative. Either option can be stirred into the hot water, vinegar, and salt. Choose the sweetener you prefer or already have available.
Make the ginger sweeter or spicier – The amount of sweetener can be adjusted to match your taste. Use the listed amount for a balanced sweet and tangy flavor. Add a little more if the ginger tastes too strong. Keep the original amount when you enjoy a bold, spicy bite.
Change the slice thickness – Very thin ginger slices absorb the pickling liquid quickly and have a delicate texture. A vegetable peeler usually creates the thinnest slices. A mandoline can also be used for more even pieces. Slightly thicker slices will have a firmer and more noticeable bite.
Use naturally pink young ginger when available – Some young ginger has pink tips that can color the entire batch as it pickles. Regular ginger may remain pale after soaking in the liquid. Both versions are suitable for this recipe. The color will depend on the ginger you use and does not need to be changed with added coloring.
Serve the pickled ginger in different ways – Keep the slices whole when serving them with sushi or sashimi. Chop them into smaller pieces for stir-fries, rice bowls, or protein bowls. A few slices can also be added to hot tea or used as a cocktail garnish. You can even enjoy the ginger directly from the jar with clean chopsticks or a fork.
Storage And Reheating
Store pickled ginger in a tightly sealed glass jar or storage container in the refrigerator. It will keep for up to 2 months when handled properly.
Always use clean chopsticks, a fork, or another fresh utensil when removing ginger from the jar. This helps prevent bacteria from getting into the container and keeps the pickled ginger fresh longer.
Pickled ginger does not need to be reheated. Serve it chilled or let the amount you plan to eat sit at room temperature for a few minutes before serving.
Frequently Asked Questions
What Is Pickled Ginger?
Pickled ginger is made by soaking thin slices of fresh ginger in rice vinegar, hot water, honey or maple syrup, and salt. It has a tangy, slightly sweet flavor and is often served with sushi, rice bowls, and stir-fries.
Should I Use Young Ginger Or Mature Ginger?
Young ginger is ideal because it is tender, less fibrous, and milder in flavor. Mature ginger also works, but you may want to add a little extra sweetener if it tastes too spicy.
Want to save this recipe?
Just enter your email and I’ll send it right to you, plus great new recipes weekly!
Why Is Some Pickled Ginger Pink?
Young ginger sometimes has naturally pink tips that tint the entire batch during pickling. Pickled ginger made with mature ginger may stay pale or light yellow.
How Thinly Should I Slice The Ginger?
Slice the ginger as thinly as possible so it absorbs the pickling liquid evenly. A vegetable peeler makes delicate slices, while a mandoline helps create uniform pieces.
Can I Use Apple Cider Vinegar Instead Of Rice Vinegar?
Yes, apple cider vinegar can be substituted for rice vinegar using the same amount. It will give the pickled ginger a slightly different flavor but will still work well.
Can I Use Maple Syrup Instead Of Honey?
Yes, maple syrup can replace the honey in equal amounts. Both options balance the spicy ginger and tangy vinegar with a touch of sweetness.
How Long Does Pickled Ginger Need To Sit?
Let the covered jar sit at room temperature for 1 hour. Then refrigerate it for at least 4 hours before serving.
How Should I Store Pickled Ginger?
Store pickled ginger in a tightly sealed glass jar in the refrigerator for up to 2 months. Always use a clean utensil when removing ginger from the jar.
Does Pickled Ginger Need To Be Reheated?
No, pickled ginger does not need to be reheated. Serve it chilled or let a small portion sit at room temperature for a few minutes.
What Can I Serve With Pickled Ginger?
Serve pickled ginger with sushi, sashimi, rice bowls, stir-fries, salmon, or chicken. You can also add it to tea, use it as a cocktail garnish, or enjoy it straight from the jar.
How Much Pickled Ginger Does This Recipe Make?
This recipe makes about 1 cup of pickled ginger. It provides approximately 8 servings of 2 tablespoons each.
This quick pickled ginger is fresh, tangy, slightly sweet, and full of bold ginger flavor. Thin slices of ginger soak in a simple mixture of rice vinegar, hot water, honey, and salt. Serve this homemade sushi ginger with sushi, rice bowls, stir-fries, drinks, or enjoy a few slices straight from the jar.
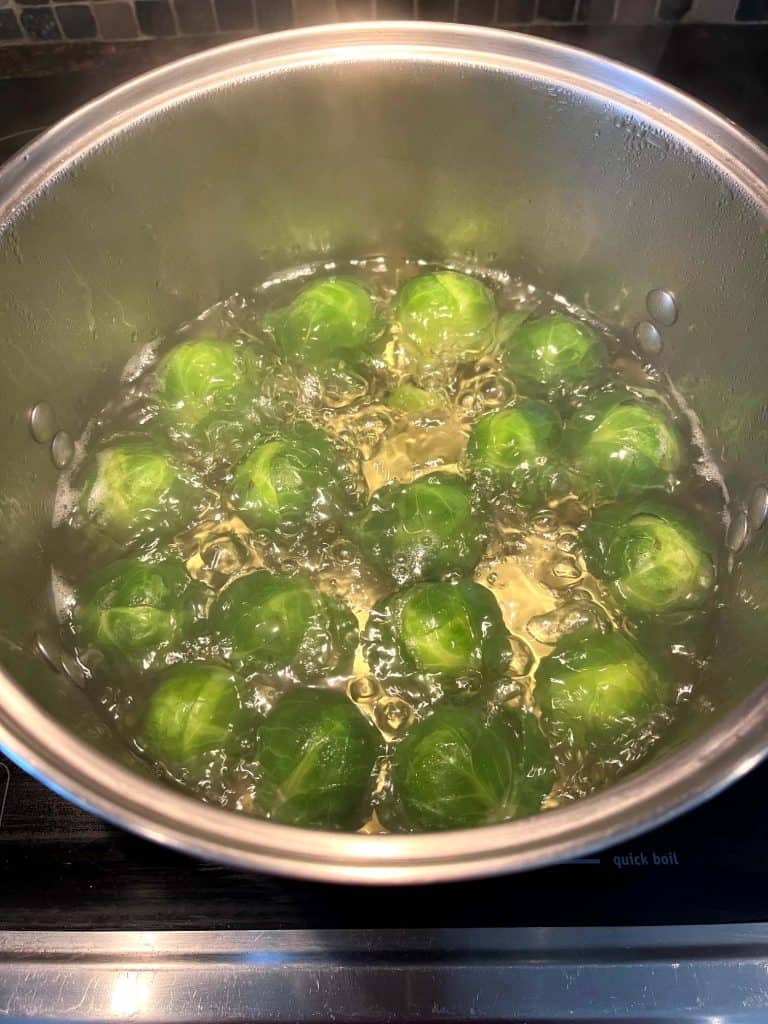
This post may contain affiliate links (disclosure). Boiling Brussels sprouts is one of the simplest and healthiest ways to prepare this nutritious vegetable. With just a few steps,…
This post may contain affiliate links (disclosure). Fluffy, flavorful, and easy to make, this tasty Instant Pot Mexican Rice is sure to become your new favorite side dish!…
This post may contain affiliate links (disclosure). Need a really quick side dish that takes just a few minutes to make? This veggie recipe is just for you!…
This post may contain affiliate links (disclosure). Turn fresh banana peppers into a flavorful homemade condiment with this easy pickling method. The peppers soak in a hot vinegar…
This post may contain affiliate links (disclosure). Once you see how to cook canned corn, you’ll agree that it’s an easy method and makes much tastier corn than…