
Homemade Dilly Beans (Old Fashioned Dill Pickled Green Beans)
This post may contain affiliate links (disclosure).
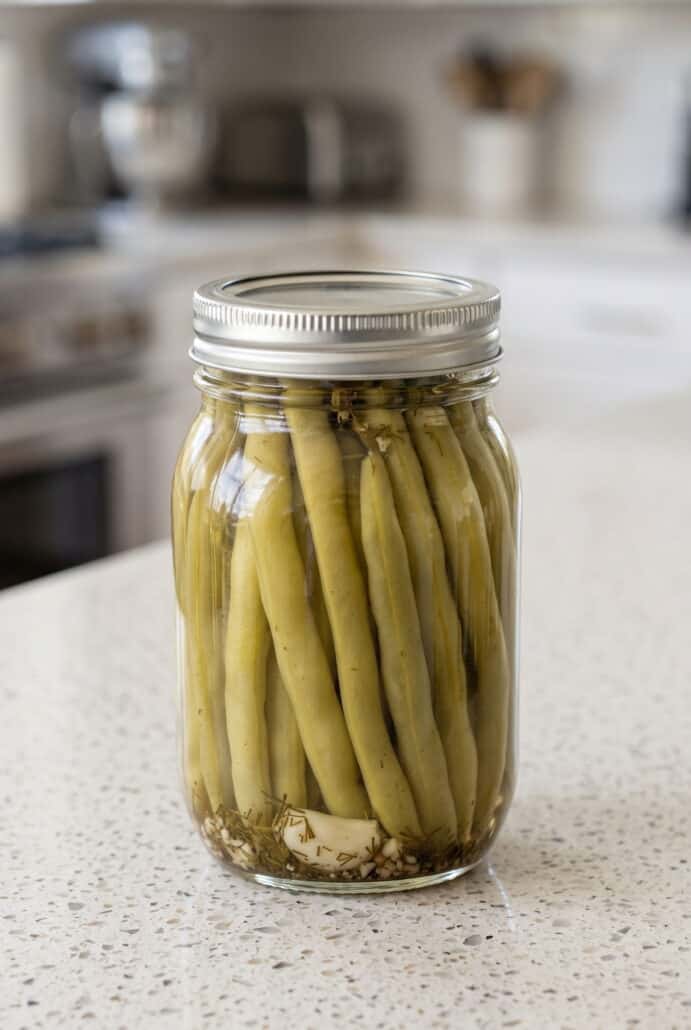
If you love crisp, tangy pickles, you’re going to enjoy these Dill Pickled Green Beans. They’re packed with fresh dill flavor and have just the right balance of vinegar, salt, and optional garlic and red pepper flakes. This simple canning recipe is a delicious way to preserve fresh green beans and turn them into a crunchy snack, easy side dish, or flavorful addition to your favorite meals.
Want to save this recipe?
Why You’ll Love Dill Pickled Green Beans
- Crunchy and tangy – These green beans have a crisp texture and plenty of bright, tangy flavor. The vinegar brine gives them that classic pickled taste. Fresh dill adds a delicious herby note. Every bite is refreshing and flavorful.
- Easy to make – The ingredients are simple and the steps are straightforward. Once the beans are trimmed and packed into jars, the brine comes together quickly on the stovetop. The canning process is simple to follow. It is a great recipe for home cooks who want to preserve fresh green beans.
- Perfect for preserving fresh beans – This recipe is a great way to use a large batch of fresh green or yellow beans. Canning lets you enjoy them long after the growing season is over. The finished jars can be stored for up to one year when properly sealed. It is a practical and tasty way to make the most of fresh produce.
- Full of dill flavor – Fresh dill gives these pickled green beans their signature flavor. Optional garlic makes them even more savory and delicious. You can also add red pepper flakes for a little extra heat. The combination creates a bold pickle flavor that is hard to resist.
- Great for snacks and sides – Dill Pickled Green Beans are delicious straight from the jar. Their crisp texture makes them an easy snack when you are craving something savory. They also work well as a simple side dish or addition to a snack board. Keep a jar on hand whenever you want something crunchy and tangy.
Ingredients For Dill Pickled Green Beans
- Green or yellow beans – Use fresh, tender beans for the best texture. They are the main ingredient and become wonderfully crisp and tangy after pickling.
- Fresh dill – Fresh dill gives these pickled green beans their signature herby flavor. The dill heads go directly into the jars with the beans.
- Pickling salt – This adds the right amount of saltiness to the brine. It helps give the pickled beans their classic savory flavor.
- 5% white vinegar – White vinegar creates the tangy base of the pickling brine. Its sharp flavor pairs perfectly with the dill and green beans.
- Water – Water is combined with the vinegar and salt to make the brine. It helps balance the acidity while keeping the flavor bright.
- Red pepper flakes – These are optional and add a little heat to the pickled green beans. Use them if you enjoy a slightly spicy flavor.
- Garlic cloves – Garlic is optional but adds extra savory flavor to each jar. One clove can be added to each pint jar.
For the exact measurements of the ingredients, see the printable recipe card at the bottom of this article.
How To Make Dill Pickled Green Beans
- Start by sterilizing your pint jars and lids. Wash the beans, trim off the ends, and cut them into pieces about 4 inches long.
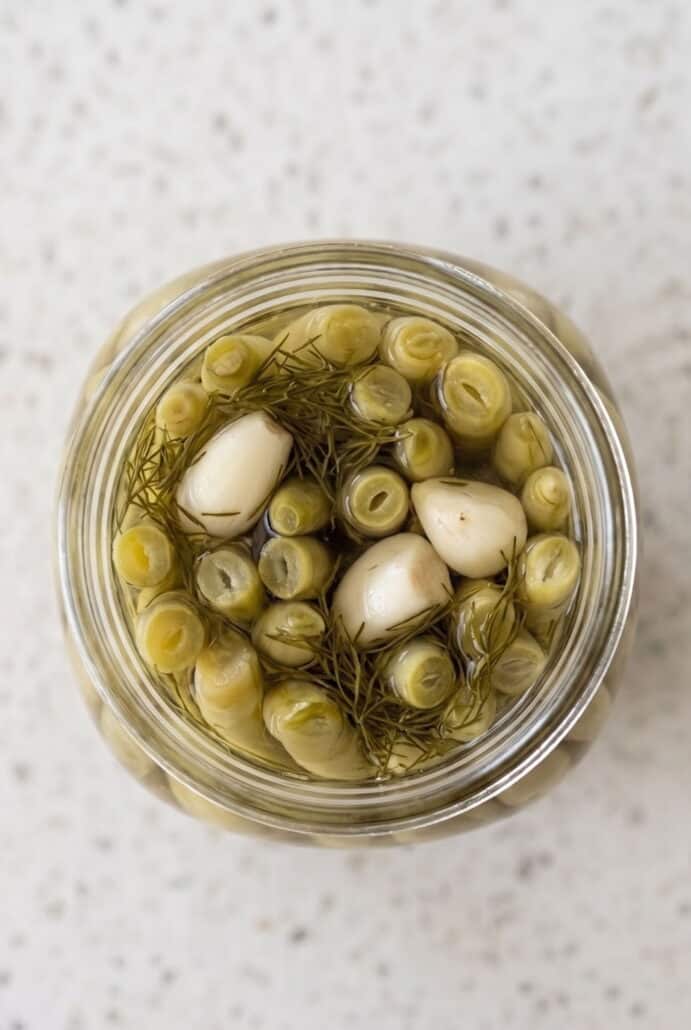
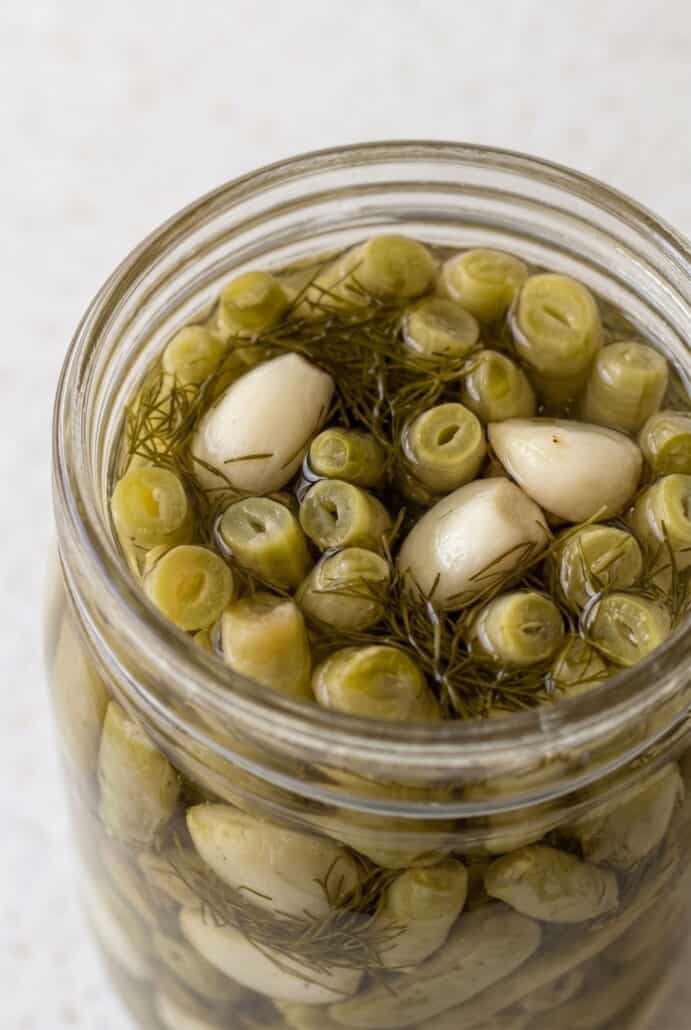
- Place fresh dill into each prepared jar. Add a garlic clove to each jar too if you are using garlic.
- Stand the green beans upright in the jars and pack them in snugly. Leave 1/2 inch of space at the top of each jar.
- Make the pickling brine by adding the pickling salt, white vinegar, water, and optional red pepper flakes to a saucepan. Bring the mixture to a boil.
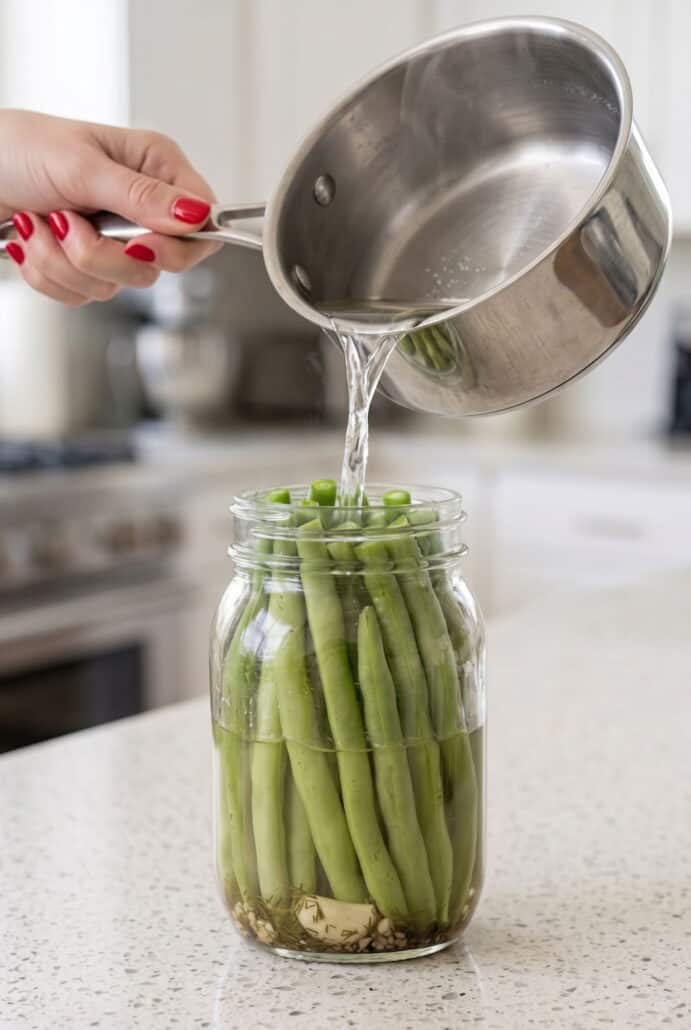
- Pour the hot brine over the packed green beans. Be sure to keep 1/2 inch of headspace at the top.
- Wipe the rims of the jars clean, place the lids on top, and tighten them until fingertip-tight.
- Transfer the jars to the canner and process pint jars for 10 minutes below 6,000 feet in elevation. Process for 15 minutes if you are above 6,000 feet.
- Turn off the heat when processing is finished. Let the jars cool, then leave them undisturbed for 24 hours before checking the seals, labeling, and storing.
Serving Suggestions
- Serve with crispy chicken thighs for a tangy, crunchy side.
- Add to a charcuterie board with cheese, rosemary sea salt crackers, and meats.
- Chop and add to a homemade chicken salad sandwich for extra crunch.
- Pair with grilled salmon salad for a fresh, flavorful meal.
- Serve alongside a frittata omelette for an easy brunch.
Tips For Success
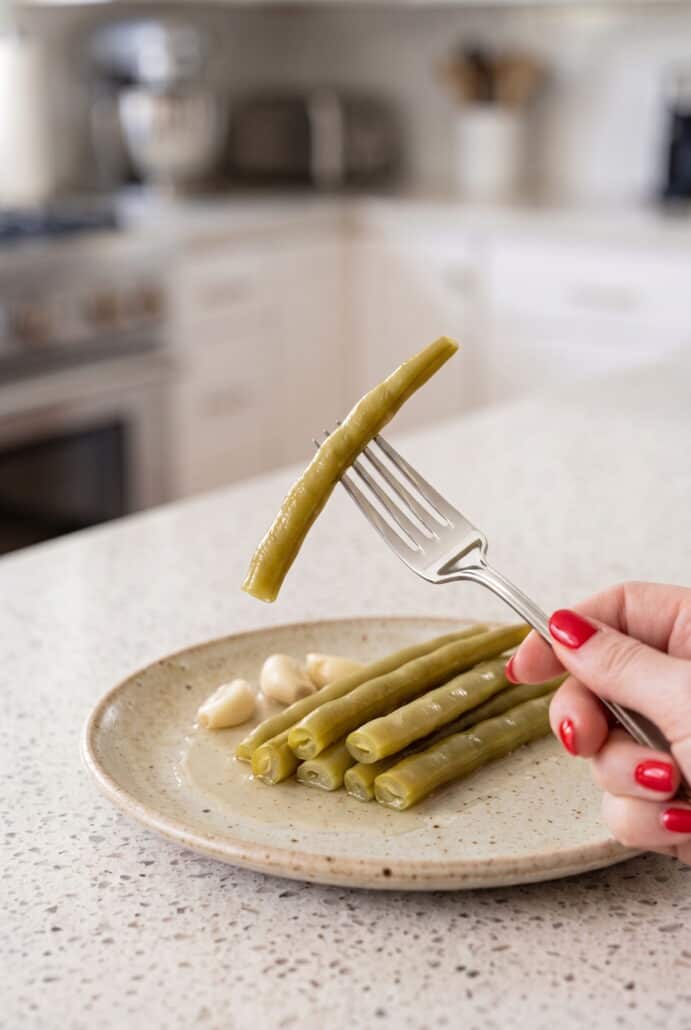
- Choose fresh, tender beans – For the best texture, use green or yellow beans that are fresh and firm. Beans that are about 5 to 6 inches long are especially easy to work with. Fresher beans will give you a better crunch after pickling. Avoid using beans that are soft or starting to wilt.
- Trim the beans to fit the jars – Cut the beans to about 4 inches long before packing them into the pint jars. If they are still too tall, trim them a little more. You want to leave 1/2 inch of headspace at the top. This helps ensure the jars are filled correctly.
- Pack the beans upright – Standing the beans vertically makes them easier to fit neatly into the jars. Pack them snugly without crushing them. This also helps each jar look nice once finished.
- Use fresh dill for plenty of flavor – Add the fresh dill directly to the jars before packing in the beans. The dill gives these pickled green beans their signature flavor. You can use more than one dill head per jar depending on how much you have available.
- Add garlic and red pepper flakes if you like – Garlic and red pepper flakes are optional, so you can adjust the flavor to suit your taste. Garlic adds a savory note, while red pepper flakes add a little heat. Leave either one out if you prefer a simpler dill pickle flavor.
- Bring the brine to a full boil – Combine the vinegar, water, pickling salt, and optional red pepper flakes in a saucepan. Make sure the mixture comes to a boil before pouring it over the beans. Pour the hot brine carefully into each jar while keeping the proper headspace.
- Keep the jar rims clean – After filling the jars, check the rims before adding the lids. Wipe away any brine or food that may have spilled onto them. Clean rims help the lids sit properly during processing.
- Pay attention to altitude – Processing time depends on your elevation. Pint jars are processed for 10 minutes below 6,000 feet. If you are above 6,000 feet, increase the processing time to 15 minutes.
- Let the jars cool completely – Once processing is finished, allow the jars to cool for 24 hours. Check the seals before labeling and storing them. Properly sealed jars can be stored for up to one year.
Variations And Substitutions
- Use green or yellow beans – Either green beans or yellow beans work well in this recipe. You can use one type or a combination of both. Using both colors can make the finished jars look especially pretty.
- Add garlic – Garlic is optional, but it adds a delicious savory flavor to the beans. Add one garlic clove to each pint jar if you enjoy garlicky pickles. If you do not have fresh garlic, the source recipe notes that 1 teaspoon of minced garlic can be used in place of each clove.
- Leave out the garlic – If you prefer a cleaner dill flavor, simply skip the garlic. The beans will still have plenty of tangy flavor from the vinegar brine and fresh dill.
- Make them spicy – Add the optional red pepper flakes if you like a little heat. They give the pickled beans a mild spicy kick that pairs nicely with the dill and garlic.
- Make them mild – For classic dill pickled green beans without any heat, leave out the red pepper flakes. This is a good choice if you prefer a simple, tangy pickle flavor.
- Adjust the amount of dill – The recipe calls for 8 to 16 heads of fresh dill for 8 pint jars. Use fewer for a lighter dill flavor or more for a stronger dill taste.
- Use smaller jars – Quarter-pint jars can also be used. According to the source recipe, they use the same processing times as pint jars.
Storage And Reheating
- Store sealed jars – After the jars have cooled for 24 hours, check that they are properly sealed. Label the jars and store them for up to 1 year.
- Keep the beans in the jar until ready to serve – Dill Pickled Green Beans are ready to eat straight from the jar. Their tangy brine keeps them flavorful and crisp.
- No reheating needed – These pickled green beans are meant to be enjoyed as-is. Serve them straight from the jar as a snack, side dish, or addition to your favorite meal.
- For opened jars – The source recipe does not provide specific storage instructions for jars after opening, so follow your usual safe storage practices for opened pickled foods.
Frequently Asked Questions
What Are Dill Pickled Green Beans?
Dill Pickled Green Beans, also called dilly beans, are fresh green or yellow beans preserved in a tangy vinegar brine with fresh dill. The beans are packed into jars, covered with hot brine, and processed in a water bath canner. They have a crisp texture and bold pickle flavor. Garlic and red pepper flakes can also be added for extra flavor.
Can I Use Yellow Beans Instead Of Green Beans?
Yes. This recipe works with either green beans or yellow beans. You can use whichever type you have available. Both are prepared the same way by washing, trimming, and cutting them into pieces that fit inside the jars.
How Long Should I Cut The Green Beans?
Cut the beans into pieces about 4 inches long before placing them in the jars. Depending on the size and shape of your jars, you may need to trim the beans slightly more. The important thing is to leave 1/2 inch of headspace at the top of each jar.
Want to save this recipe?
Do I Have To Add Garlic?
No. Garlic is optional in this recipe. If you like a more savory pickle flavor, add one garlic clove to each pint jar. If you prefer a simpler dill flavor, you can leave it out. The source recipe also notes that 1 teaspoon of minced garlic can be used in place of one fresh garlic clove.
Can I Make These Dill Pickled Green Beans Spicy?
Yes. Add the optional red pepper flakes to the brine if you would like a little heat. The recipe uses 1 teaspoon for the full batch. If you prefer mild dill pickled green beans, simply leave the red pepper flakes out.
Why Do I Need To Leave Headspace In The Jars?
The recipe calls for leaving 1/2 inch of headspace when packing the beans and again after adding the hot brine. If the beans are too tall, trim them so they fit properly while maintaining that space. Keeping the specified headspace is an important part of filling the jars according to the recipe.
How Long Do I Process Dill Pickled Green Beans?
Pint jars should be processed for 10 minutes when you are below 6,000 feet in elevation. Start timing once the water in the canner has reached a boil. If you are above 6,000 feet in elevation, increase the processing time to 15 minutes.
Can I Use Quart Jars For This Recipe?
The source recipe does not provide a processing time for quart jars. It specifically notes that quart-jar processing times have not been tested in the referenced instructions. For that reason, this recipe is written for pint jars. Smaller quarter-pint jars can also be used with the same processing times listed for pints.
How Long Should The Jars Cool After Canning?
Let the jars cool for 24 hours after processing. Once they have cooled, check the seals before storing them. After confirming the jars are sealed, label them so you can easily keep track of your batch.
How Long Can Dill Pickled Green Beans Be Stored?
According to the source recipe, properly sealed jars can be labeled and stored for up to 1 year. Be sure to check the seals after the jars have cooled for 24 hours before putting them into storage.
Do Dill Pickled Green Beans Need To Be Reheated?
No. These pickled green beans are ready to eat straight from the jar and do not require reheating. Their crunchy texture and tangy flavor make them easy to serve as a snack, appetizer, or side dish.
What Can I Serve With Dill Pickled Green Beans?
Dill Pickled Green Beans can be served in many different ways. Enjoy them straight from the jar, add them to a cheese or charcuterie board, or chop them for sandwiches, salads, and wraps. They can also be served alongside grilled meats, poultry, or fish. Their tangy flavor also pairs well with roasted vegetables, quiche, and frittatas.
How Can I Get The Best Texture?
Start with fresh, tender beans whenever possible. The source recommends beans that are around 5 to 6 inches long for a crisp, fresh-tasting result. Wash and trim them before cutting them to fit the jars. Packing them upright also makes it easier to arrange them neatly while keeping the proper headspace.
Other Easy Green Bean Recipes
- Air Fryer Fresh Green Beans
- Oven Roasted Green Beans And Potatoes
- Crispy Green Beans In The Air Fryer
- Green Bean Casserole
- Stuffed Sweet Potatoes With Green Beans And Cheese
- Easy Garlic Green Beans
- Rotini Pasta With Sausage, Ricotta And Green Beans
Dill Pickled Green Beans
Want to save this recipe?
Ingredients
- 4 pounds green beans or yellow beans
- 8 heads fresh dill
- 1/2 cup salt pickling
- 4 cups white vinegar 5%
- 4 cups water
- 1 tsp red pepper flakes optional
- 8 garlic cloves optional
Instructions
- Sterilize the pint jars and lids so they are ready for filling. Wash the green beans, trim the ends, and cut them into 4-inch pieces.
- Add the fresh dill to the sterilized jars. Add one garlic clove to each jar if using.
- Pack the green beans upright into the jars, leaving 1/2 inch of headspace. Trim the beans as needed so they fit properly.
- Add the pickling salt, white vinegar, water, and optional red pepper flakes to a medium saucepan. Bring the mixture to a boil.
- Carefully pour the hot brine over the green beans, leaving 1/2 inch of headspace. Wipe the jar rims clean, add the lids, and tighten until fingertip-tight.
- Place the jars in the canner and add more water if needed. Bring the water to a boil and process pint jars for 10 minutes below 6,000 feet in elevation or 15 minutes above 6,000 feet.
- When processing is complete, turn off the heat. Remove the jars and place them on the counter to cool, or allow them to begin cooling in the canner.
- Let the jars cool for 24 hours. Check that each jar has sealed properly, then label and store for up to 1 year.
Notes
- For the crunchiest dilly beans, use fresh, tender beans that are about 5 to 6 inches long.
- This recipe gives processing times for pint or smaller jars. Quart-jar processing times are not provided in the source recipe.


