Easy Instant Pot Yogurt Recipe
This post may contain affiliate links (disclosure).
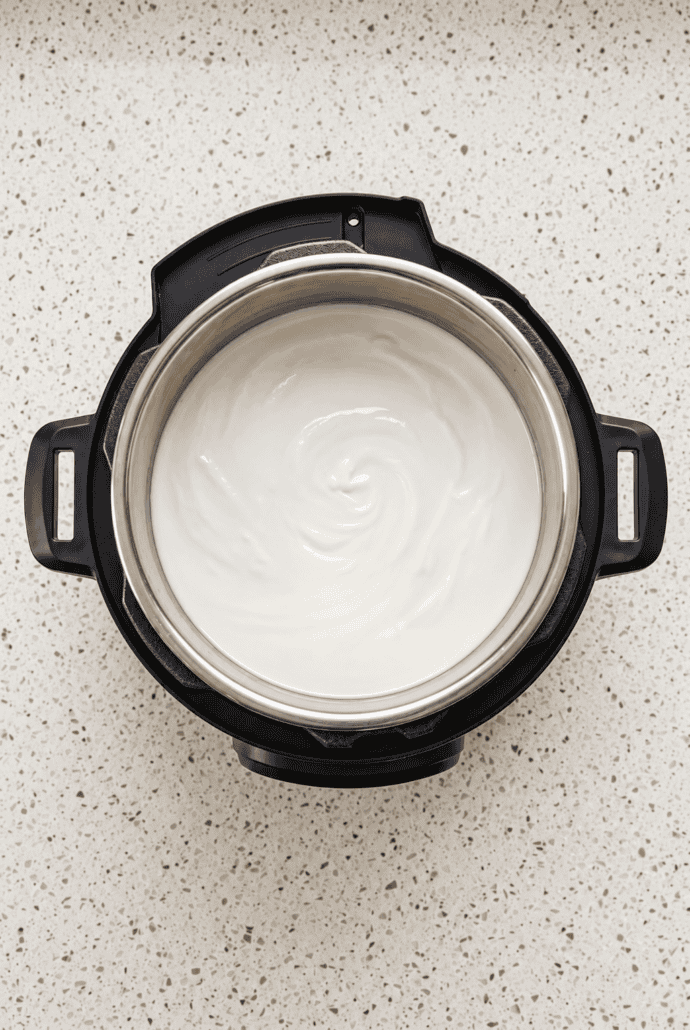
Making homemade Instant Pot Yogurt is an easy way to enjoy smooth, creamy yogurt right from your own kitchen. With just milk and a little plain yogurt with live cultures, the Instant Pot does most of the work for you while the yogurt slowly thickens and develops its tangy flavor. You can keep it simple or add sweetened condensed milk, heavy cream, or vanilla extract for a richer and sweeter version. This easy Instant Pot yogurt recipe is perfect for breakfast, snacks, or whenever you want a batch of fresh homemade yogurt ready in the refrigerator.
Want to save this recipe?
Why You’ll Love Instant Pot Yogurt
- Creamy and delicious – This homemade yogurt turns out smooth, creamy, and pleasantly tangy. You can enjoy it plain or add optional ingredients for extra richness and sweetness. Heavy cream makes it especially rich and creamy. Vanilla extract adds a simple vanilla flavor that makes every spoonful even more enjoyable.
- Made with simple ingredients – You only need milk and plain yogurt with live cultures to make the basic recipe. There is no complicated ingredient list to worry about. Optional sweetened condensed milk, heavy cream, and vanilla extract let you customize the flavor. It is an easy way to turn basic ingredients into homemade yogurt.
- The Instant Pot does most of the work – Once the milk is heated, cooled, and mixed with the yogurt starter, the Instant Pot handles the incubation. There is no need to constantly watch or stir the yogurt. Just set the Yogurt function and let it work. This makes homemade yogurt much easier to prepare.
- Easy to customize – You can keep the yogurt plain or add ingredients to change the flavor and texture. Sweetened condensed milk adds sweetness, while heavy cream makes the yogurt richer. Vanilla extract gives it a classic vanilla flavor. You can make each batch exactly the way you like it.
- Great for making a big batch – This recipe makes about 2 quarts of homemade yogurt. That gives you plenty to enjoy for breakfast or snacks. After chilling, the yogurt becomes even thicker and creamier. You can also save a little of the finished yogurt to use as the starter for your next batch.
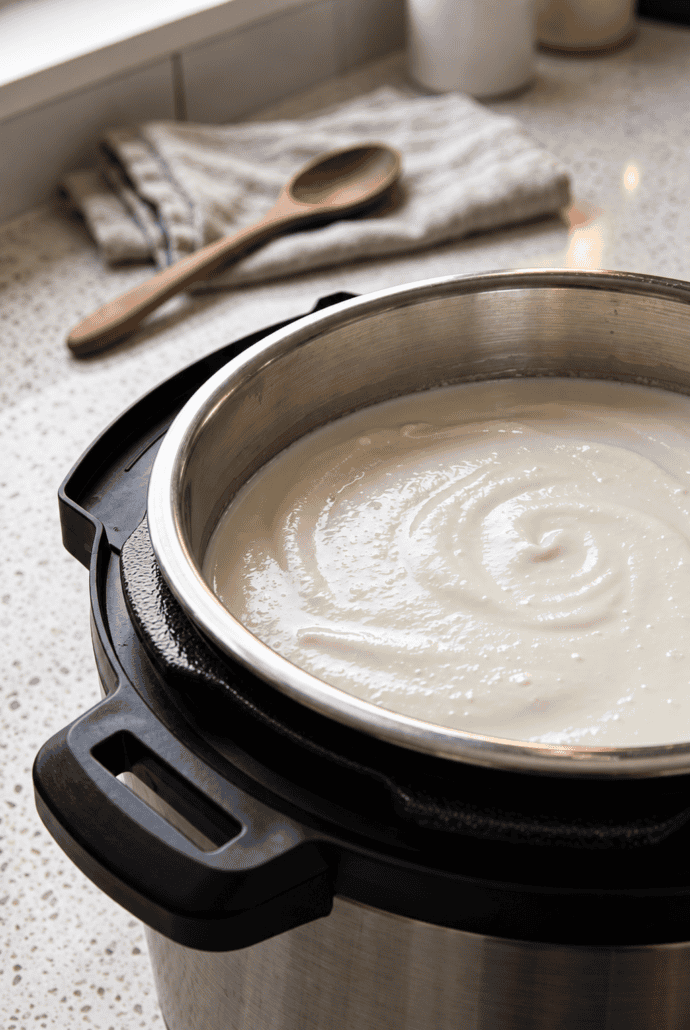
Ingredients For Instant Pot Yogurt
- Milk – The main ingredient for making the yogurt. Whole milk is preferred because it gives the yogurt a rich and creamy texture, though other kinds of milk can also be used.
- Plain yogurt with live cultures – This acts as the starter for the homemade yogurt. Make sure the yogurt contains live cultures so the milk can properly thicken and develop its tangy flavor.
- Sweetened condensed milk, optional – Adds sweetness and a richer flavor to the yogurt. Use it if you prefer a sweeter homemade yogurt.
- Heavy cream, optional – Makes the yogurt richer, thicker, and creamier. It is especially helpful if you want a more indulgent texture.
- Vanilla extract, optional – Adds a simple vanilla flavor to the finished yogurt. It is a great addition if you enjoy vanilla yogurt.
For the exact measurements of the ingredients, see the printable recipe card at the bottom of this article.
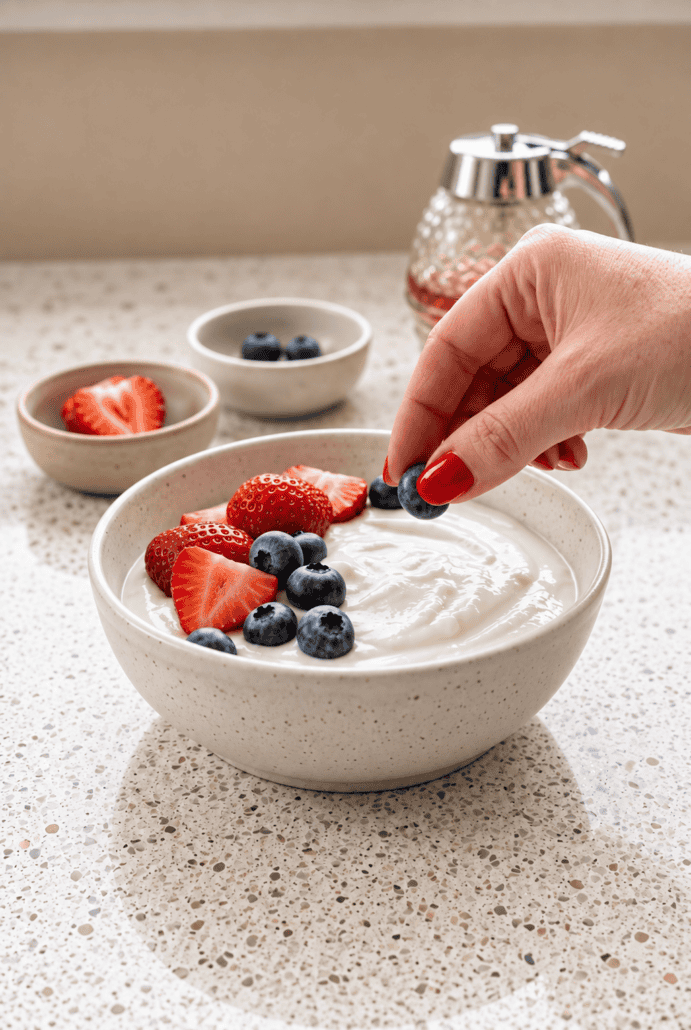
How To Make Instant Pot Yogurt
- Start by making sure the Instant Pot insert, lid, and sealing ring are completely clean. Wash them well with hot soapy water, rinse, and dry before beginning.
- Pour the milk into the Instant Pot. Use the Yogurt setting on the Boil mode to heat the milk until it reaches about 180°F.
- Remove the insert and allow the milk to cool to 110°F. You can let it cool at room temperature or speed up the process by placing the bottom of the insert in ice water.
- If a skin forms on top of the milk, remove it. Scoop out some of the warm milk and combine it with the plain yogurt and any optional add-ins you are using.
- Pour the yogurt mixture back into the Instant Pot and gently whisk everything together. Avoid vigorous stirring.
- Return the insert to the Instant Pot, close the lid with the pressure valve open, and set the Yogurt function for 8 hours.
- Let the yogurt incubate without stirring. You can begin checking the texture and flavor around the 6-hour mark using a clean spoon.
- Once the 8-hour incubation is complete, refrigerate the yogurt for at least 3 to 4 hours before serving. Chilling it overnight will give it an even thicker texture.
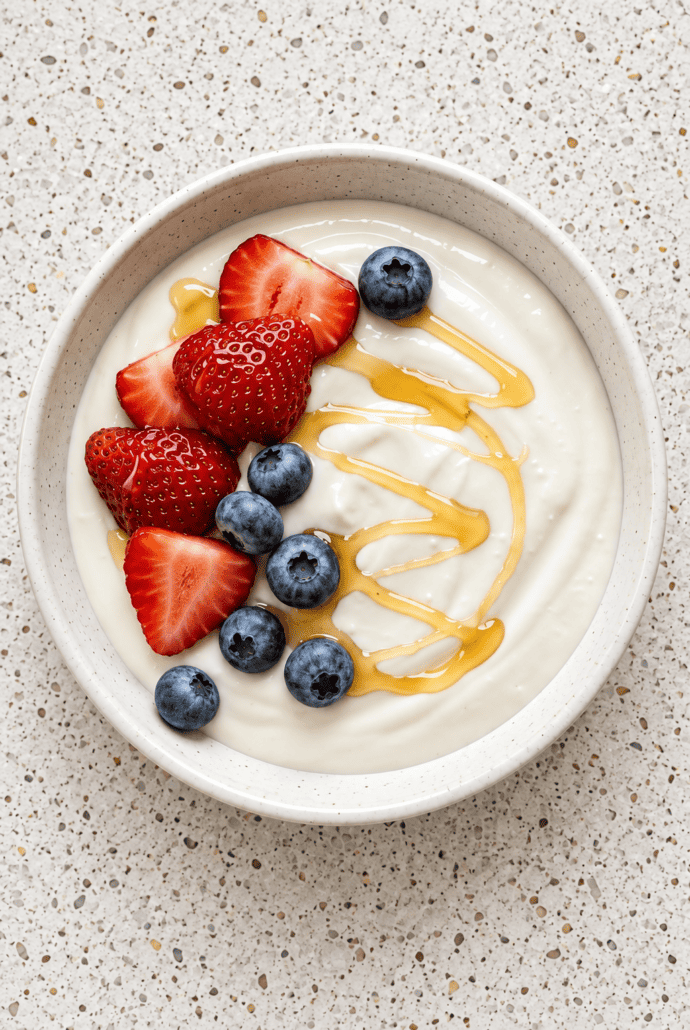
Serving Suggestions
- Serve the Instant Pot yogurt chilled for breakfast or as an easy snack.
- Enjoy it plain to appreciate the creamy texture and tangy flavor.
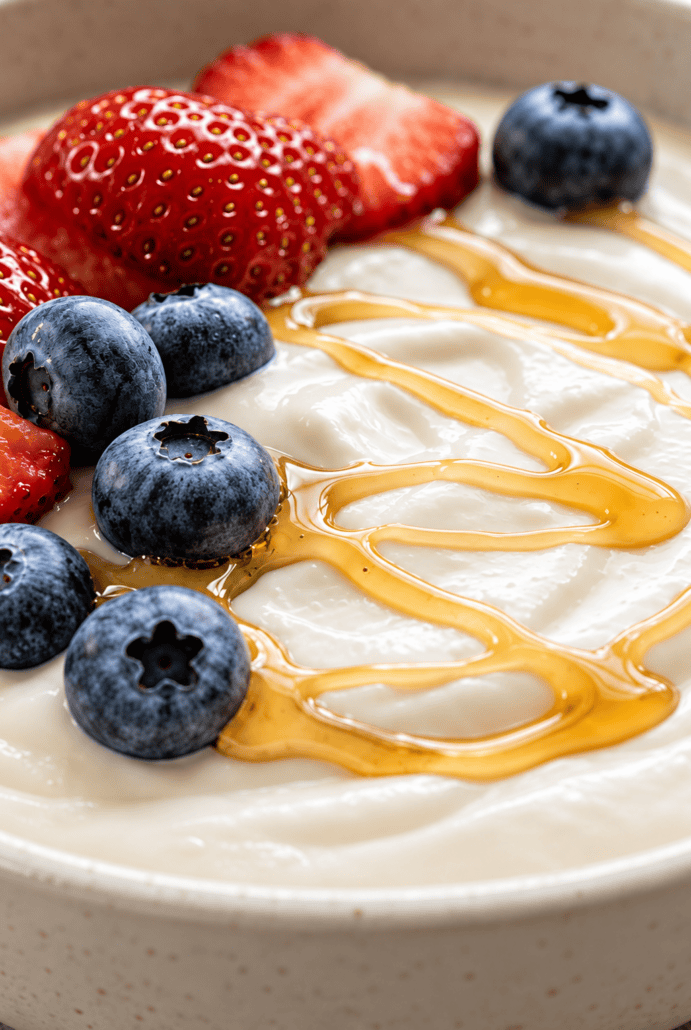
- Add a spoonful of homemade strawberry jam or fresh fruit on top for a fruity variation.
- Sprinkle organic granola over the yogurt for extra texture and crunch.
- Top with fresh blueberries for a simple and colorful serving idea.
- If you made the yogurt with vanilla extract or sweetened condensed milk, serve it on its own as a lightly sweet and creamy treat.
Tips For Success
- Making Instant Pot Yogurt is simple, but a few small details can make a big difference in the final texture and flavor. Start by making sure your Instant Pot insert, lid, and sealing ring are very clean. Since you are growing live cultures in the milk, cleanliness is especially important. Wash everything well with hot soapy water, rinse thoroughly, and dry with a clean kitchen towel before you begin.
- Pay close attention to the milk temperature. After using the Yogurt Boil setting, check the milk with a thermometer to make sure it reaches about 180°F. Then let it cool to 110°F before adding the plain yogurt starter. If the milk is still too hot, it can interfere with the live cultures in the yogurt. You can cool the milk naturally at room temperature or speed up the process by placing the bottom of the Instant Pot insert in ice water.
- If a skin forms on top of the milk while it cools, gently remove and discard it before adding the starter. When mixing the plain yogurt with the warm milk, stir gently. The same goes for combining that mixture with the rest of the milk in the Instant Pot. Avoid aggressive whisking or stirring once the yogurt begins incubating.
- During the 8-hour incubation period, try not to disturb the yogurt. It will start thickening after about 3 hours, but stirring can lead to a looser or clumpy texture. If you want to check it later in the process, use a clean spoon and be very gentle. Around 8 hours gives the yogurt a traditional thickness and tangy flavor. Incubating longer, up to 10 hours, creates a thicker and tangier result.
- Chilling is also an important part of the process. Refrigerate the finished yogurt for at least 3 to 4 hours before serving. An overnight chill is even better if you want a thicker texture. The yogurt will continue to firm up as it cools.
- For future batches, remember to save a small amount of the finished yogurt. As long as it contains live cultures, you can use it as the starter for your next batch.
Variations And Substitutions
- One of the best things about this Instant Pot Yogurt recipe is that you can adjust the flavor and texture to suit your preferences. The base recipe uses milk and plain yogurt with live cultures, but there are several ways to change it using the options mentioned in the recipe.
- For the creamiest result, whole milk is the preferred choice. It gives the yogurt a naturally rich texture without requiring any extra ingredients. You can also use lower-fat milk, including skim or nonfat milk, but the texture may be thinner. If you are using a lower-fat milk and want a creamier result, adding heavy cream can help make the yogurt richer and thicker.
- Heavy cream is also a great optional addition even if you are already using whole milk. It gives the finished yogurt a more indulgent texture and makes it especially smooth and creamy. If you like thick yogurt, this is an easy variation to try.
- For a sweeter yogurt, add sweetened condensed milk. This adds both sweetness and richness without creating a grainy texture. You can use a smaller or larger amount within the recipe’s suggested range depending on how sweet you want the yogurt to be.
- Vanilla extract is another simple way to change the flavor. Adding it to the milk mixture gives you a homemade vanilla yogurt that works well for breakfast or snacks. You can also combine vanilla extract with sweetened condensed milk for a sweeter vanilla version.
- If you prefer non-dairy yogurt, the source notes that some non-dairy milks can also be used with the traditional boil method. Soy and coconut milk were mentioned as a combination that can work, although the finished yogurt may be thinner than yogurt made with whole dairy milk. To make a fully non-dairy version, you would also need a non-dairy yogurt starter containing live cultures or a vegan starter culture.
- You can also vary the tanginess by changing the incubation time. An 8-hour incubation gives the yogurt a traditional tangy flavor and good thickness. Leaving it in the Instant Pot for up to 10 hours will make it thicker and more tangy. For a milder flavor, check it earlier in the incubation period.
- For serving, you can keep the yogurt plain or add jam or fruit to individual portions after the yogurt has finished incubating and chilling. This gives you an easy way to create different flavors from the same batch.
Storage and Reheating
- Store your Instant Pot Yogurt in individual containers or transfer the entire batch to an airtight container. Keep it refrigerated until you are ready to serve it. The yogurt will keep in the refrigerator for about 2 weeks.
- For the best texture, chill the yogurt for at least 3 to 4 hours after incubation before eating it. An overnight chill is even better because the yogurt continues to thicken as it cools.
- This yogurt is meant to be served cold, so reheating is not needed. Simply scoop out the amount you want and enjoy it straight from the refrigerator.
- Be sure to save a small portion of the yogurt if you plan to make another batch. You can use that reserved yogurt as the live-culture starter for your next batch.
Frequently Asked Questions
What kind of milk is best for Instant Pot Yogurt?
Whole milk works best for rich, creamy yogurt. Other types of milk can also be used.
What is the difference between cold-start yogurt and the boil method?
Cold-start yogurt skips heating the milk first. This recipe uses the boil method, which heats and cools the milk before adding the starter.
Want to save this recipe?
Why does the milk need to reach about 180°F?
Heating the milk to about 180°F is part of the traditional boil method. Use a thermometer to check the temperature.
Why does the milk have to cool to 110°F?
The milk should cool to 110°F before adding the yogurt starter. This is the temperature used in the recipe for mixing in the live cultures.
How long should Instant Pot Yogurt incubate?
Incubate the yogurt for 8 hours. For thicker and tangier yogurt, you can continue for up to 10 hours.
How do I know when the yogurt is done?
After 8 hours, the yogurt should be thick and tangy. Check it gently with a clean spoon if needed.
Can I make the yogurt sweeter or creamier?
Yes. Add sweetened condensed milk for sweetness or heavy cream for extra richness.
Can I make vanilla Instant Pot Yogurt?
Yes. Add vanilla extract when mixing in the yogurt starter.
Can I use homemade yogurt as the starter for another batch?
Yes. Save a small amount of finished yogurt to use as the starter for your next batch.
How should I store Instant Pot Yogurt?
Keep the yogurt in an airtight container in the refrigerator. It will stay fresh for about 2 weeks.
Why should I avoid stirring the yogurt while it incubates?
Stirring can make the yogurt loose or clumpy. Leave it undisturbed while it incubates.
Can I make non-dairy Instant Pot Yogurt?
Yes, some non-dairy milks can be used. You will also need a non-dairy yogurt or vegan starter containing live cultures.
Other Easy Yogurt Recipes
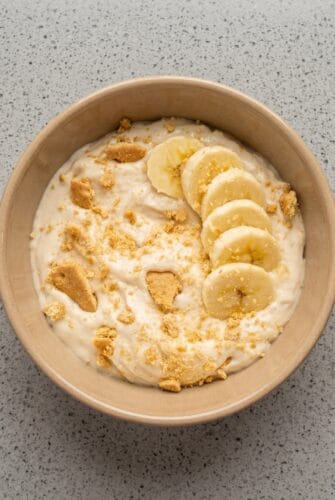
- Banana Yogurt Pudding
- Greek Yogurt Dip
- Apple Raisin Greek Yogurt Salad
- Tuna Salad With Greek Yogurt
- High Protein Baked Yogurt
- Turkish Eggs With Yogurt
- Homemade Frozen Yogurt Pops
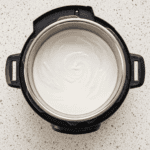
Instant Pot Yogurt
Want to save this recipe?
Ingredients
- 8 cups milk 1/2 gallon, preferably whole milk
- 2 tbsp plain yogurt with live cultures
- 1/4 cup sweetened condensed milk to 1/2 cup, optional
- 1 cup heavy cream optional
- 1 tsp vanilla extract optional
Instructions
- Thoroughly wash the Instant Pot stainless steel insert, lid, and sealing ring with hot soapy water. Rinse well with hot water and dry with a clean kitchen towel.
- Pour 8 cups of milk into the Instant Pot. Close the lid while leaving the pressure valve open. Press the Yogurt button until it displays Boil, then press start. Let the cycle run until complete, about 25 to 35 minutes.
- Check the milk with a thermometer. It should be around 180°F. Remove the insert and let the milk cool at room temperature to 110°F, about 1 hour. For faster cooling, place the bottom of the insert in ice water for about 10 minutes.
- Remove and discard any skin that forms on top of the milk. Transfer 1 cup of the warm milk to a small bowl and stir in the plain yogurt. Add the sweetened condensed milk, heavy cream, and vanilla extract if using.
- Pour the yogurt mixture back into the Instant Pot and whisk gently to combine. If you used the ice-water cooling method, dry the outside of the insert before returning it to the Instant Pot.
- Close the lid, leaving the pressure valve open. Press the Yogurt button and set the Instant Pot for 8 hours, then press start.
- Let the yogurt incubate without stirring. It will begin thickening after about 3 hours. You can gently check the consistency and flavor with a clean spoon beginning around the 6-hour mark.
- After 8 hours, refrigerate the yogurt for at least 3 to 4 hours before serving. For an even thicker texture, chill it overnight.
Notes
- Avoid stirring the yogurt while it incubates, as this can make the finished yogurt looser.
- Save a small amount of the finished yogurt to use as the live-culture starter for your next batch.
Nutrition
More Breakfast Recipes
- Raspberry Chia Breakfast Pudding
- Ham Potato Hash Brown Breakfast Casserole
- Peanut Butter Banana Breakfast Smoothie