Soft and Fluffy Amish White Bread Recipe
This post may contain affiliate links (disclosure).
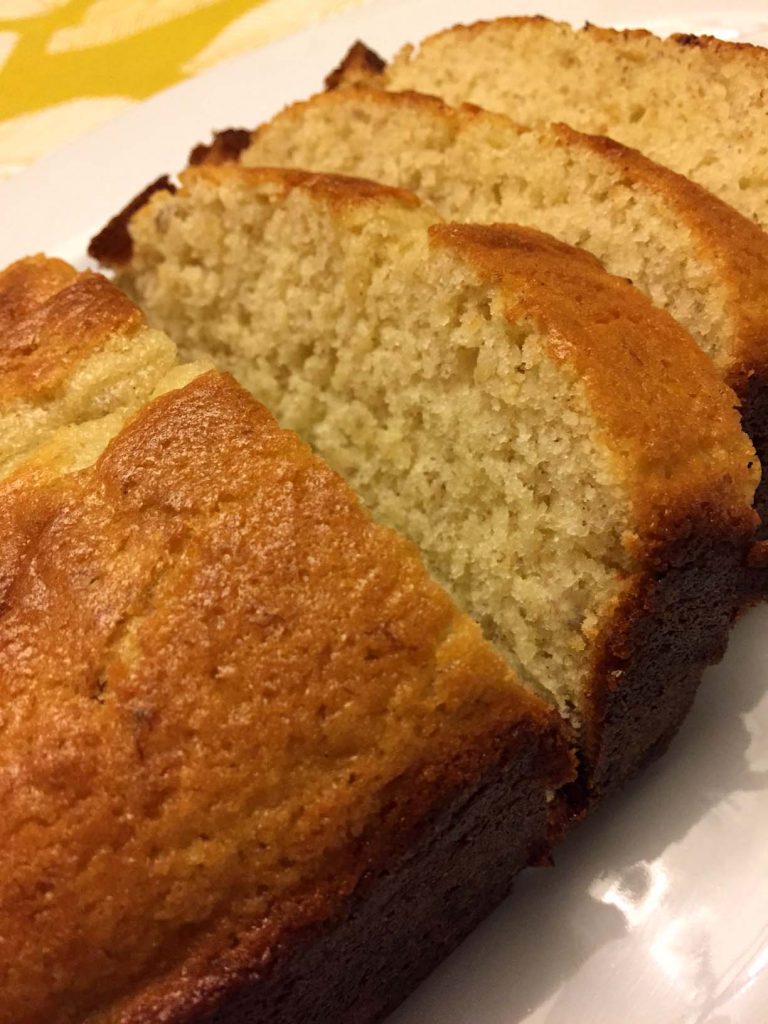
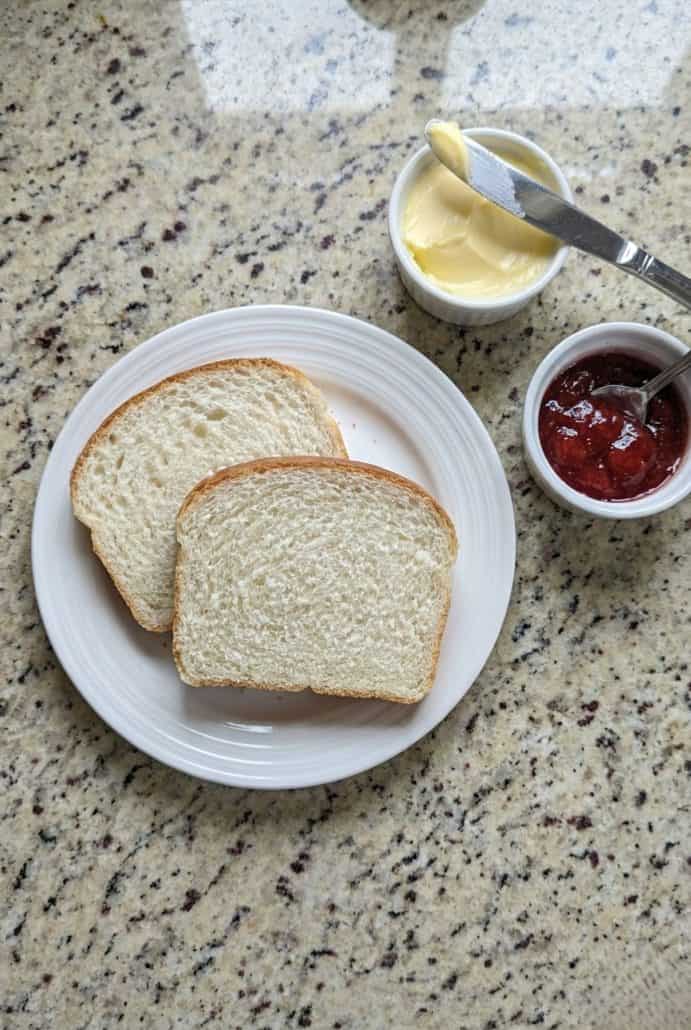
There’s nothing like the smell of freshly baked bread, and this Amish White Bread delivers all the warm, comforting goodness you crave! Soft, slightly sweet, and incredibly fluffy, this easy homemade bread is perfect for beginners and seasoned bakers alike. Whether you’re making toast, sandwiches, or just slathering on butter and enjoying a slice warm from the oven, this classic recipe is a must-try for anyone who loves baking from scratch.
Want to save this recipe?
Why You’ll Love Amish White Bread
-
Soft and fluffy texture that melts in your mouth – This bread has a tender, airy crumb that’s perfect for everything from sandwiches to French toast. It holds its shape well but is still incredibly light and soft. You’ll love how easily it slices and how moist it stays, even days after baking. It’s the kind of bread that makes every bite feel comforting and homemade.
-
Perfect for beginner bakers – No fancy techniques or equipment are needed—just simple steps that anyone can follow. If you’ve been nervous to try making homemade bread, this is the recipe to start with. The dough is forgiving and easy to work with, and you’ll feel like a pro when those loaves rise and bake to golden perfection. It’s truly a confidence-boosting recipe!
-
Budget-friendly with pantry staples – You only need a handful of everyday ingredients like flour, sugar, yeast, and oil. No need for specialty items—just what you likely already have in your kitchen. It’s a fantastic way to save money and skip store-bought loaves. Plus, nothing compares to the taste of homemade bread!
-
Customizable to your taste – You can easily adjust the sweetness, swap in part whole wheat flour, or brush the tops with butter for a richer flavor. Want to make it dairy-free or vegan? No problem—this recipe is already plant-based! It’s flexible enough to suit your needs while still turning out great every time.
-
Freezer-friendly and make-ahead approved – This recipe makes two loaves, which means one for now and one to freeze for later. Just cool completely, wrap tightly, and freeze for up to 3 months. You can thaw a loaf anytime you want fresh bread without the work. It’s a smart way to meal prep while still enjoying that homemade touch.
Ingredients For Amish White Bread
-
Warm water – Helps activate the yeast and starts the dough-forming process. Make sure it’s around 110°F so it’s not too hot or too cold.
-
White sugar – Adds a touch of sweetness and helps feed the yeast during rising.
-
Active dry yeast – Makes the bread rise and gives it that fluffy texture. Make sure your yeast is fresh for the best results!
-
Vegetable oil – Adds moisture and softness to the bread without overpowering the flavor.
-
Salt – Enhances the overall flavor and balances the sweetness.
-
Bread flour – Provides structure and elasticity, helping the loaves hold their shape and rise beautifully.
For the exact measurements of the ingredients, see the printable recipe card at the bottom of this article.
Kitchen Tools You Need To Make Amish White Bread
-
Large mixing bowl – Perfect for combining all your ingredients and letting the dough rise.
-
Measuring cups and spoons – Ensures accurate measurements for consistent results.
-
Wooden spoon or silicone spatula – Helps mix the ingredients together easily.
-
Loaf pans (9×5-inch) – Used to shape and bake your bread loaves.
-
Clean kitchen towel or damp cloth – Ideal for covering the dough while it rises.
-
Oven – Bakes the loaves to golden brown perfection.
-
Knife or bread slicer – Makes slicing your freshly baked bread neat and easy.
-
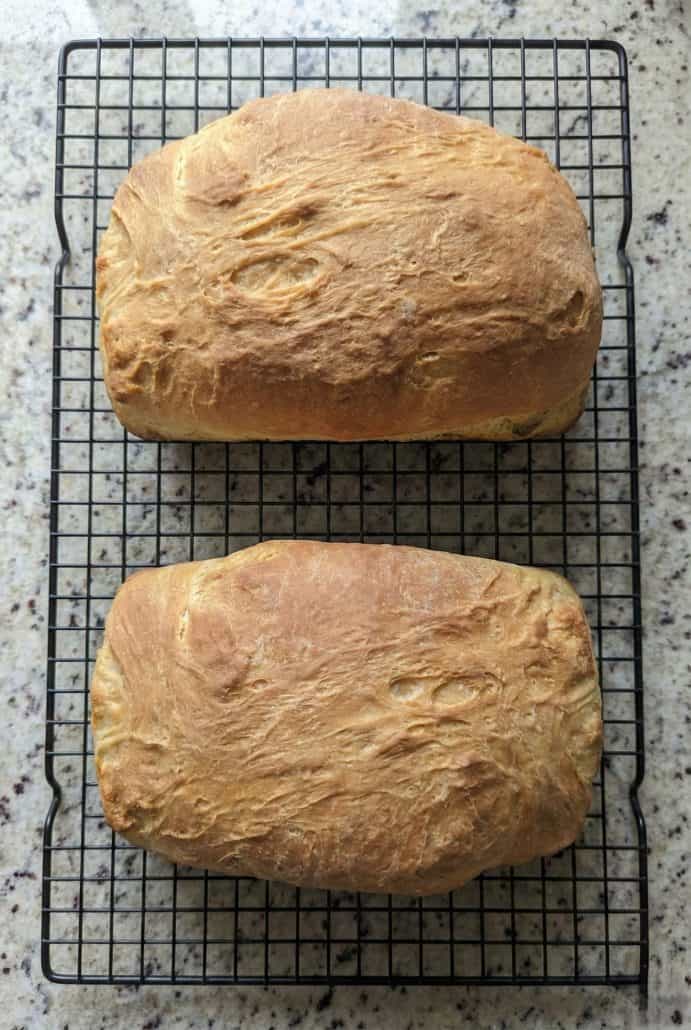
Cooling rack (optional) – Helps cool the bread evenly after baking.
How To Make Amish White Bread
-
Start by stirring the sugar into warm water in a large bowl, then sprinkle the yeast over the top. Let it sit until it turns foamy—this means your yeast is active.
-
Add the vegetable oil and salt, mixing everything together until combined.
-
Gradually stir in the flour, one cup at a time, until the dough starts to come together.
-
Transfer the dough onto a floured surface and knead it until it becomes smooth and elastic.
-
Place the dough into a greased bowl, turning it once to coat, and cover it with a damp cloth. Let it rise in a warm area until it doubles in size.
-
Once risen, punch the dough down and knead it again for just a few minutes. Then divide it in half and shape into two loaves.
-
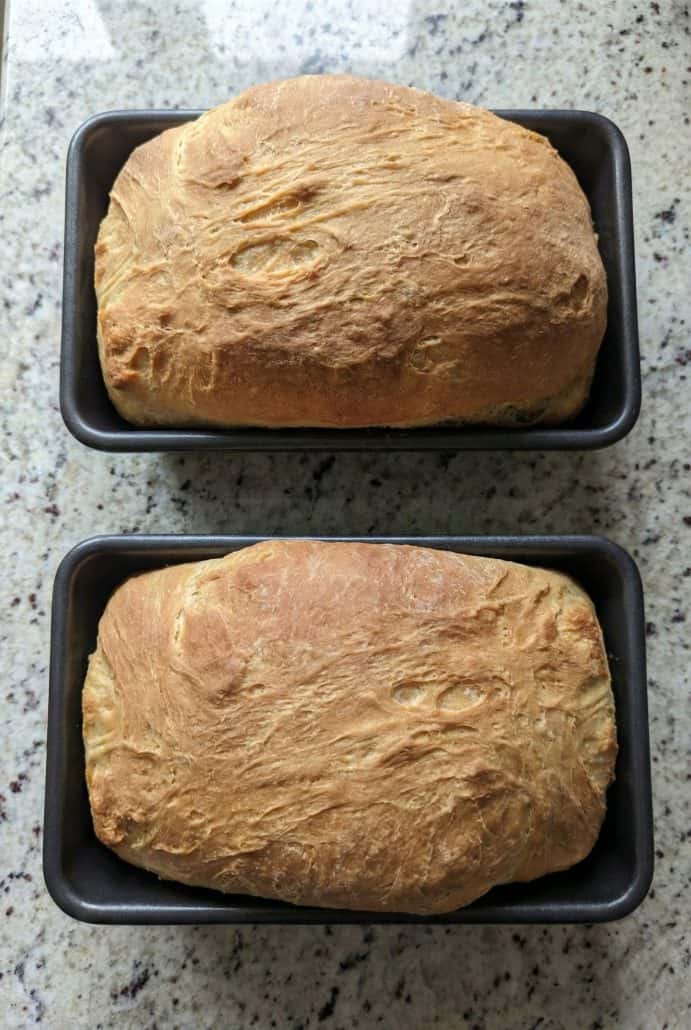
Grease two loaf pans and place the shaped dough into each pan. Let them rise again until the dough is about an inch above the rim.
-
Preheat your oven to 350°F while the bread is rising.
-
Bake for 30 minutes, or until the loaves are golden brown and sound hollow when tapped.
Want to save this recipe?
-
Remove from the pans and let cool slightly before slicing. Enjoy warm or let it cool completely for later!
Serving Suggestions
-
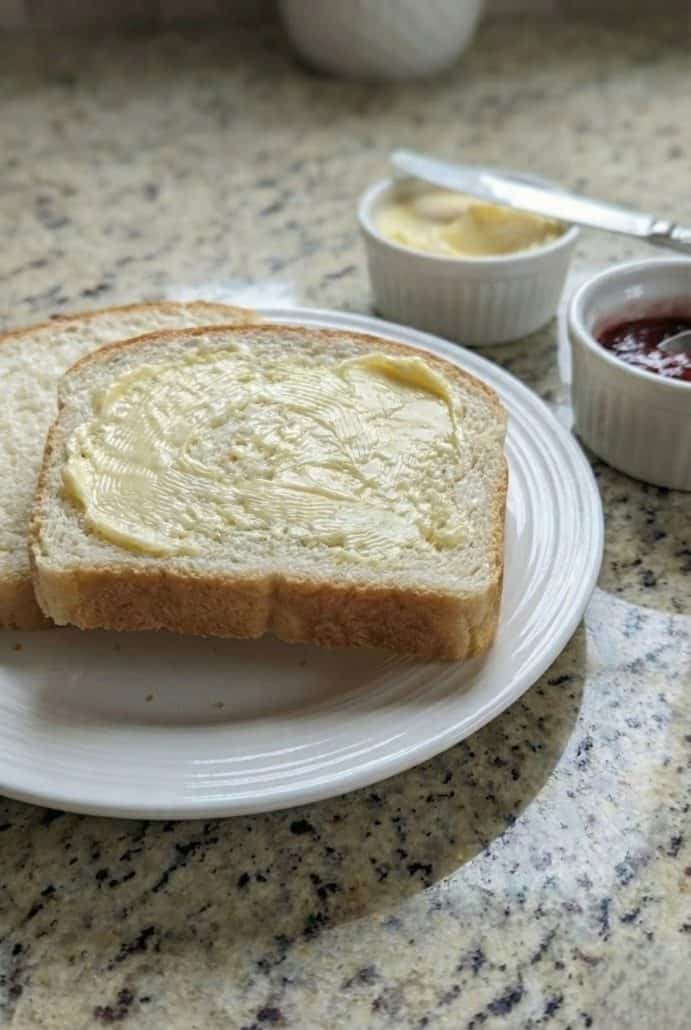
Enjoy a warm slice with butter, homemade kiwi jam, or chocolate hazelnut butter for a cozy breakfast or snack.
-
Use it to build the ultimate sandwich. Turkey cutlets, ham with honey glaze, grilled cheese, or even PB&J taste amazing on this soft bread.
-
Slice and toast for a golden, crispy bite. Perfect for spreading with avocado or serving with cottage cheese scrambled eggs.
-
This bread makes incredible French toast thanks to its soft texture and subtle sweetness.
-
Serve it in a bread basket alongside mushroom soup, avocado chicken salad, or baked tuna pasta for a homemade touch to any meal.
Tips For Success
-
Use warm (not hot) water for the yeast – The ideal temperature is around 110°F—warm to the touch but not too hot. If the water is too cool, the yeast won’t activate. If it’s too hot, it can kill the yeast. A good rise starts with properly activated yeast!
-
Let the dough rise in a warm place – Yeast thrives in warmth, so choose a cozy spot. If your kitchen is chilly, place the dough in a turned-off oven with the light on. Wait until the dough has doubled in size before continuing.
-
Knead the dough until it’s smooth and elastic – Kneading develops the gluten, which gives the bread structure. The dough should feel stretchy and spring back when pressed. Take your time with this step—it makes a big difference in the final texture.
-
Don’t over-proof during the second rise – Once in the loaf pans, let the dough rise until it’s about 1 inch above the rim. Over-proofing can cause the loaves to deflate or form large air pockets. Keep an eye on them so they don’t over-rise.
-
Bake until golden and hollow-sounding – The crust should be a deep golden brown and sound hollow when tapped. If you have a thermometer, check for an internal temp of around 190°F. Let the bread cool slightly before slicing for cleaner cuts.
Variations And Substitutions
-
Make it with whole wheat flour – Want to add more fiber and a nuttier flavor? You can replace up to half of the bread flour with whole wheat flour. Just know that the bread may be slightly denser and may need a bit more rising time. If using all whole wheat flour, consider adding a tablespoon of vital wheat gluten to help with the structure.
-
Use honey instead of sugar – For a more natural sweetener with a subtle floral note, swap the white sugar for honey. Use about ½ cup of honey in place of the ⅔ cup sugar. The bread will be slightly more moist and have a delicious golden color. This version pairs especially well with butter and tea!
-
Try different oils or fats – Vegetable oil keeps the bread soft and neutral in flavor, but you can use melted butter, olive oil, or even coconut oil. Each one adds a different richness or aroma to the bread. Melted butter adds a slightly richer flavor, while olive oil gives it a rustic twist. Just keep the amount the same—¼ cup.
-
Add flavor-ins – For extra fun, mix in some garlic powder, dried herbs, or even shredded cheese into the dough. A handful of chopped fresh rosemary or minced garlic can turn this into an herbed bread perfect for soups. For a sweeter twist, fold in cinnamon and raisins before shaping the loaves. It’s a great way to customize this recipe into something new.
-
Make it dairy-free or vegan – This recipe is naturally dairy-free and vegan when made with vegetable oil and sugar. Just double-check your sugar if you’re strictly vegan (some types are processed with bone char). You don’t need any eggs or milk, which keeps it simple and allergy-friendly. It’s a great base recipe for those with dietary restrictions.
-
Bake as rolls instead of loaves – Want smaller portions? Divide the dough into 12–16 balls and place them on a greased baking sheet or in a 9×13 baking pan. Let them rise and bake for about 20–25 minutes at 350°F. Soft, sweet dinner rolls made from the same amazing dough!
Storage and Reheating
-
Room Temperature – Once the bread has cooled completely, store it in a plastic bag or airtight container at room temperature. It will stay fresh and soft for about 3–4 days. Avoid storing it in the fridge, as that can dry it out faster.
-
Freezer-Friendly – This bread freezes beautifully. Wrap the whole loaf or individual slices tightly in plastic wrap, then place in a freezer-safe bag. It can be frozen for up to 3 months. When you’re ready to enjoy, let it thaw at room temperature or microwave individual slices for 15–20 seconds.
-
To Reheat – If you want that fresh-from-the-oven warmth, pop a slice in the toaster or microwave for a few seconds. For thawed whole loaves, wrap in foil and warm in a 300°F oven for about 10–15 minutes. The crust will get lightly crisp while the inside stays soft.
Frequently Asked Questions
Can I use all-purpose flour instead of bread flour?
Yes, you can substitute all-purpose flour if that’s what you have on hand. Bread flour gives a slightly chewier texture and helps the bread rise higher, but all-purpose flour still works well. Your loaves may be a bit softer and slightly less structured. Just keep an eye on the dough consistency and adjust with a bit more flour if needed.
How do I know if my yeast is still good?
The best way to test your yeast is by proofing it. Combine it with warm water and sugar—within 5 to 10 minutes, it should start to foam and look creamy. If nothing happens, your yeast is probably expired or inactive. Always store yeast in a cool, dry place or in the fridge for longer shelf life.
Can I make this bread in a stand mixer?
Yes! A stand mixer with a dough hook can make the kneading process quicker and easier. Just mix the ingredients and knead on medium speed for about 6–8 minutes, until the dough is smooth and elastic. Be careful not to overwork the dough—it should still feel soft and springy.
How do I keep the crust soft?
To keep the crust soft, wrap the bread in a clean kitchen towel while it cools. You can also brush the tops of the loaves with melted butter right after baking for an extra soft, flavorful crust. Storing the bread in a plastic bag once fully cooled helps lock in moisture. If you like a crustier finish, let it cool uncovered instead.
Can I halve the recipe to make just one loaf?
Absolutely! Simply cut all the ingredients in half to make a single 9×5 loaf. The process stays the same—just keep an eye on the rise time, as it may go a bit quicker with less dough. This is a great option if you’re short on time or freezer space.
Why did my bread not rise properly?
There are a few reasons your bread might not rise: the yeast could be expired, the water might have been too hot or too cold, or the environment was too cool for proper rising. Always proof your yeast to make sure it’s active, and give your dough a warm, draft-free spot to rise. Also, be patient—cold kitchens may need extra time.
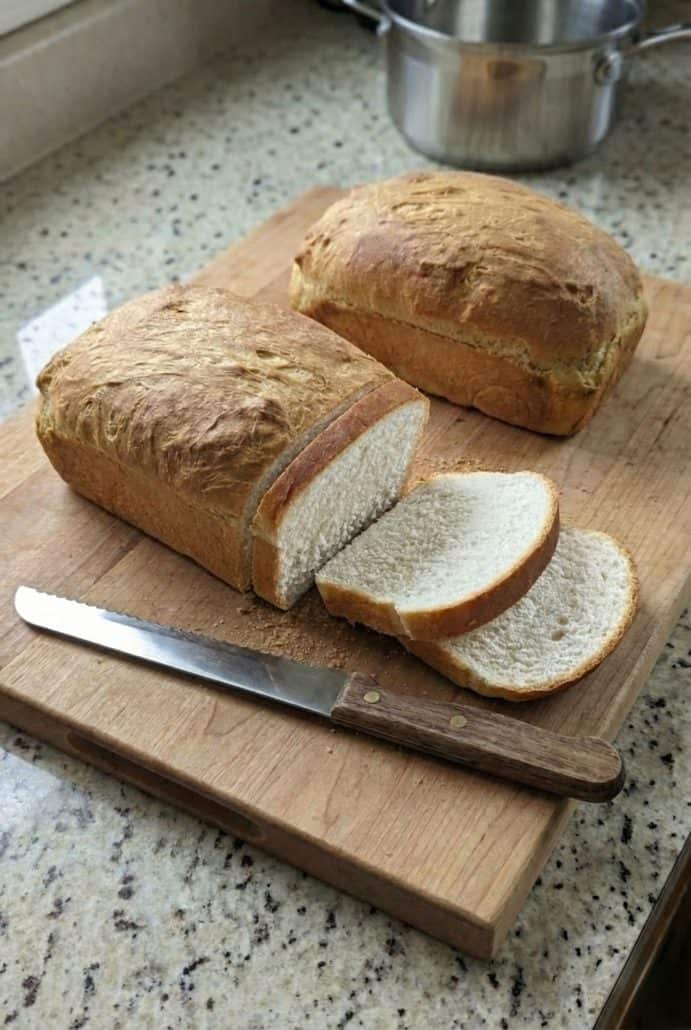
How should I slice the bread for the best results?
Let the bread cool completely before slicing—this helps prevent it from squishing down or tearing. Use a serrated bread knife for the cleanest cuts. If you love even slices, a bread slicing guide can help. For soft loaves like this, avoid pressing too hard while cutting.
Other Easy Bread Recipes
Homemade Sweet Potato Loaf – This sweet potato loaf is soft, moist, and full of cozy fall flavors with every bite.
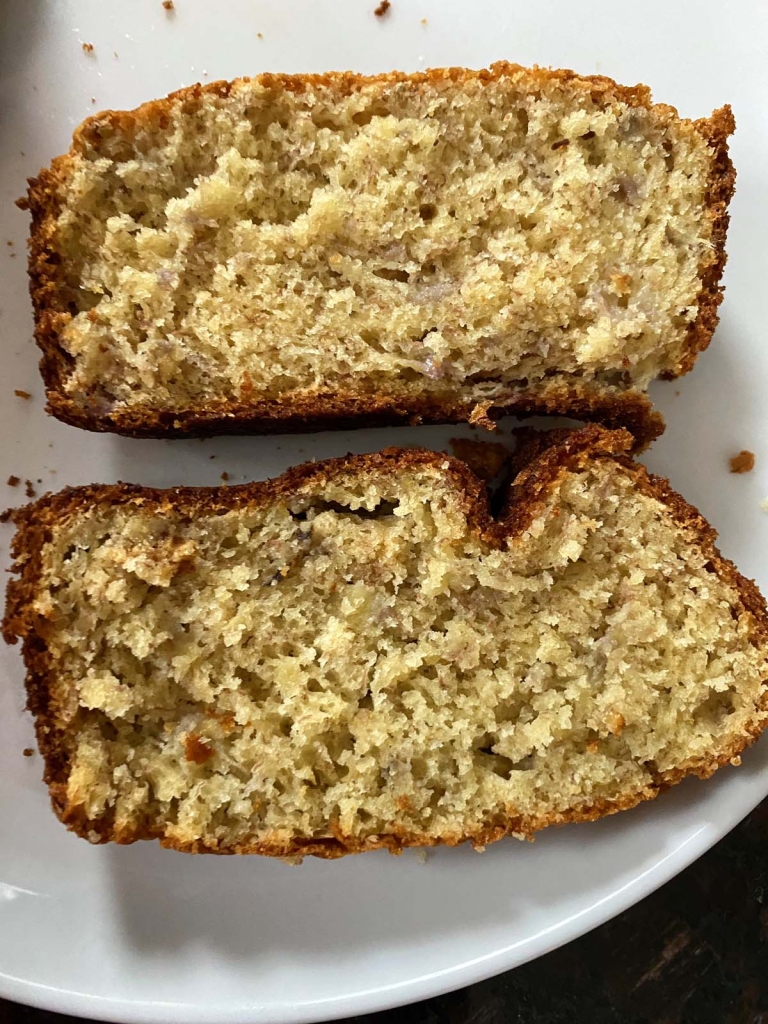
Banana Bread with Almond Flour – This gluten-free banana bread is made with almond flour for a naturally sweet, healthy twist.
Banana Bread – This classic banana bread is perfectly moist, flavorful, and easy to make with ripe bananas.
Zucchini Loaf – This tender zucchini loaf is a delicious way to use fresh zucchini for a lightly sweet, veggie-packed treat.
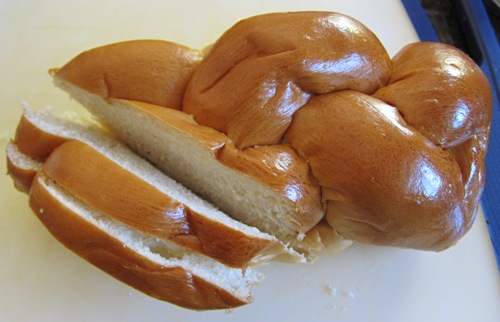
Fluffy Challah Bread – This homemade challah is soft, rich, and beautifully braided for a show-stopping loaf.
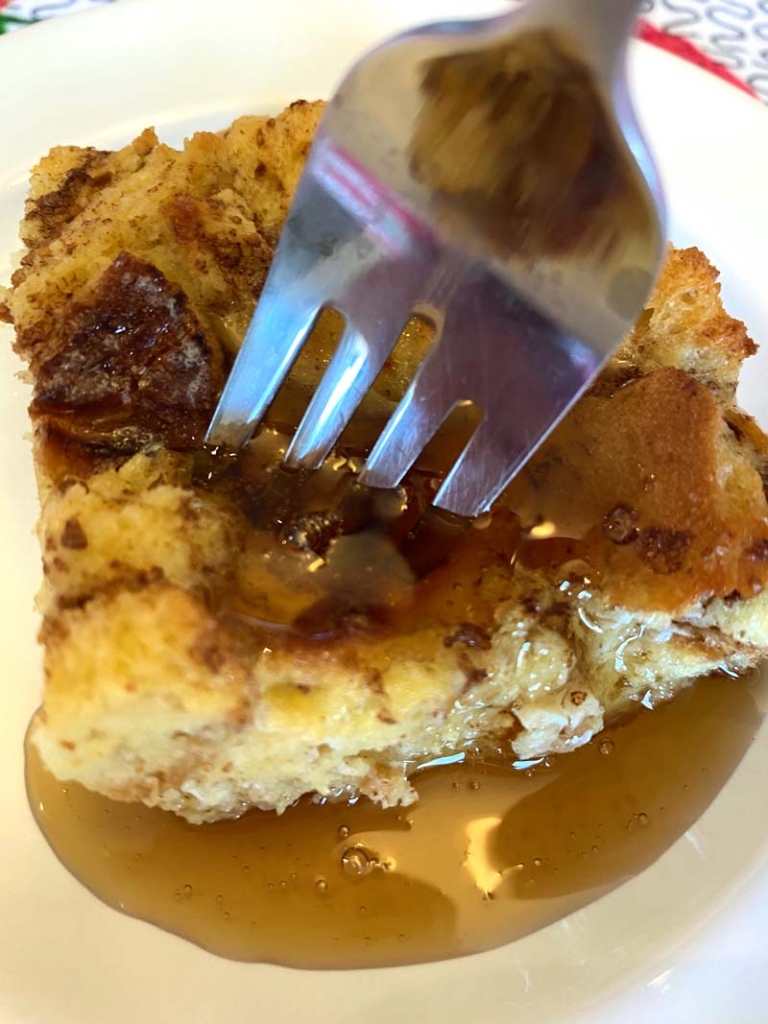
Breakfast Casserole with Bread – This hearty breakfast bake uses leftover bread, eggs, and cheese for an easy morning meal.
Bacon Cheese Bread – This savory bread is loaded with crispy bacon and melty cheese for the ultimate low-carb comfort food.
More Amish Recipes

Amish White Bread
Want to save this recipe?
Ingredients
- 2 cups warm water about 110°F
- ⅔ cup white sugar
- 1 ½ tbsp active dry yeast
- ¼ cup vegetable oil
- 1 ½ tsp salt
- 6 cups bread flour
Recommended Kitchen Tools (click the links below to see the items used to make this recipe)
- Large mixing bowl
- Wooden spoon or silicone spatula
- Loaf pans 9x5 inch
- Clean kitchen towel or damp cloth
- Knife or bread slicer
- Cooling Rack optional
Instructions
- In a large mixing bowl, stir the sugar into warm water. Sprinkle the yeast over the top and let it sit for 5–10 minutes, until it looks creamy and foamy.
- Add in the vegetable oil and salt. Stir until combined.
- Mix in the flour, one cup at a time, until a dough forms.
- Transfer the dough to a lightly floured surface and knead it until smooth and elastic, about 8–10 minutes.
- Place the dough in a well-oiled bowl, turning it once to coat. Cover with a damp cloth and let it rise in a warm spot until doubled in size, about 1 hour.
- Punch down the dough, then knead it again for a couple of minutes. Divide it into two equal pieces.
- Shape each piece into a loaf and place into two greased 9x5-inch loaf pans.
- Let the dough rise again until it rises about 1 inch above the pan, about 30 minutes.
- While the dough rises, preheat the oven to 350°F.
- Bake the loaves for 30 minutes, or until the tops are golden brown and sound hollow when tapped.
- Let cool slightly before slicing. Enjoy!
Notes
- If your kitchen is cool, place the dough in a turned-off oven with the light on to help it rise faster.
- This bread freezes beautifully! Just wrap the cooled loaves tightly and store in the freezer for up to 3 months.