3-Ingredient Vanilla Ice Cream Recipe (No Churn, No Machine!)

This post may contain affiliate links (disclosure). 

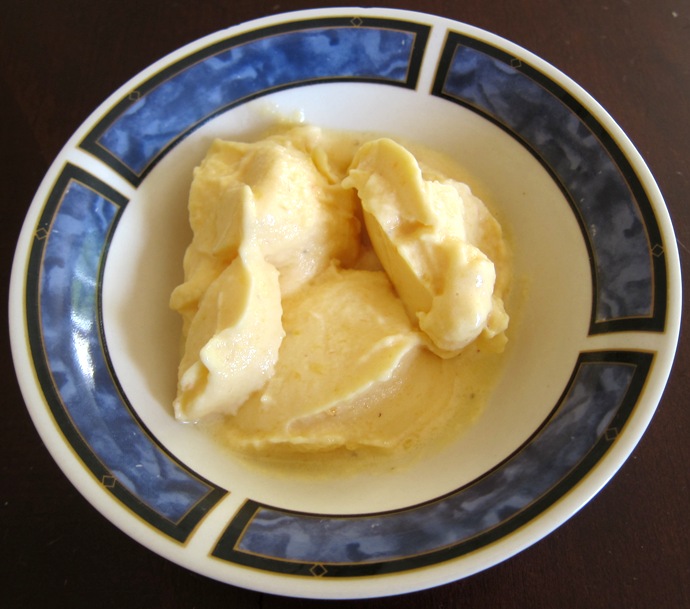
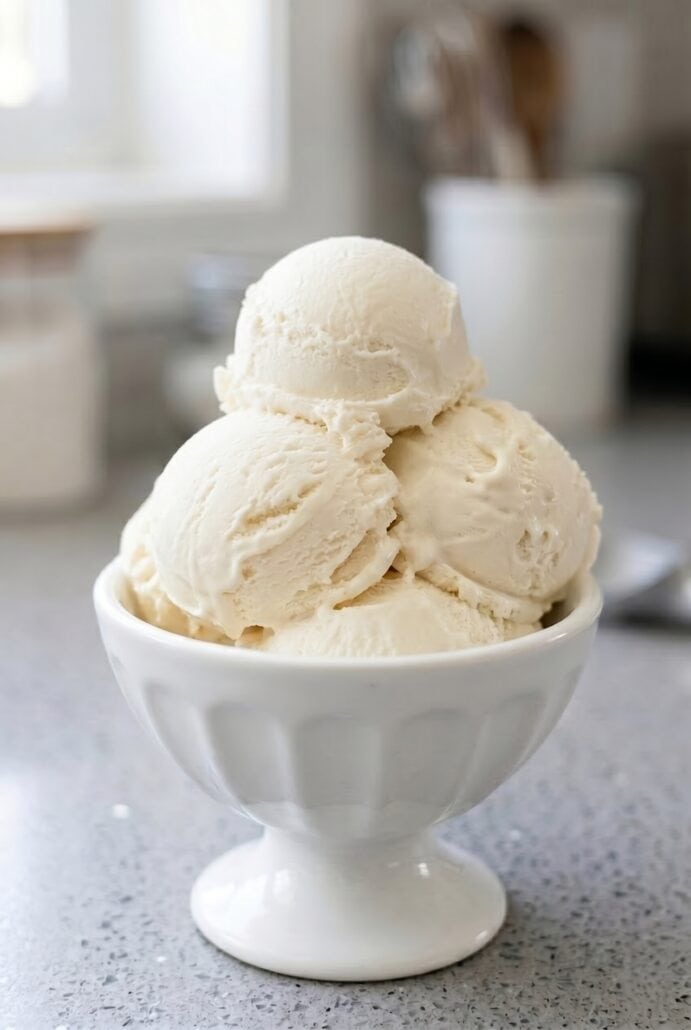
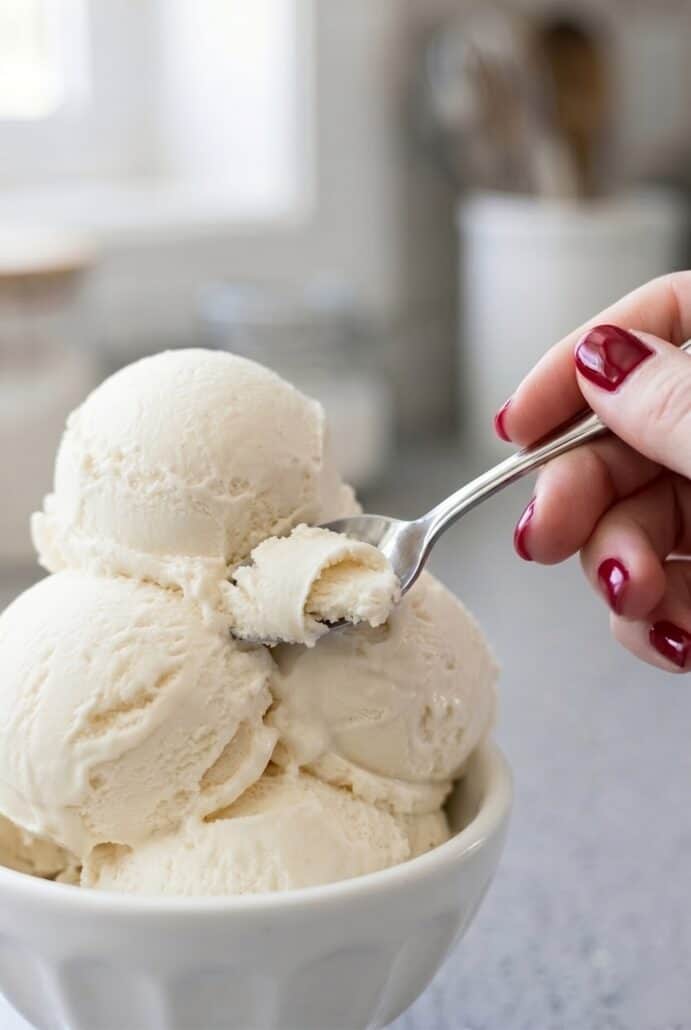
This 3-ingredient vanilla ice cream is the ultimate easy homemade dessert that anyone can make. With no ice cream maker required, you can whip up a rich, creamy vanilla ice cream using just a few simple ingredients. It’s the perfect no-churn treat for hot summer days or whenever you’re craving something sweet and refreshing.

Creamy homemade vanilla ice cream scoops in a bowl, showcasing the easy 3-ingredient no-churn recipe.

Want to save this recipe?

Just enter your email and I’ll send it right to you, plus great new recipes weekly!

Why You’ll Love Vanilla Ice Cream

  • This recipe is incredibly easy to make with just three simple ingredients you probably already have. There is no need for any special equipment like an ice cream maker. You simply mix, freeze, and enjoy. It’s perfect for beginners or anyone short on time.
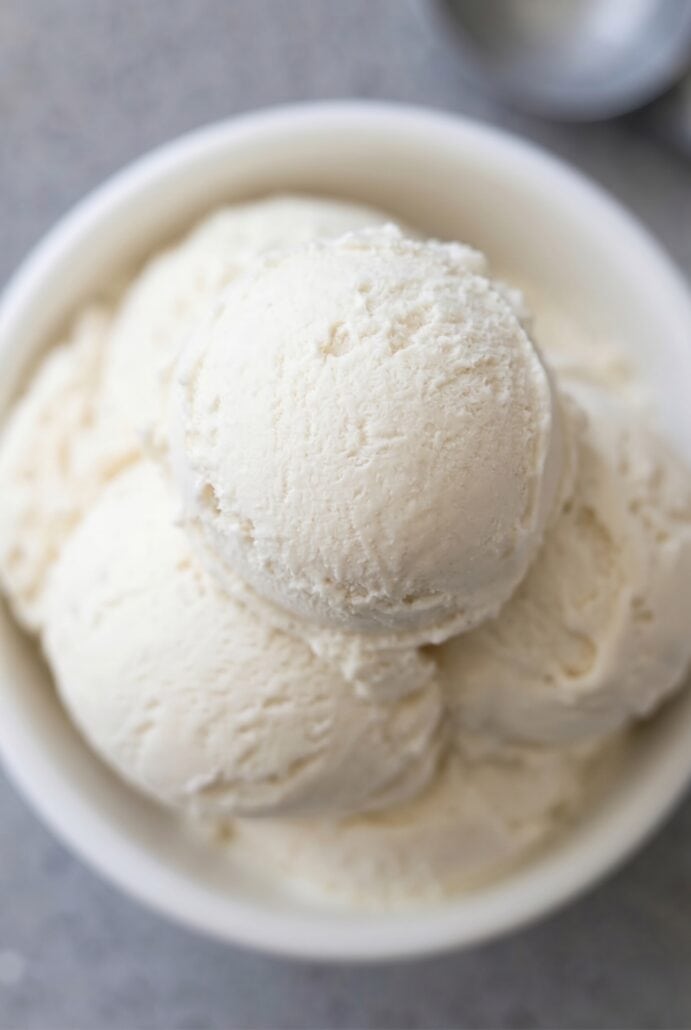
  • The texture is rich, creamy, and smooth, just like a classic frozen dessert. Even without eggs or churning, it still turns out delicious every time. The whipped cream creates a light and airy base. The result is a satisfying homemade treat.
  • It’s a no-churn recipe, which means less effort and cleanup in the kitchen. You don’t need to deal with ice, salt, or complicated steps. Just whip, mix, and freeze. It’s truly as simple as it gets.
  • This vanilla ice cream is very versatile and customizable. You can enjoy it plain or add your favorite mix-ins like chocolate chips or fruit. It pairs perfectly with pies, cakes, or sundaes. You can easily make it your own.
  • It’s a great make-ahead dessert for gatherings or family treats. Just prepare it in advance and keep it in the freezer until ready to serve. It stays fresh for weeks when stored properly. Having homemade ice cream ready anytime is always a win.

Finished no-churn vanilla ice cream in a container with scoop, ready to serve.

Ingredients For Vanilla Ice Cream

  • Heavy whipping cream – This is the base of the ice cream and gives it that rich, creamy texture. When whipped, it creates volume and helps make the ice cream light and airy. It’s essential for achieving the right consistency.
  • Vanilla extract – This adds the classic sweet vanilla flavor that makes this ice cream so delicious. A little goes a long way in enhancing the overall taste. You can also use vanilla bean paste if you prefer a stronger flavor.
  • Sweetened condensed milk – This provides the sweetness and helps create a smooth texture without the need for churning. It blends perfectly with the whipped cream. It also keeps the ice cream soft and scoopable.

For the exact measurements of the ingredients, see the printable recipe card at the bottom of this article.

Scooping creamy homemade vanilla ice cream from a container.

How To Make Vanilla Ice Cream

  • Start by pouring the heavy whipping cream into a large bowl. Beat it with a mixer until it becomes thick and holds stiff peaks. This creates the fluffy base for your ice cream.
  • Add the sweetened condensed milk and vanilla extract to the whipped cream. Gently mix everything together until smooth and fully combined. Be careful not to overmix.
  • Transfer the mixture into a freezer-safe container. Spread it out evenly so it freezes uniformly. Smooth the top with a spatula.
  • Cover the surface with plastic wrap if using, then seal with a lid. This helps keep the texture creamy. Place the container in the freezer.
  • Let it freeze for about 6 hours or until firm. If you prefer a softer, soft-serve texture, check it around the 4-hour mark.
  • Once frozen to your liking, scoop into bowls or cones. Add your favorite toppings and enjoy your homemade treat.

Close-up of a scoop of creamy homemade vanilla ice cream, highlighting the smooth texture.

Serving Suggestions

  • Serve this vanilla ice cream in a bowl or cone with colorful sprinkles for a fun and classic treat. Try pairing it with a simple homemade waffle cone recipe for extra crunch.
  • Drizzle chocolate syrup or caramel sauce over the ice cream for a rich and indulgent dessert. You can also make a quick chocolate sauce recipe at home for even better flavor.
  • Build a delicious ice cream sundae with toppings like nuts, cherries, and crushed cookies. Add a layer of homemade blueberry sauce to elevate your sundae.
  • Serve alongside chocolate caramel brownies, coconut cream pie, or apple cake for a perfect hot and cold combination.
  • Blend the ice cream with chocolate to create a thick and creamy chocolate milk. Try adding chocolate syrup or strawberries and follow a simple chocolate milk recipe for variations.

Person scooping creamy homemade vanilla ice cream, showing the rich texture.

Want to save this recipe?

Just enter your email and I’ll send it right to you, plus great new recipes weekly!

Tips For Success

  • Making this 3-ingredient vanilla ice cream is very simple, but a few helpful tips will ensure it turns out perfectly creamy and delicious every time. Start by making sure your heavy whipping cream is very cold before whipping. Cold cream whips faster and creates better volume, which is key to achieving that light and airy texture. If the cream is too warm, it may not form stiff peaks properly.
  • When whipping the cream, pay close attention to the texture. You want stiff peaks, which means the cream holds its shape when you lift the beaters. Be careful not to overwhip, as this can turn the cream grainy and affect the final texture of your ice cream. Stop mixing as soon as you reach the right consistency.
  • When adding the sweetened condensed milk and vanilla extract, mix gently until just combined. Overmixing at this stage can deflate the whipped cream, resulting in a denser ice cream. Use a spatula if needed to fold everything together smoothly while keeping the mixture light.
  • For best results, use a freezer-safe container that seals well. Pressing plastic wrap directly onto the surface of the ice cream is a simple trick that helps prevent ice crystals from forming. This keeps your ice cream smooth and scoopable instead of icy.
  • Freezing time is also important. While the ice cream may reach a soft-serve consistency after about 4 hours, letting it freeze longer will give you a firmer, more traditional texture. If freezing overnight, let it sit at room temperature for a few minutes before scooping for easier serving.
  • Finally, store your ice cream properly. Keep it in an airtight container and avoid frequent thawing and refreezing, which can cause ice crystals to form. For the best taste and texture, enjoy it within a couple of weeks.

Variations And Substitutions

  • This 3-ingredient vanilla ice cream is a fantastic base recipe that you can easily customize to suit your taste or dietary needs. One of the easiest variations is to change the flavor. You can swap the vanilla extract for other extracts like almond, coconut, or mint to create a completely different ice cream experience. Each variation gives a unique twist while keeping the same simple method.
  • If you love mix-ins, this recipe is perfect for that. After combining the whipped cream and sweetened condensed milk, you can fold in chocolate chips, crushed cookies, nuts, or candy pieces. This adds texture and flavor without changing the base recipe. It’s a great way to get creative and make the ice cream your own.
  • For a fruity version, you can add fruit purees or small pieces of fresh fruit. Strawberry, peach, or blueberry work especially well. Just make sure not to add too much liquid, as it can affect how the ice cream freezes. Folding in the fruit gently will help maintain the light texture.
  • To make a chocolate version, you can mix in cocoa powder or use a chocolate-flavored sweetened condensed milk if available. This transforms the recipe into a rich chocolate ice cream while keeping it just as easy to prepare. You can also add chocolate chips for extra indulgence.
  • If you need a slightly lighter option, you could experiment with lower-fat versions of sweetened condensed milk. Keep in mind that this may slightly change the texture and richness. The original ingredients provide the creamiest results, but small adjustments can still work.
  • For those avoiding certain ingredients, this recipe is naturally egg-free, which is great for people who don’t want to use custard-based methods. You can also ensure all ingredients are gluten-free if needed. Always check labels to match your dietary preferences.
  • This recipe is very forgiving and flexible, making it ideal for experimenting. Whether you want to change the flavor, add mix-ins, or adjust for dietary needs, there are plenty of ways to make it your own while keeping it simple and delicious.

Storage and Reheating

  • Store your 3-ingredient vanilla ice cream in a freezer-safe container with a tight-fitting lid. For best results, place plastic wrap directly on the surface of the ice cream before sealing the container to help prevent ice crystals. Keep it in the coldest part of your freezer to maintain a smooth and creamy texture. It will stay fresh for a few weeks, but it’s best enjoyed sooner for optimal flavor and consistency.
  • When you’re ready to serve, let the ice cream sit at room temperature for a few minutes to soften slightly. This makes scooping much easier and helps bring out the creamy texture. Avoid microwaving to soften, as it can melt unevenly and affect the texture. Since this is a no-churn recipe, reheating is not needed, just soften, scoop, and enjoy!

Frequently Asked Questions

How long does homemade vanilla ice cream last in the freezer?

Homemade vanilla ice cream can last for a few weeks when stored properly in an airtight container. For best results, keep it tightly sealed and place plastic wrap directly on the surface to reduce ice crystal formation. While it will still be safe to eat after that, the texture may start to become icy over time. For the creamiest and freshest flavor, it’s best to enjoy it within the first couple of weeks.

Can I make this ice cream without a mixer?

Yes, but using a mixer makes the process much easier and faster. The goal is to whip the heavy cream until stiff peaks form, which can be done by hand with a whisk, but it will take more time and effort. If you choose to do it manually, make sure the cream is very cold to help it whip properly. A mixer is recommended for the best and most consistent results.

Why is my ice cream not creamy?

The texture of your ice cream depends on how well the cream is whipped and how gently the ingredients are combined. If the cream is under-whipped, the mixture may be too loose and freeze into a denser texture. If it’s overmixed after adding the condensed milk, it can deflate the air that makes it light and creamy. Also, skipping the plastic wrap step may lead to ice crystals forming on top.

Can I add mix-ins to this recipe?

Absolutely, this recipe is perfect for adding your favorite mix-ins. Ingredients like chocolate chips, crushed cookies, nuts, or candy pieces work very well. You should add them after mixing the base, right before transferring it to the freezer container. This way, they stay evenly distributed throughout the ice cream.

Can I use fresh fruit in this ice cream?

Yes, fresh fruit can be added to create delicious variations. You can fold in small pieces of fruit or fruit puree after the base is mixed. Popular options include strawberries, peaches, or blueberries. Just be careful not to add too much liquid, as it can affect how well the ice cream freezes.

Do I need an ice cream maker for this recipe?

No, this is a no-churn ice cream recipe, which means you do not need an ice cream maker at all. The whipped cream creates the light texture, while the sweetened condensed milk provides sweetness and structure. This method makes it incredibly easy to prepare at home. It’s perfect for anyone who wants homemade ice cream without special equipment.

How do I make soft-serve style ice cream?

To achieve a soft-serve consistency, simply reduce the freezing time. After about 4 hours in the freezer, the ice cream will be soft and scoopable. This is perfect if you prefer a lighter, creamier texture. For a firmer, traditional ice cream consistency, freeze it longer or overnight.

Other Easy Vanilla Recipes

Click Here To Pin This Recipe

Vanilla Ice Cream

This easy 3-ingredient vanilla ice cream is rich, creamy, and incredibly simple to make at home without an ice cream maker. Made with heavy cream, sweetened condensed milk, and vanilla, it creates a smooth and delicious frozen treat. Perfect for hot days or anytime you want a quick homemade dessert!
Prep Time10 minutes
Freezing time6 hours
Total Time6 hours 10 minutes
Course: Dessert
Cuisine: American
Keyword: 3-ingredient recipe, easy dessert, homemade ice cream, no churn ice cream, vanilla ice cream
Cooking Method: Freezer, No-Cook
Diet: Egg-free, Gluten-Free
Servings: 8
Calories: 363kcal

Want to save this recipe?

Just enter your email and I’ll send it right to you, plus great new recipes weekly!

Ingredients

  • 2 cups heavy whipping cream
  • 1 tsp vanilla extract
  • 14 oz sweetened condensed milk

Instructions

  • Add the heavy whipping cream to a large bowl. Beat it with a mixer until stiff peaks form.
  • Pour in the sweetened condensed milk and add the vanilla extract. Mix until just combined.
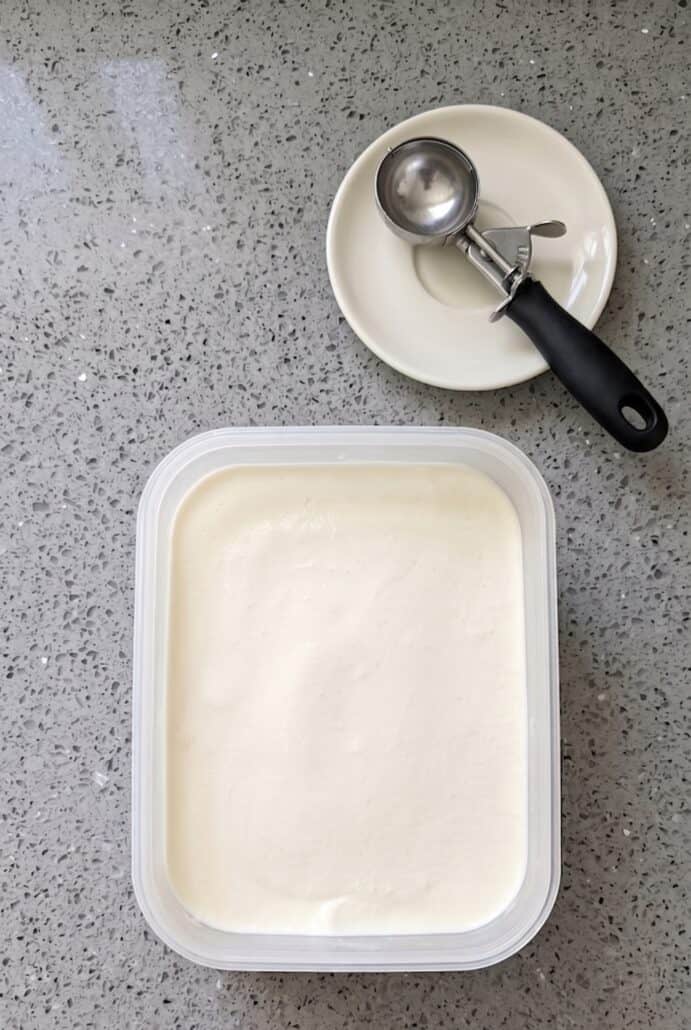
  • Transfer the mixture into a freezer-safe container or loaf pan.
  • Place plastic wrap directly on top of the mixture to help prevent ice crystals (optional).
  • Cover with a lid and freeze for at least 6 hours.
  • For a softer, soft-serve texture, check around 4 hours.
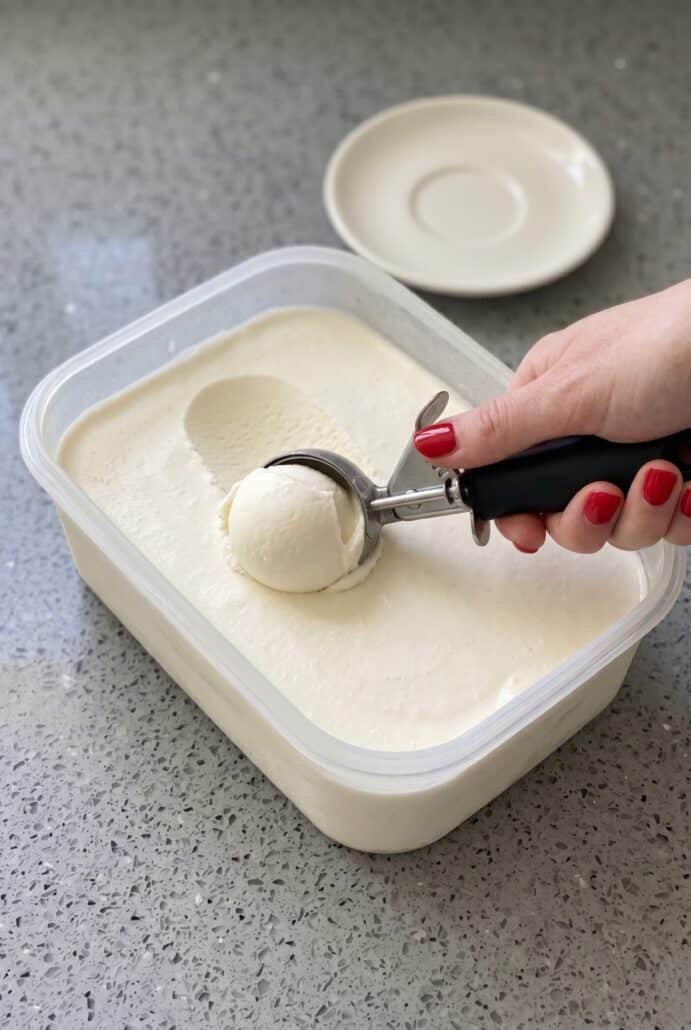
  • Scoop and serve with your favorite toppings.

Notes

  • For extra flavor, you can mix in chocolate chips or fruit before freezing.
  • Store in an airtight container in the freezer and enjoy within a few weeks for best texture.
NEVER MISS A RECIPE!I publish a new recipe several times per week. Want the new recipes in your inbox? Sign up for FREE notifications!

Nutrition

Calories: 363kcal | Carbohydrates: 29g | Protein: 6g | Fat: 26g | Saturated Fat: 16g | Polyunsaturated Fat: 1g | Monounsaturated Fat: 7g | Cholesterol: 84mg | Sodium: 79mg | Potassium: 241mg | Sugar: 29g | Vitamin A: 1007IU | Vitamin C: 2mg | Calcium: 180mg | Iron: 0.2mg
Save This Recipe

More Dessert Recipes

Get Melanie's FREE Recipes In Your Inbox!

Similar Posts

Leave a Reply

Your email address will not be published. Required fields are marked *

Rate This Recipe (only if you tried it, otherwise leave blank)