Best Key Lime Pie Bars Recipe With Vanilla Wafer Crust
This post may contain affiliate links (disclosure).
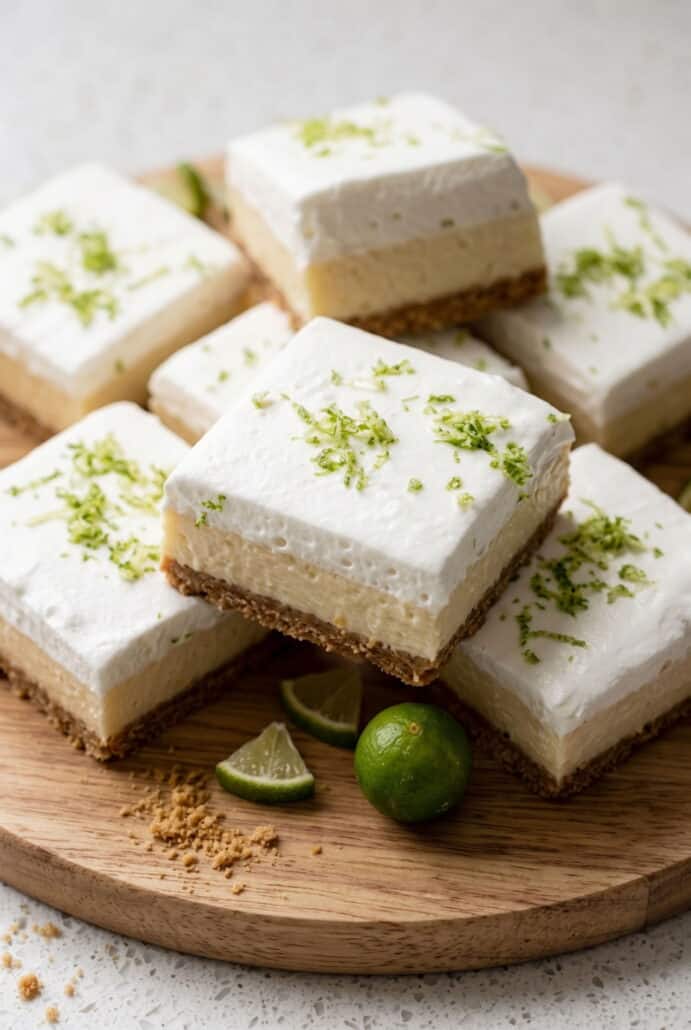
These Key Lime Pie Bars are the perfect dessert when you want something sweet, creamy, and full of bright citrus flavor. They have a buttery vanilla wafer crust, a smooth and tangy key lime filling, and a fluffy whipped cream topping finished with fresh lime zest. Easy to slice and serve, these refreshing lime bars are a great choice for summer gatherings, parties, potlucks, or anytime you are craving a cool and delicious homemade dessert.
Want to save this recipe?
Why You’ll Love Key Lime Pie Bars
- Bright and refreshing flavor – These bars have a sweet, tart, and tangy lime filling that tastes fresh and lively. The creamy filling balances beautifully with the sweet vanilla wafer crust. The whipped cream topping adds a light, fluffy finish. Every bite is cool, smooth, and full of citrus flavor.
- Easy to make in one pan – The crust, filling, and topping are all simple to prepare. You do not need to make or roll out pie dough. The layers come together easily in an 8×8-inch baking pan. This makes the recipe much less fussy than a traditional pie.
- Perfect for making ahead – These Key Lime Pie Bars need time to chill, which makes them great for preparing in advance. You can refrigerate them for several hours or overnight before serving. Chilling also helps the layers firm up for cleaner slices. They are a convenient dessert when you want to get some of the work done ahead of time.
- Great for serving a crowd – One pan makes 16 individual bars that are easy to portion and serve. You can cut them into neat squares and arrange them on a serving platter. They are easy to pick up and enjoy without the extra fuss of slicing a whole pie at the table. This makes them especially handy for parties and gatherings.
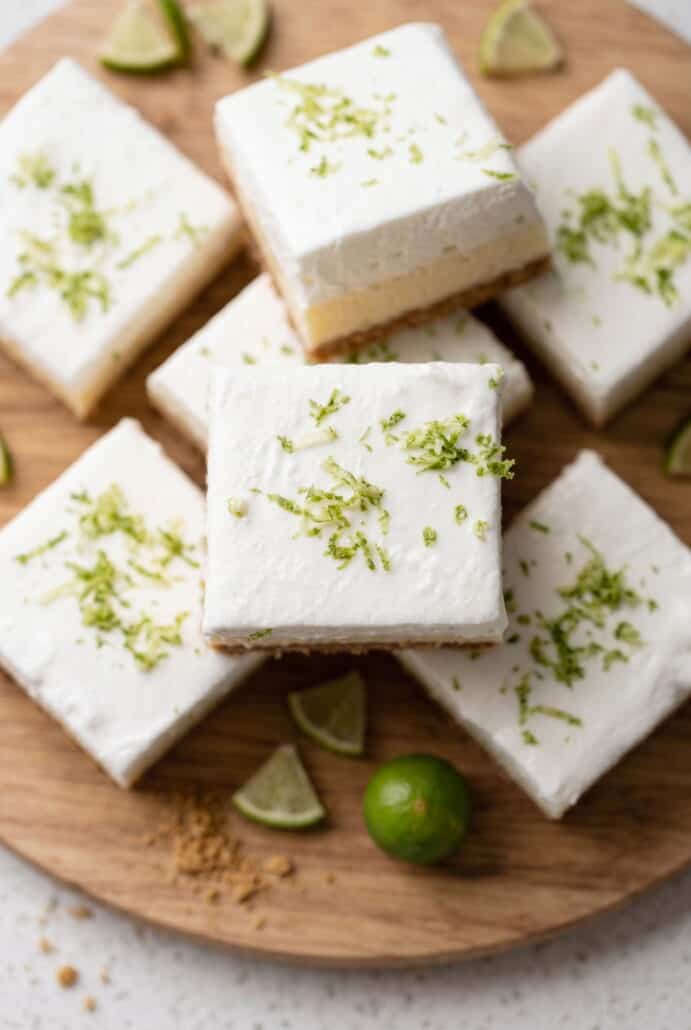
- Delicious served cold – These bars are especially refreshing straight from the refrigerator. The cool key lime filling and whipped cream topping make them ideal for warm weather. You can also freeze them and enjoy them extra cold. A sprinkle of fresh lime zest on top adds a bright finishing touch.
Ingredients For Key Lime Pie Bars
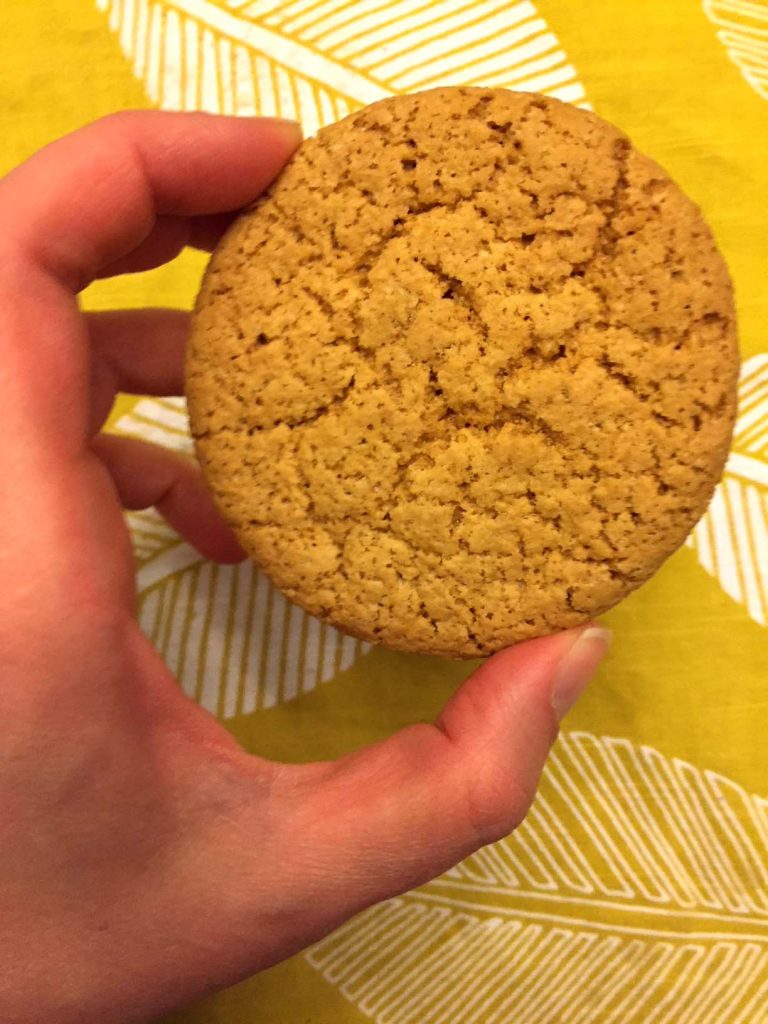
- Vanilla wafer cookies – These are crushed into fine crumbs to make the sweet and buttery base for the bars.
- Unsalted butter – Melted butter helps hold the cookie crumbs together and gives the crust a rich flavor.
- Light brown sugar – Adds extra sweetness and a slight caramel flavor to the vanilla wafer crust.
- Lime zest – Fresh lime zest adds bright citrus flavor to the creamy filling.
- Egg yolks – Help create the smooth, rich texture of the key lime filling.
- Sweetened condensed milk – Gives the filling its creamy consistency and sweet flavor.
- Fresh lime juice – Provides the tart, tangy citrus flavor that makes these Key Lime Pie Bars so refreshing.
- Heavy whipping cream – Whips into a light and fluffy topping for the chilled bars.
- Powdered sugar – Sweetens the whipped cream while keeping the topping smooth.
- Fresh lime zest for garnish – Adds a fresh pop of lime flavor and color to the finished bars.
For the exact measurements of the ingredients, see the printable recipe card at the bottom of this article.
How To Make Key Lime Pie Bars
- Line an 8×8-inch baking pan with parchment paper and preheat the oven to 350°F.
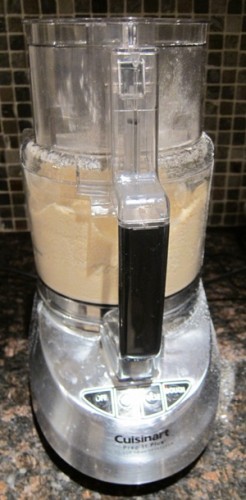
- Crush the vanilla wafer cookies into fine crumbs using a food processor.
- Stir the crumbs together with melted butter and brown sugar until everything is evenly moistened.
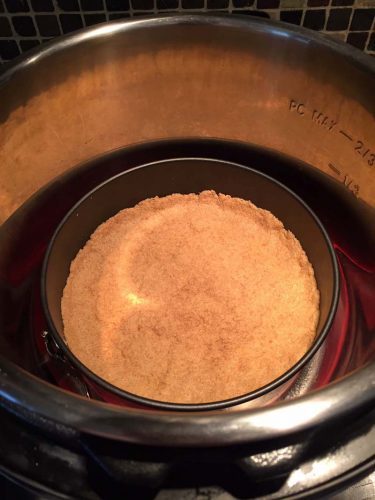
- Press the crust mixture firmly into the bottom of the prepared pan in an even layer.
- Bake the crust for 13–15 minutes, then let it cool for about 30 minutes.
- Beat the egg yolks and lime zest together until the mixture becomes pale and thick.
- Add the sweetened condensed milk and continue mixing until smooth.
- Whisk in the fresh lime juice until the filling is fully combined.
- Spread the lime filling over the cooled crust.
- Bake for 15–17 minutes, until the edges are set and the center still has a slight jiggle.
- Cool the bars at room temperature for 30 minutes, then refrigerate for at least 3 hours or overnight.
- Beat the heavy whipping cream with powdered sugar until firm peaks form.
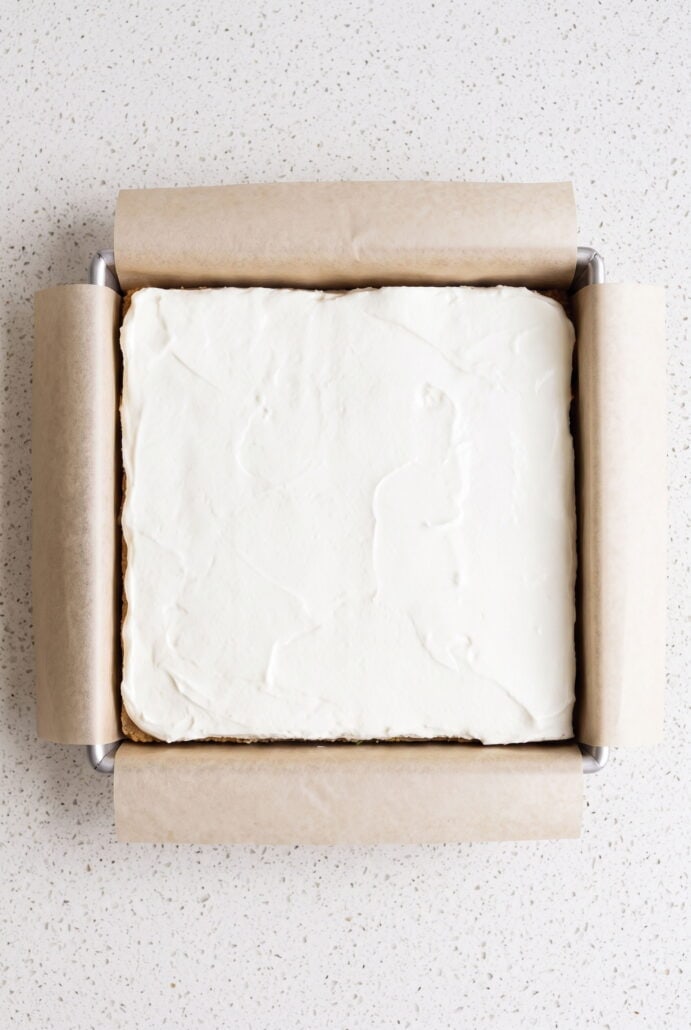
- Spread the whipped cream over the chilled lime layer and refrigerate for another 30 minutes.
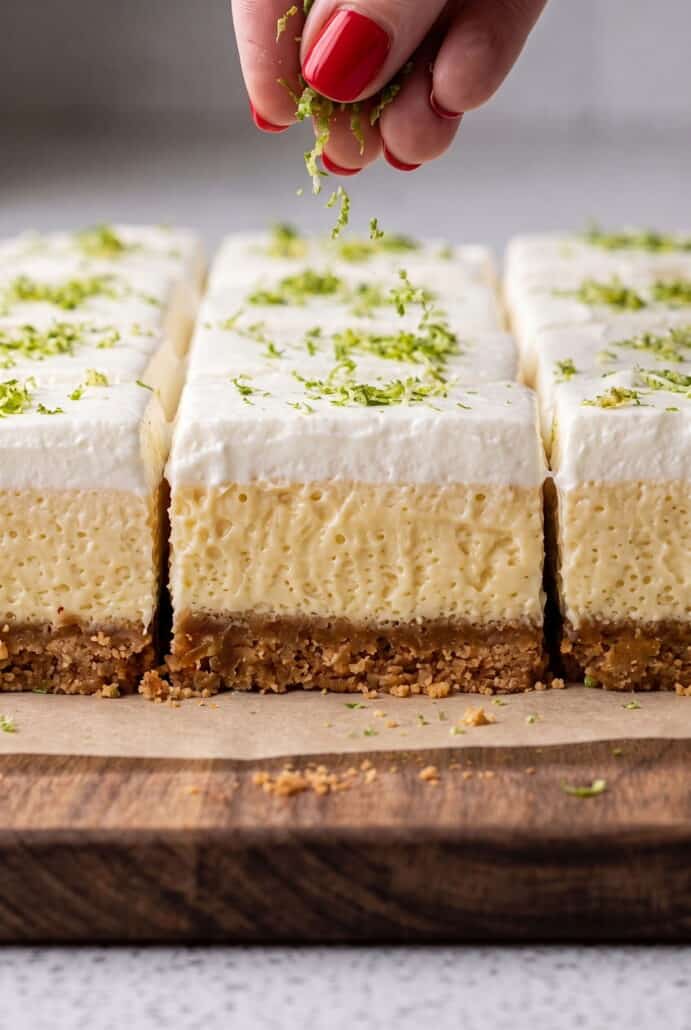
- Lift the bars out of the pan using the parchment paper and cut them into 16 squares.
- Sprinkle with fresh lime zest and serve cold.
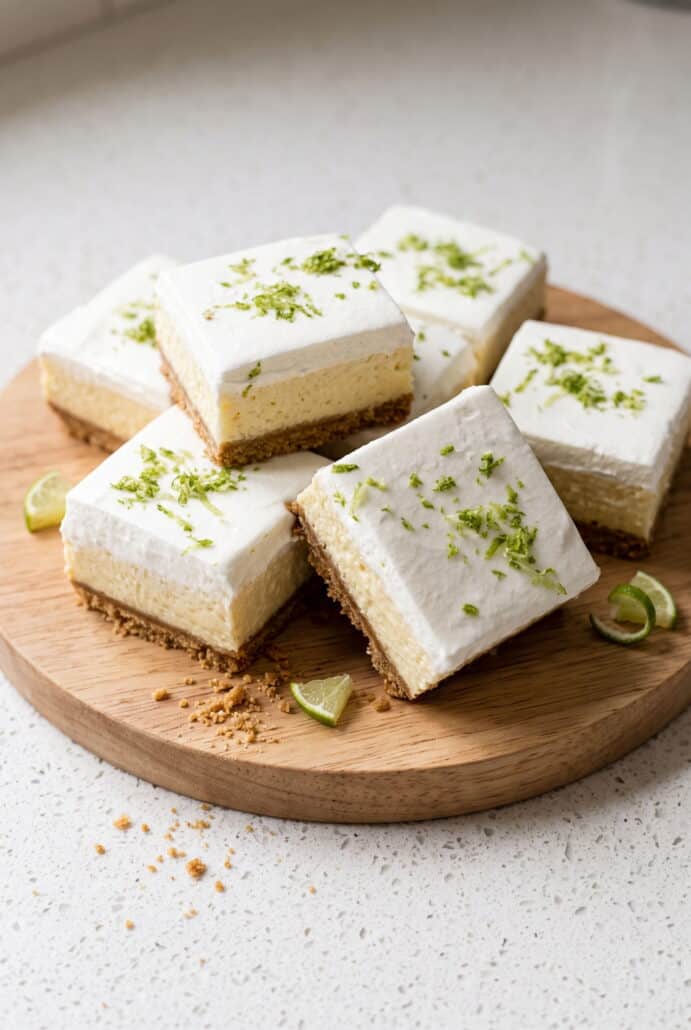
Serving Suggestions
- Serve chilled with strawberry spinach salad for a refreshing summer dessert.
- Pair with grilled lemon chicken kabobs for a sweet finish to an easy dinner.
- Add to a party spread with crispy chicken wings.
- Serve after kalua pulled pork for a tangy contrast.
- Pair with crispy salmon belly bites for a light and refreshing meal.
Tips For Success
- For the best Key Lime Pie Bars, make sure you give each layer enough time to cool and chill. The crust should cool before you pour in the lime filling, and the finished bars need several hours in the refrigerator before slicing. Chilling overnight works especially well because the filling has plenty of time to become firm.
- Use fresh lime juice for the filling. Freshly squeezed juice gives these bars their bright, tangy flavor. You will also need fresh lime zest for both the filling and garnish, so zest the limes before squeezing them. This makes the process much easier.
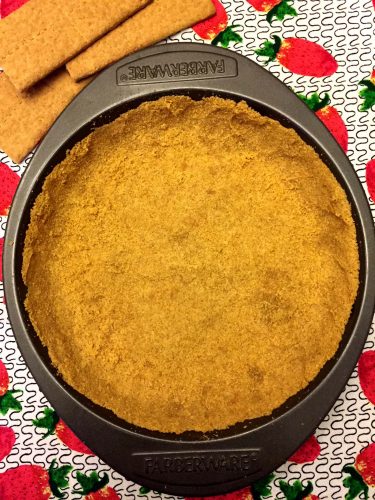
- When making the vanilla wafer crust, crush the cookies into very fine crumbs. Fine crumbs help the crust hold together better. Mix them thoroughly with the melted butter and brown sugar so all of the crumbs are evenly moistened.
- Press the crust firmly into the baking pan. An even, compact layer gives the bars a sturdy base and helps them slice neatly. Make sure the crust reaches all the way into the corners of the pan.
- Pay attention to the texture of the lime filling while it bakes. The edges should look set, but the center can still have a slight jiggle when you gently move the pan. Avoid baking it until the entire filling looks completely firm.
- When making the whipped cream topping, stop beating once firm peaks form. Overmixing the cream can affect its smooth texture. Finishing it gently with a whisk helps keep it light and fluffy.
- For the cleanest slices, make sure the bars are very cold. Lift the entire dessert out of the pan using the parchment paper before cutting. Use a sharp knife, rinse it with warm water, and wipe it dry between each cut. This keeps the layers looking neat and defined.
- Keep the bars refrigerated until you are ready to serve them. The cold temperature helps the creamy lime layer and whipped topping stay firm. Finish with fresh lime zest right before serving for extra color and a fresh citrus touch.
Variations And Substitutions
- Use regular limes instead of key limes – Key limes have a distinctive flavor, but they can be difficult to find. Regular grocery store limes work well in this recipe too. Use freshly squeezed lime juice and fresh zest for the brightest citrus flavor. You can still make creamy and tangy lime bars without searching for key limes.
- Add more lime zest on top – If you love an extra burst of citrus flavor, sprinkle a little additional fresh lime zest over the whipped cream before serving. It also gives the bars a fresh and colorful finish. Add the zest just before serving so it looks bright. This is an easy way to make the bars feel extra special.
- Serve them extra cold – These bars are delicious straight from the refrigerator, but you can also freeze them for a firmer and colder dessert. Let frozen bars soften slightly in the refrigerator before serving if desired. This variation is especially refreshing on a hot day. The creamy lime filling tastes wonderful when served very cold.
- Skip the garnish – The fresh lime zest on top makes the bars look pretty, but it is not required. You can serve the bars with just the whipped cream topping if you prefer a simpler presentation. The lime filling already provides plenty of citrus flavor. This is a good option when you want to keep decorating to a minimum.
- Adjust the whipped cream layer – Spread the whipped cream in a smooth, even layer for a neat look, or leave it slightly swirled for a more casual presentation. You can also keep the topping thinner or thicker depending on how you like your bars. Just be sure to chill the bars again after adding the whipped cream. This helps the topping stay firm when you slice them.
- Make smaller portions – The recipe makes 16 squares, but you can cut the chilled dessert into smaller pieces for parties or dessert platters. Smaller bars are easy to serve alongside other treats. Be sure the bars are very cold before cutting so the layers stay neat. Clean the knife between cuts for the best presentation.
Storage And Reheating
- Store Key Lime Pie Bars tightly covered in the refrigerator for up to 4 days. Keeping them cold helps the filling stay firm and the whipped cream topping hold its shape.
- You can also freeze the bars for longer storage. Keep them well covered, then serve them cold or let them thaw in the refrigerator before eating.
- These bars do not need to be reheated. They are best served chilled straight from the refrigerator or cold after thawing.
Frequently Asked Questions
Can I use regular limes instead of key limes?
Yes. Key limes give these bars their classic flavor, but regular limes can also be used. The most important thing is to use fresh lime juice and fresh lime zest. Regular limes will still give the filling a bright, tangy citrus flavor. This is a helpful option if key limes are difficult to find at your grocery store.
How do I know when the Key Lime Pie Bars are done baking?
The filling should look set around the edges when the bars are ready. The center can still have a slight jiggle when you gently move the pan. It should move together rather than look liquid. Avoid waiting until the entire filling looks completely firm, since the bars will continue to set as they cool and chill.
Want to save this recipe?
Why do the bars need to chill for so long?
Chilling gives the key lime filling time to firm up. This makes the bars easier to slice and helps the layers stay neat. After baking, let the bars cool on the counter for about 30 minutes before placing them in the refrigerator. Chill them for at least 3 hours, or leave them in the refrigerator overnight. Overnight chilling is especially useful if you want very clean slices.
Can I make Key Lime Pie Bars ahead of time?
Yes. These bars are a great make-ahead dessert because they need plenty of chilling time before serving. You can prepare them the day before and refrigerate them overnight. Add the whipped cream topping and chill again before slicing. Keeping them cold until serving will help the filling and topping stay firm.
How do I get clean slices?
Start by making sure the bars are very cold. Use the parchment paper to lift the entire dessert out of the pan before slicing. Cut the bars with a sharp knife. For neater edges, rinse the knife with warm water and wipe it dry with a clean towel between cuts. This helps keep the whipped cream and lime filling from sticking to the blade.
Can I freeze Key Lime Pie Bars?
Yes. These bars can be frozen. Keep them covered while frozen so they are protected during storage. You can serve them cold from the freezer for an extra-cold dessert, or let them thaw in the refrigerator before serving. The bars are especially refreshing when served well chilled.
How long do Key Lime Pie Bars keep in the refrigerator?
Store the bars tightly covered in the refrigerator for up to 4 days. Keeping them cold helps the key lime filling stay firm and keeps the whipped cream topping in good shape. They are best served straight from the refrigerator.
Do I need to use fresh lime juice?
Freshly squeezed lime juice is used in this recipe. It provides the tangy lime flavor that balances the sweetness of the condensed milk and crust. You will also need fresh lime zest for the filling and garnish. Zesting the limes before squeezing them can make preparation easier.
What should the vanilla wafer crust look like before baking?
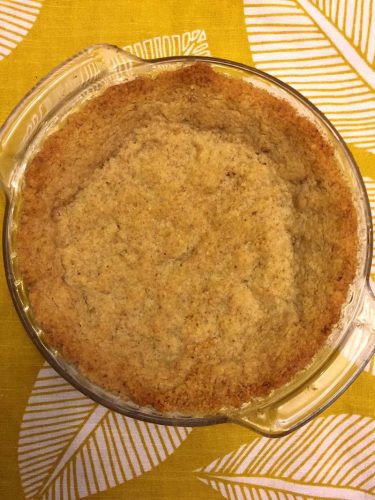
The crust mixture should resemble moist sand once the cookie crumbs, melted butter, and brown sugar are combined. Press the mixture firmly and evenly into the bottom of the pan. A compact crust creates a sturdy base for the creamy filling and makes the finished bars easier to cut and serve.
Can I skip the whipped cream topping?
The whipped cream is part of the finished recipe and adds a light, creamy layer on top of the tangy lime filling. However, the lime filling and vanilla wafer crust provide the main structure of the bars. If you do use the whipped cream, beat it only until firm peaks form and avoid overmixing. Chill the bars again after spreading the whipped cream on top.
What size pan should I use?
Use an 8×8-inch baking pan for this recipe. Line both the bottom and sides with parchment paper, leaving extra paper hanging over the edges. The overhang makes it much easier to lift the chilled bars out of the pan before cutting them into squares.
Should Key Lime Pie Bars be served warm or cold?
These bars are meant to be served cold. Their creamy texture is best after they have had plenty of time to chill. Serving them straight from the refrigerator also helps the layers hold their shape. Finish them with fresh lime zest just before serving for a bright citrus touch.
Other Easy Lime Recipes
- Colombian Coconut Lime Drink
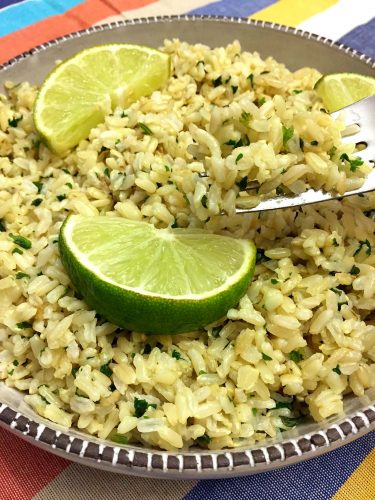
- Lime Rice With Cilantro
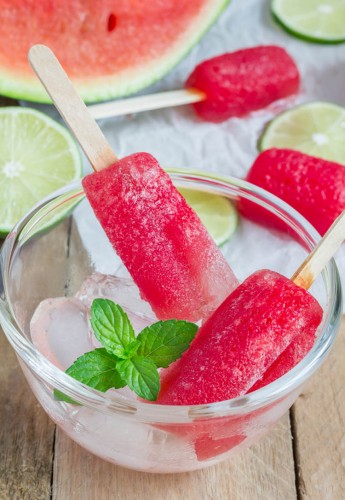
- Watermelon Lime Ice Pops
- Baked Chili Lime Chicken Drumsticks
- Chili Lime Chicken Stir Fry
- Baked Chili Lime Red Snapper Fillets
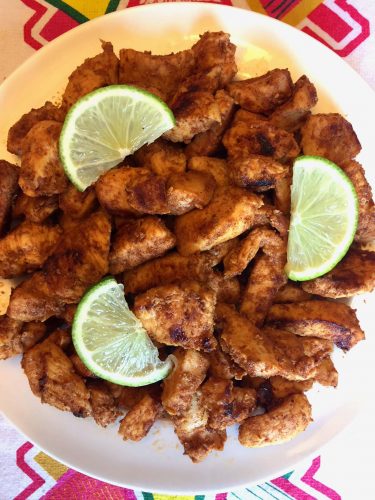
- Sweet Chili Lime Chicken Kabobs
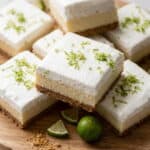
Key Lime Pie Bars
Want to save this recipe?
Ingredients
- 2 cups vanilla wafer cookies finely ground, 250 g
- 5 tbsp unsalted butter melted
- 2 tbsp light brown sugar
- 1 tbsp packed lime zest from about 6–7 key limes
- 5 large egg yolks
- 22 oz sweetened condensed milk 1 14-ounce can plus 3/4 cup from a second can
- 1 cup lime juice freshly squeezed
- 1 cup heavy whipping cream
- 2 tbsp powdered sugar
- 1 tsp fresh lime zest for garnish
Instructions
- Place the oven rack in the center position and preheat the oven to 350°F. Line an 8×8-inch baking pan with parchment paper, leaving about 2 inches hanging over the sides.
- Add the vanilla wafer cookies to a food processor and process until they turn into fine crumbs.
- Combine the cookie crumbs, melted butter, and brown sugar in a medium bowl. Stir until the mixture has a moist, sandy texture.
- Transfer the crumb mixture to the prepared pan and press it firmly and evenly across the bottom.
- Bake the crust for 13–15 minutes. Remove it from the oven and let it cool for about 30 minutes.
- Add the egg yolks and lime zest to a large bowl. Beat with a hand mixer on medium speed for 4–5 minutes, until thicker and lighter in color.
- Add the sweetened condensed milk and continue beating on medium speed for another 3 minutes.
- Pour in the fresh lime juice and whisk until the filling is smooth and evenly combined.
- Pour the lime filling over the cooled crust and spread it into an even layer.
- Bake for 15–17 minutes. The edges should be set, while the filling should still jiggle slightly as one piece when the pan is gently moved.
- Let the bars cool on the counter for 30 minutes, then refrigerate for at least 3 hours or overnight.
- Add the heavy whipping cream and powdered sugar to a large bowl. Beat with a hand mixer until firm peaks form, then gently finish mixing with a whisk.
- Spread the whipped cream evenly over the chilled key lime filling with an offset spatula. Refrigerate for another 30 minutes.
- Lift the bars out of the pan using the parchment paper and cut into 16 squares with a sharp knife. Rinse the knife with warm water and wipe it dry between cuts for cleaner slices.
- Sprinkle the Key Lime Pie Bars with 1 teaspoon fresh lime zest and serve cold.
Notes
- Keep the Key Lime Pie Bars covered in the refrigerator for up to 4 days.
- The bars can also be frozen. Serve them cold or thaw them in the refrigerator before serving.