Homemade Bread Bowls Recipe from Scratch

This post may contain affiliate links (disclosure). 

These Homemade Bread Bowls are the perfect way to make soup night extra special! They bake up golden and crisp on the outside while staying thick and chewy on the inside, making them perfect for filling with chili, chowder, or your favorite creamy soup. Made from simple ingredients and baked right in your oven, this easy homemade bread bowl recipe is a delicious way to serve a warm and comforting meal.
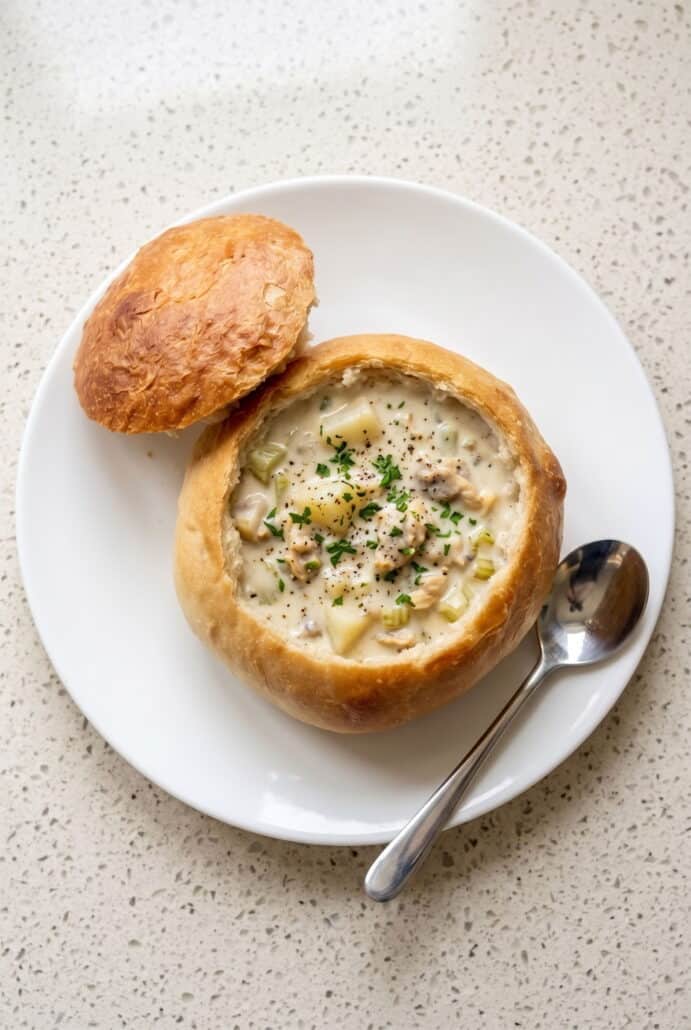
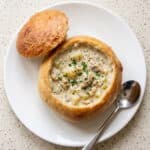
Homemade bread bowl filled with creamy soup, served with the bread top on the side.

Want to save this recipe?

Just enter your email and I’ll send it right to you, plus great new recipes weekly!

Why You’ll Love Homemade Bread Bowls

  • Crispy outside and chewy inside – These homemade bread bowls bake up beautifully golden on the outside. The center stays thick and chewy. That texture makes them perfect for holding hearty soups. You also get plenty of bread to enjoy with every bite.
  • Made with simple ingredients – You only need a few basic pantry staples to make this recipe. Flour, yeast, water, sugar, and salt come together to make the dough. There are no complicated ingredients to hunt down. It is a great recipe for making fresh bread at home.
  • Perfect for soup night – These bread bowls are a fun way to serve chili, chowder, and creamy soups. They turn a simple bowl of soup into a cozy homemade meal. The bread soaks up the flavors as you eat. That means every bite gets even more delicious.
  • Easy to make from scratch – The steps are straightforward and beginner-friendly. The dough is mixed, kneaded, shaped, and baked with just a little rising time in between. A stand mixer makes the process even easier. You can also knead the dough by hand if needed.
  • Fun and impressive to serve – Homemade bread bowls look special without being difficult to make. They are perfect for family dinners or a cozy meal with guests. Cutting out the center turns each loaf into an edible serving bowl. Everyone gets their own individual bread bowl to enjoy.
  • Easy to customize the size – This recipe makes six small bread bowls. You can make fewer, larger bowls by dividing the dough into bigger portions. Larger bowls are great when you want a bakery-style presentation. This flexibility makes the recipe easy to adapt to your meal.

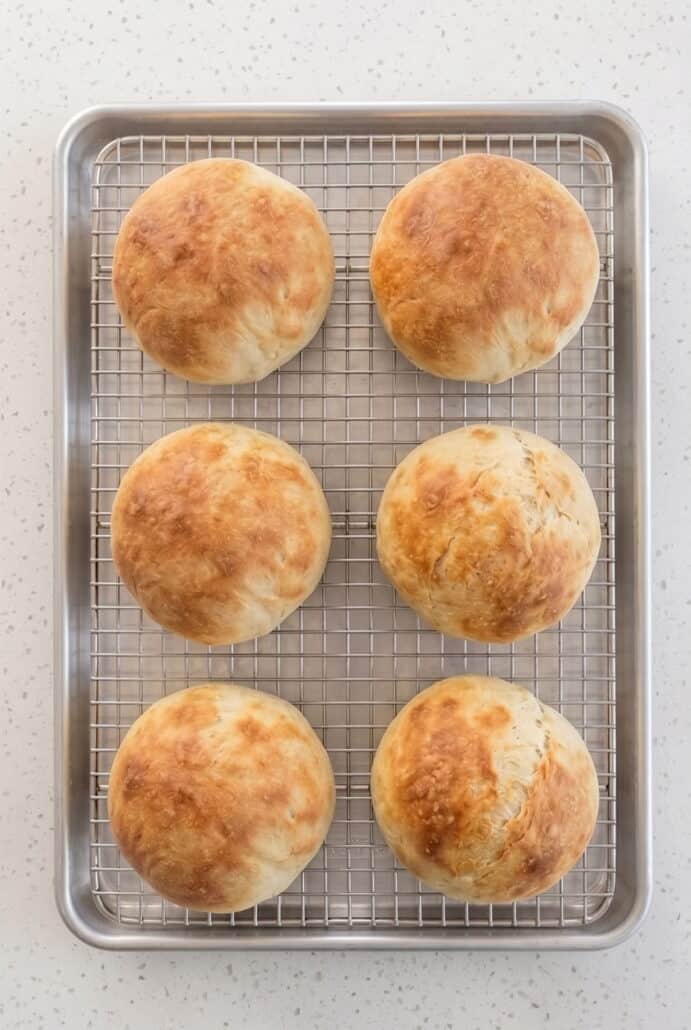
Freshly baked homemade bread bowls cooling on a wire rack until ready to fill with soup.

Ingredients For Homemade Bread Bowls

  • Warm water – This helps activate the yeast and brings the dough together. The water should be warm, but not too hot.
  • Active dry yeast – This is what helps the bread dough rise and gives the bread bowls their light, chewy texture.
  • Sugar – A small amount of sugar helps activate the yeast.
  • Bread flour – Bread flour gives these homemade bread bowls a thicker, chewier texture. You may need a little extra flour if the dough is too sticky.
  • Salt – Salt adds flavor to the dough and balances the other ingredients.
  • Butter, optional – Rubbing butter over the warm bread bowls adds extra flavor and a soft finish to the crust.

For the exact measurements of the ingredients, see the printable recipe card at the bottom of this article.

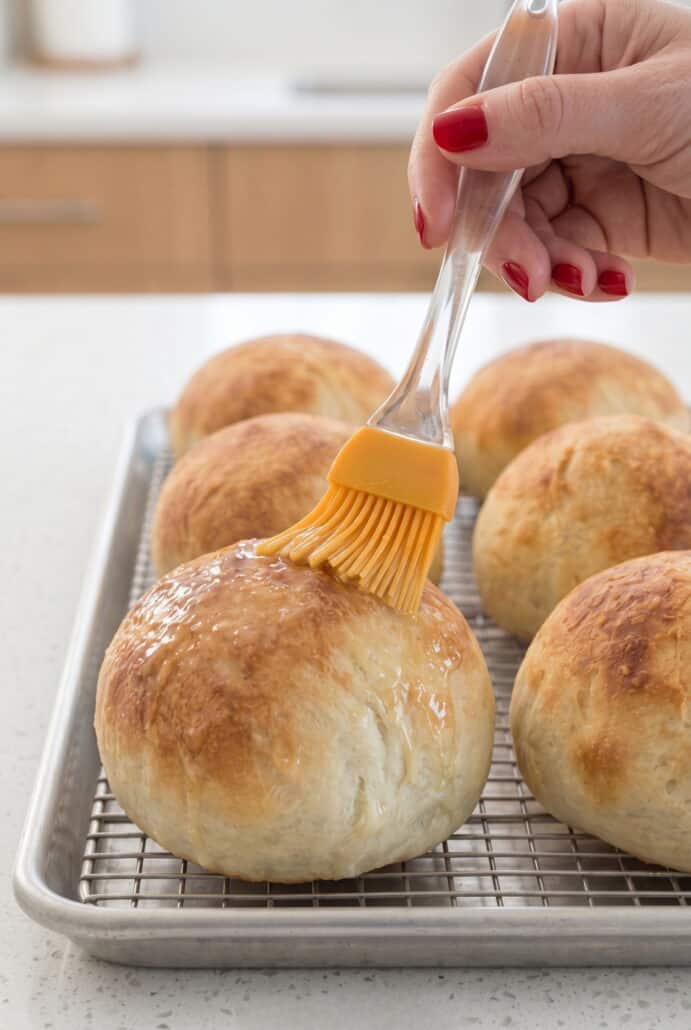
Brushing warm homemade bread bowls with butter after baking for a golden, flavorful crust.

How To Make Homemade Bread Bowls

  • Stir the warm water, yeast, and sugar together in a bowl. Let the mixture rest for about 5 minutes so the yeast can activate.
  • Add the bread flour and salt to the bowl of a stand mixer, then pour in the yeast mixture.
  • Mix everything with the dough hook until a soft dough forms. Add a little extra flour as needed if the dough feels too sticky.
  • Continue kneading the dough for about 10 minutes, until it becomes smooth and stretchy.
  • Cover the dough and place it in a warm spot for 30 minutes so it can rise.
  • Gently press down the risen dough and divide it into 6 equal pieces. Shape each piece into a smooth round ball.
  • Arrange the dough balls on a greased baking sheet. Lightly mist them with water, cover, and let them rise for another 15 minutes.
  • Bake the bread bowls at 500°F for 2 minutes. Take them out briefly, mist them with water again, and lower the oven temperature to 400°F.
  • Continue baking for 12 to 15 minutes, until the bread bowls are golden brown. Brush or rub them with butter while warm if desired.
  • When ready to serve, cut a circle from the top of each bread bowl. Scoop out some of the soft bread from the center, then fill the bread bowls with your favorite thick soup, chowder, or chili.

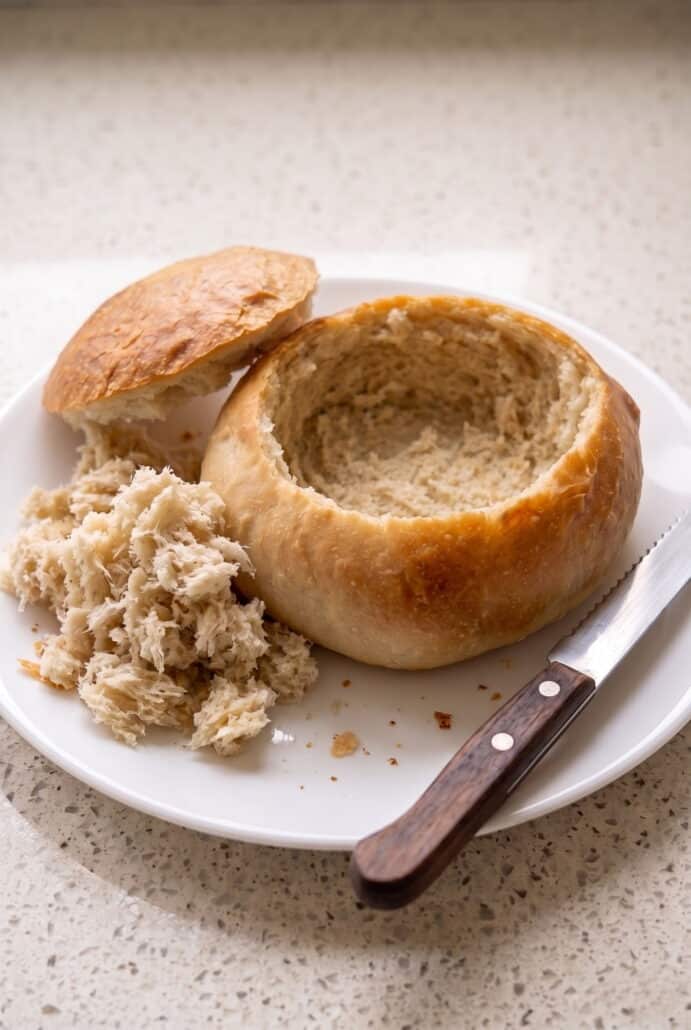
Hollowed homemade bread bowl ready to fill with soup, with the bread top and scooped-out pieces on the side.

Serving Suggestions

  • Serve these homemade bread bowls filled with creamy loaded potato soup for a hearty and comforting meal.
  • Fill them with broccoli cheddar soup for a rich, cheesy dinner that pairs perfectly with the chewy bread.
  • Try them with homemade chili soup for an easy and filling meal that is perfect for cold weather.
  • Serve them with tomato paste soup for a simple combination of creamy soup and fresh homemade bread.
  • Fill the bread bowls with chicken gnocchi soup for a cozy meal with plenty of creamy flavor.
  • Pair them with creamy corn chowder for a thick and satisfying soup that works especially well in a bread bowl.

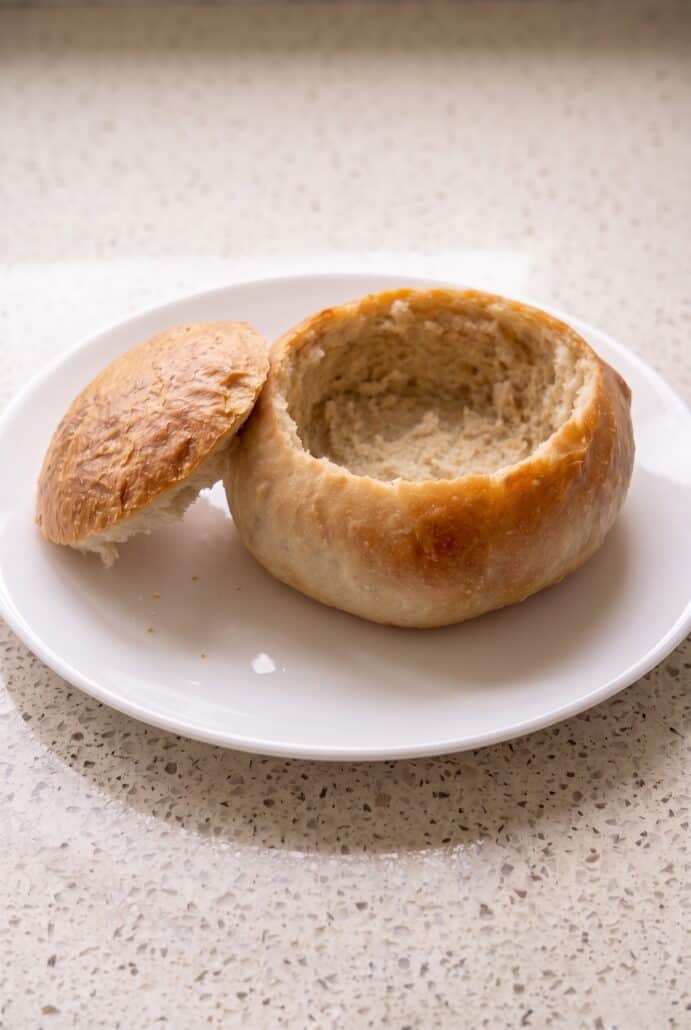
Hollowed homemade bread bowl with the top removed, ready to fill with hot soup or chowder.

Tips For Success

  • Use warm water for the yeast – Make sure the water is warm, but not hot. Water that is too hot can prevent the yeast from working properly. After stirring the yeast and sugar into the water, let the mixture sit for about 5 minutes. The yeast should dissolve and expand before you continue with the recipe.
  • Add the flour gradually – Start with 3 1/2 cups of bread flour. If the dough is still too sticky, add more flour just 1/4 cup at a time. You may not need the full amount listed in the recipe. Adding it slowly makes it easier to stop once the dough has the right consistency.
  • Bread flour gives a chewier texture – Bread flour works especially well for these homemade bread bowls because it creates that thick and chewy texture that is so good with soup. If you only have all-purpose flour, you can use it instead. The bread bowls will still turn out delicious.
  • Give the dough plenty of kneading time – Knead the dough for the full 10 minutes. This helps the dough become smooth and elastic. A stand mixer with a dough hook makes this step easy, but you can also knead the dough by hand. If kneading by hand, add flour as needed if the dough becomes too sticky to work with.
  • Let the dough rise in a warm place – Cover the dough and let it rise for 30 minutes. After shaping the bread bowls, give them another 15 minutes to rise before baking. These resting periods are an important part of making the bread bowls.
  • Shape the dough according to the size you want – Dividing the dough into 6 portions makes 6 small bread bowls. If you prefer larger, bakery-style bread bowls, divide the same batch into 3 portions instead. You can also double the recipe if you want to make 6 larger bowls.
  • Do not skip the water mist – Lightly spray each shaped bread bowl with 2 or 3 mists of water before the final rise. After the first 2 minutes of baking, mist them with water again. This is part of the baking method used to create the bread bowls.
  • Pay attention to the oven temperature change – Start the bread bowls at 500°F for just 2 minutes. After misting them again, lower the temperature to 400°F. Continue baking for 12 to 15 minutes, or until the tops are golden brown.
  • Add butter while they are warm – If you want extra flavor, rub the finished bread bowls with butter while they are still warm. This step is completely optional, so you can leave it out if you prefer.
  • Cut the bowls carefully – Use a small serrated knife and a gentle sawing motion to cut a circle around the top. Remove the top, then use a spoon or your hands to scoop out some of the bread inside. Save those pieces for dipping into your soup rather than throwing them away.

Variations And Substitutions

  • Use all-purpose flour instead of bread flour – Bread flour is preferred because it gives the bread bowls a thicker, chewier texture. However, you can substitute all-purpose flour if that is what you have in your kitchen. The bread bowls will still be delicious. Start with the same amount and add additional flour gradually as needed if the dough is too sticky.
  • Make larger bread bowls – This recipe makes 6 small bread bowls. If you want larger, bakery-style bread bowls, divide the dough into 3 equal pieces instead of 6. Shape each portion into a round ball before letting it rise. This gives you a larger bowl with more room for soup.
  • Double the recipe for 6 large bowls – If you need larger bread bowls but still want 6 servings, make a double batch of dough. Divide the doubled dough into 6 portions. This is a convenient option when you are serving a family meal and want everyone to have a generously sized bread bowl.
  • Leave off the butter – Butter is completely optional in this recipe. The finished bread bowls can be served as soon as they come out of the oven or cooled on a wire rack without adding butter. If you enjoy the extra flavor and finish that butter provides, rub it over the bread while the bowls are still warm.
  • Knead the dough by hand – You do not need a stand mixer to make these bread bowls. Combine the ingredients with a wooden spoon until the dough becomes too stiff to stir. Transfer it to a floured surface and knead it by hand for about 10 minutes, adding flour as needed. This is a great option if you do not have a mixer with a dough hook.
  • Change the filling – These bread bowls work especially well with thick soups because thinner soups can soak through the bread more quickly. Try filling them with chowder, chili, or a creamy soup. You can change the filling each time you make the recipe while keeping the homemade bread bowls exactly the same.

Storage And Reheating

  • Store leftover Homemade Bread Bowls at room temperature for several days. For the best results, keep them whole until you are ready to serve them.
  • If you want to store them longer, place the completely cooled bread bowls in a freezer bag and freeze them. It is best to freeze the bread bowls before they have been hollowed out.
  • When you are ready to use frozen bread bowls, let them thaw for several hours before serving.
  • Leftover bread bowls can also be enjoyed the next day. The source mentions reheating leftover bread and slicing it to serve with dinner, but it does not give a specific reheating method or temperature.

Frequently Asked Questions

Can I Use All-Purpose Flour Instead Of Bread Flour?

Yes. You can substitute all-purpose flour for the bread flour in these Homemade Bread Bowls. Bread flour is preferred because it gives the finished bread a thicker and chewier texture, which works especially well when the bread is used as a bowl for soup. However, all-purpose flour will still make delicious bread bowls. Start with 3 1/2 cups of flour and add more only as needed. If the dough is still very sticky, add additional flour 1/4 cup at a time until the dough comes together. You may not need the entire amount of flour listed in the recipe.

Want to save this recipe?

Just enter your email and I’ll send it right to you, plus great new recipes weekly!

How Many Bread Bowls Does This Recipe Make?

This recipe makes 6 small Homemade Bread Bowls. These are smaller than the large bread bowls you may see at a bakery or restaurant. If you would like larger bread bowls, divide the batch of dough into 3 pieces instead of 6. Shape those pieces into balls and continue with the recipe. If you need 6 large bread bowls, you can make a double batch of the dough and divide it into 6 portions. This makes it easy to choose the bread bowl size that works best for your meal.

What Kind Of Soup Is Best For Homemade Bread Bowls?

Thick soups are the best choice for Homemade Bread Bowls. Chowders, chili, and creamy soups work especially well because their thicker texture does not soak through the bread as quickly. Corn chowder is one delicious option. Other good choices include creamy potato soup, broccoli and cheese soup, tomato bisque, clam chowder, or chicken gnocchi soup. A thin soup can soak into the bread more quickly and may make your bread bowl soggy. For the best experience, choose a hearty, thick filling that can sit inside the bread without immediately soaking through.

Can I Make Homemade Bread Bowls Without A Stand Mixer?

Yes. A stand mixer with a dough hook makes mixing and kneading the dough convenient, but it is not required. You can combine the ingredients by hand using a wooden spoon. Stir until the mixture becomes too stiff to continue mixing comfortably with the spoon. Then transfer the dough to a floured surface and knead it by hand for about 10 minutes. Add flour as needed if the dough is too sticky to handle. Continue kneading until the dough is smooth and ready to rise. This method lets you make Homemade Bread Bowls even if you do not own a stand mixer.

Why Do You Spray The Bread Bowls With Water?

The dough is lightly misted with water as part of the baking method for these Homemade Bread Bowls. After shaping the dough into individual balls, spray each one with about 2 or 3 light mists of water before the final 15-minute rise. The bread bowls are then baked at 500°F for 2 minutes. At that point, briefly remove them from the oven and mist them with water again. The oven temperature is then reduced to 400°F for the remainder of the baking time. Following this method helps produce the finished bread bowls with the crisp exterior called for in the recipe.

How Do I Cut A Homemade Bread Bowl?

Let the bread bowl cool enough to handle, then use a small serrated knife to cut a circle around the top. A gentle sawing motion works well for cutting through the crust. Lift off the round piece of bread from the top and save it rather than throwing it away. Next, use a spoon or your hands to carefully remove some of the soft bread from the center. Be sure to leave enough bread around the sides and bottom to form the bowl. The bread you remove from the center is perfect for dipping into the soup after you fill your bread bowl.

Can Homemade Bread Bowls Be Frozen?

Yes. Homemade Bread Bowls can be frozen if you would like to keep them longer. Allow the bread to cool completely before freezing it. It is best to freeze the bread bowls while they are still whole and before you have cut off the tops or hollowed out the centers. Place the cooled bread bowls in a freezer bag and store them in the freezer. When you are ready to serve them, allow the bread bowls to thaw for several hours. Once thawed, you can cut and hollow them out before filling them with your favorite soup.

How Long Can I Store Leftover Bread Bowls?

Leftover Homemade Bread Bowls can be kept at room temperature for several days. If you know you will not use them within that time, freezing is another option. Make sure the bread bowls have cooled completely before placing them in a freezer bag. Keeping them whole until you are ready to serve them is best, especially if you plan to freeze them. Leftover bread bowls can also be sliced and served as bread with another meal. This makes it easy to enjoy any extras even if you are not serving soup again.

How Do I Know When The Bread Bowls Are Done Baking?

The Homemade Bread Bowls are finished when the tops are golden brown. Begin by baking them at 500°F for 2 minutes. Remove them briefly to add another light mist of water, then reduce the oven temperature to 400°F. Continue baking for another 12 to 15 minutes. Watch for the tops to develop a beautiful golden-brown color. Once baked, you can rub the warm bread bowls with butter if desired. They can be enjoyed warm right away or transferred to a wire rack to cool before you cut and fill them.

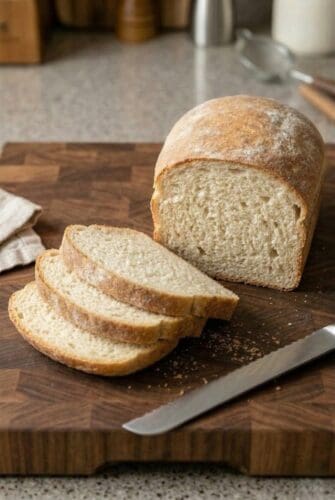
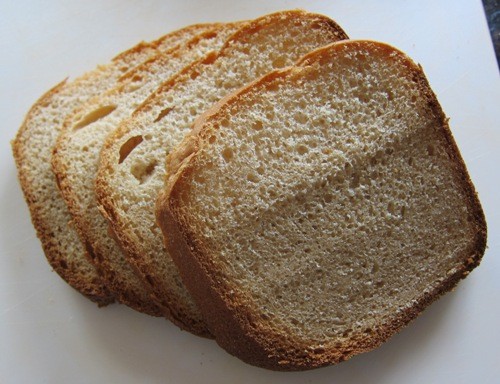
Other Easy Bread Recipes

Click Here To Pin This Recipe

Homemade Bread Bowls

These Homemade Bread Bowls are golden and crisp on the outside with a thick, chewy center that is perfect for holding your favorite soup. They are made from simple ingredients like flour, yeast, water, sugar, and salt. Fill these easy homemade bread bowls with chili, chowder, or a creamy soup for a delicious homemade meal.
Prep Time15 minutes
Cook Time17 minutes
Total Time32 minutes
Course: Bread, Side Dish
Cuisine: American
Keyword: bread bowl recipe, bread bowls from scratch, homemade bread, homemade bread bowls, soup bread bowls
Cooking Method: Oven
Diet: Vegetarian; Vegan if optional butter is omitted
Servings: 6
Calories: 292kcal

Want to save this recipe?

Just enter your email and I’ll send it right to you, plus great new recipes weekly!

Ingredients

  • 1 1/2 cups warm water
  • 2 tbsp active dry yeast
  • 1 tbsp sugar
  • 3 1/2 cups bread flour
  • 1 tsp salt
  • 1 tbsp butter optional

Instructions

  • Combine the warm water, yeast, and sugar. Stir and let sit for about 5 minutes, or until the yeast has dissolved and expanded.
  • Add 3 1/2 cups of bread flour and the salt to the bowl of a stand mixer. Pour in the yeast mixture.
  • Using the dough hook, mix until a dough forms. If the dough is too sticky, add more flour 1/4 cup at a time. You may not need all of the remaining flour.
  • Knead the dough for 10 minutes, until it is smooth and elastic.
  • Cover the dough with a clean kitchen towel or plastic wrap and let it rise in a warm place for 30 minutes.
  • Punch down the dough and divide it into 6 equal pieces. Shape each piece into a ball and place them on a greased baking sheet.
  • Mist each dough ball 2 or 3 times with water. Cover and let rise for 15 minutes.
  • Bake at 500°F for 2 minutes. Remove the baking sheet briefly and mist the bread bowls with water again.
  • Reduce the oven temperature to 400°F and bake for 12 to 15 minutes, or until golden brown. Rub with butter while warm, if desired, then serve warm or cool on a wire rack.
  • To make the bowls, cut a circle from the top of each bread bowl with a small serrated knife. Remove the top and gently scoop out some of the soft bread from the center.

Notes

  • Bread flour gives the bread bowls a chewier texture, but all-purpose flour can be used instead.
  • This recipe makes 6 small bread bowls. For larger bakery-style bowls, divide the dough into 3 portions, or double the recipe to make 6 large bowls.
NEVER MISS A RECIPE!I publish a new recipe several times per week. Want the new recipes in your inbox? Sign up for FREE notifications!

Nutrition

Calories: 292kcal | Carbohydrates: 55g | Protein: 9g | Fat: 3g | Saturated Fat: 1g | Polyunsaturated Fat: 1g | Monounsaturated Fat: 1g | Trans Fat: 0.1g | Cholesterol: 5mg | Sodium: 408mg | Potassium: 86mg | Fiber: 2g | Sugar: 2g | Vitamin A: 60IU | Vitamin C: 0.003mg | Calcium: 14mg | Iron: 1mg
Save This Recipe

More Side Dish Recipes

Get Melanie's FREE Recipes In Your Inbox!

Similar Posts

Leave a Reply

Your email address will not be published. Required fields are marked *

Rate This Recipe (only if you tried it, otherwise leave blank)