Homemade Breadsticks Recipe – Light, Fluffy & Buttery
This post may contain affiliate links (disclosure).
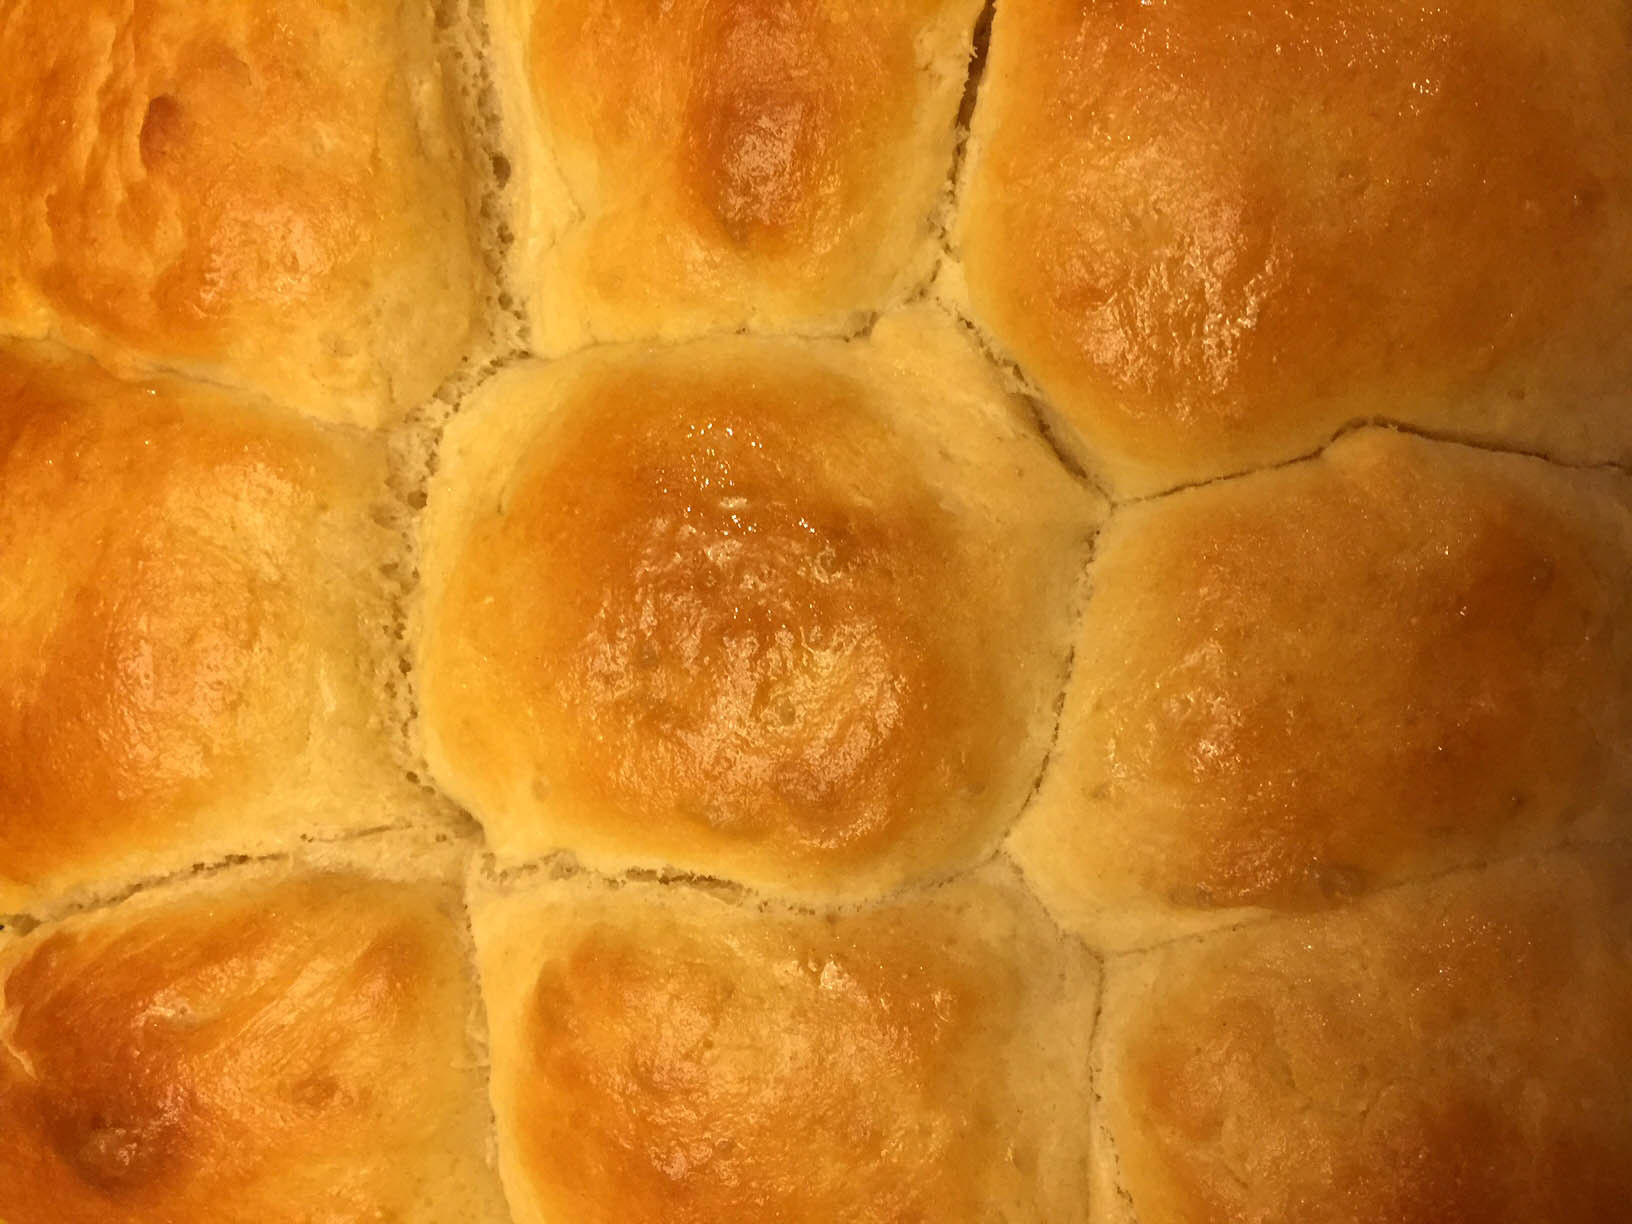
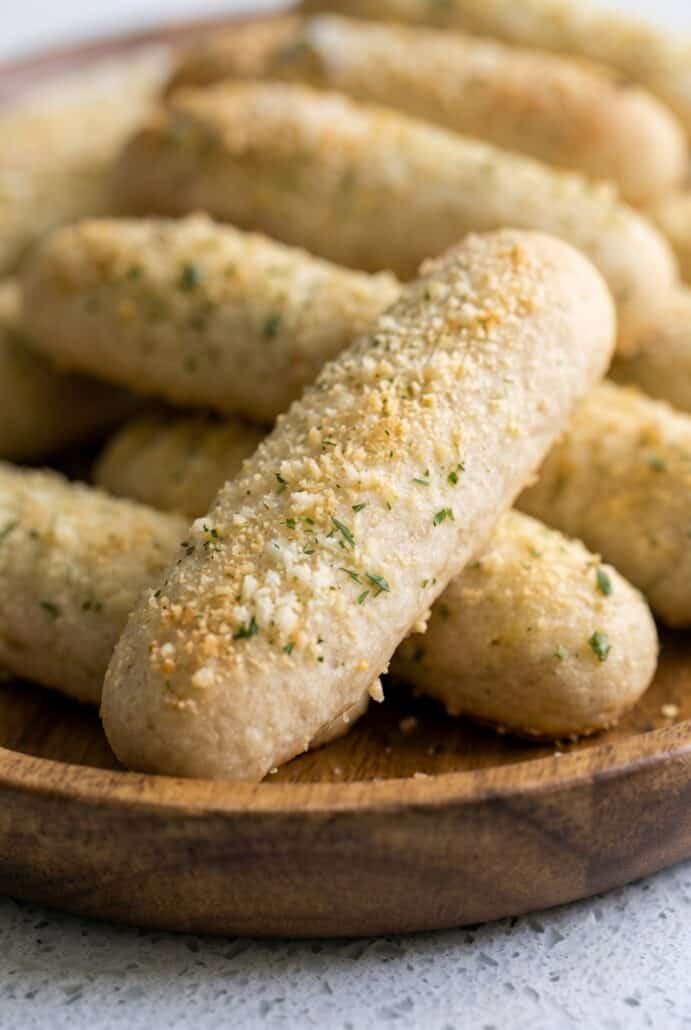
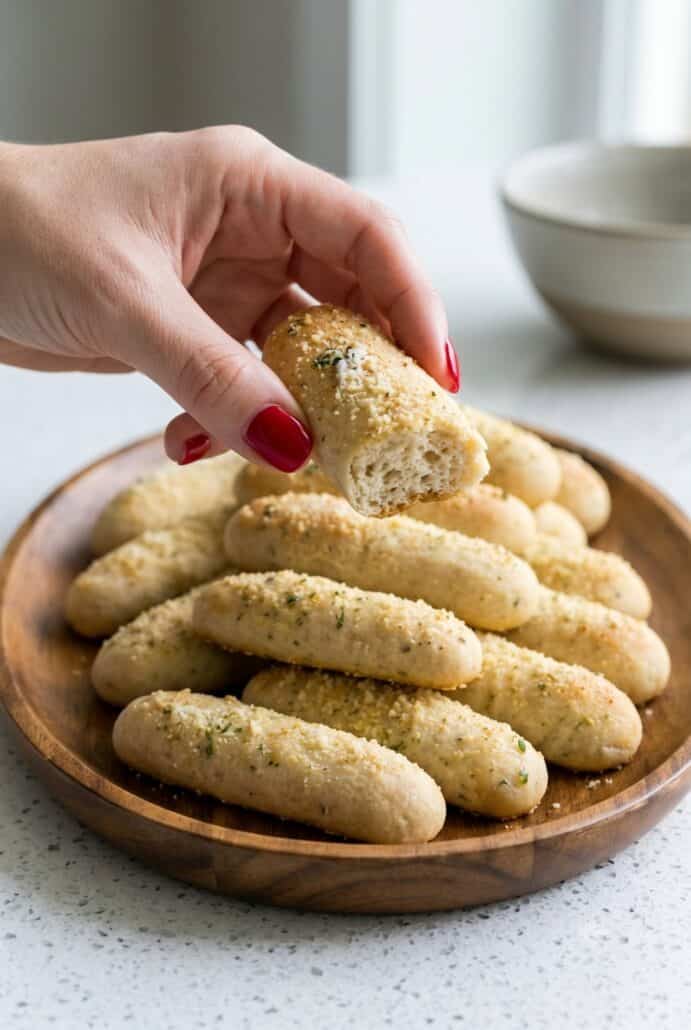
These Homemade Breadsticks are warm, soft, fluffy, and perfect for any meal! Made with simple ingredients and baked until lightly golden, they have the best buttery garlic flavor in every bite. Serve these easy homemade breadsticks with pasta, soup, salad, or your favorite dipping sauce for a delicious bakery-style side dish right from your own oven.
Want to save this recipe?
Why You’ll Love Homemade Breadsticks
- These Homemade Breadsticks are so soft and fluffy. They have that fresh-baked texture that makes them taste extra special. The garlic butter topping adds amazing flavor. They are perfect for serving warm right out of the oven.
- This recipe uses simple ingredients you probably already have in your kitchen. Flour, yeast, butter, seasonings, and Parmesan come together to make something delicious. You do not need anything fancy. It is a great recipe for beginner bread makers.
- These breadsticks are ready in under an hour. That makes them a wonderful option when you want homemade bread without waiting all day. The rise time is short and easy. You can make them for a weeknight dinner or a special meal.
- The garlic butter topping makes these breadsticks irresistible. It soaks into the warm breadsticks and gives them a savory, buttery flavor. The Parmesan cheese adds the perfect finishing touch. Every bite is packed with delicious flavor.
- These breadsticks go with so many meals. Serve them with pasta, soup, salad, or your favorite dipping sauce. They are also delicious on their own as a snack. This is the kind of recipe your family will ask for again and again.
Ingredients For Homemade Breadsticks
- All-purpose flour – This gives the breadsticks their soft and fluffy texture. You will add it gradually so the dough does not become too dry.
- Granulated sugar – This adds a touch of sweetness to the dough and helps balance the savory garlic flavor.
- Instant or quick yeast – This helps the breadsticks rise and become light and fluffy.
- Salt – This brings out the flavor in the dough and keeps the breadsticks from tasting bland.
- Italian seasoning – This adds delicious herb flavor right into the dough and also into the garlic butter topping.
- Garlic powder – This gives the breadsticks that classic savory garlic flavor.
- Warm water – This helps bring the dough together and activates the yeast.
- Salted butter – Melted butter makes the dough rich and tender, and it is also used for brushing over the warm breadsticks.
- Grated Parmesan cheese – This is sprinkled on top after baking for a delicious cheesy finish.
For the exact measurements of the ingredients, see the printable recipe card at the bottom of this article.
How To Make Homemade Breadsticks
- Start by mixing a small amount of flour with the sugar, yeast, salt, Italian seasoning, and garlic powder in a large bowl.
- Add the warm water and melted butter, then stir until the mixture is blended together.
- Mix in more flour until the dough begins to form and gets too thick to stir easily.
- Knead the dough with a stand mixer or by hand, adding the remaining flour a little at a time until the dough is soft and smooth.
- Cover the dough and place it somewhere warm so it can rise.
- While the dough rises, get the oven ready and line your baking sheets with parchment paper.
- Cut the dough into 24 even pieces so each breadstick is about the same size.
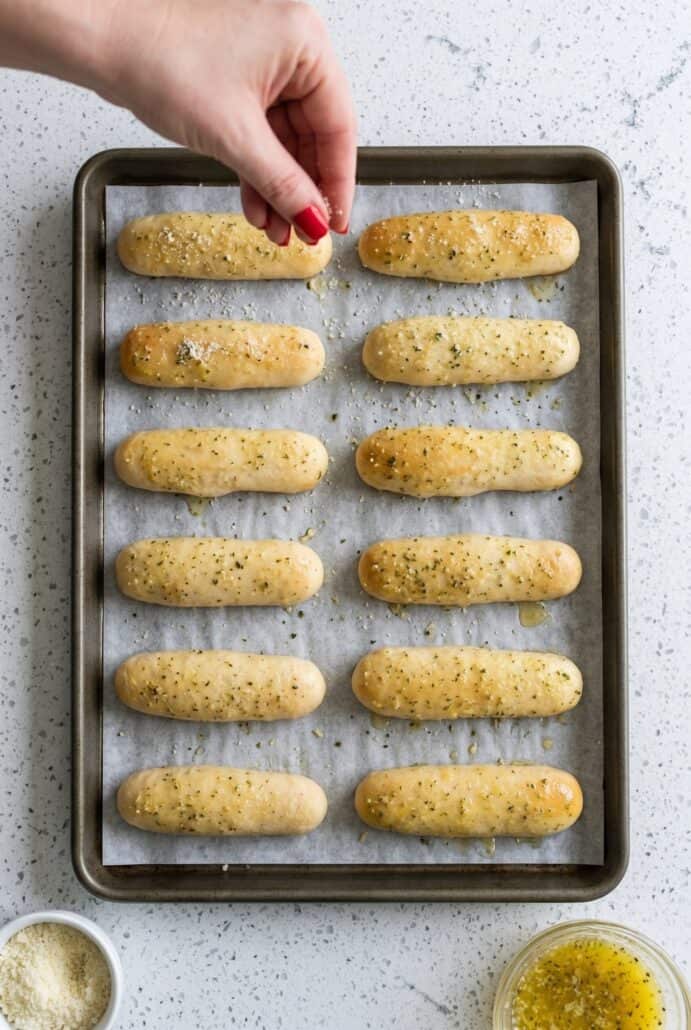
- Roll each piece into a long breadstick shape and arrange them on the baking sheets.
- Bake until the breadsticks are light golden brown and cooked through.
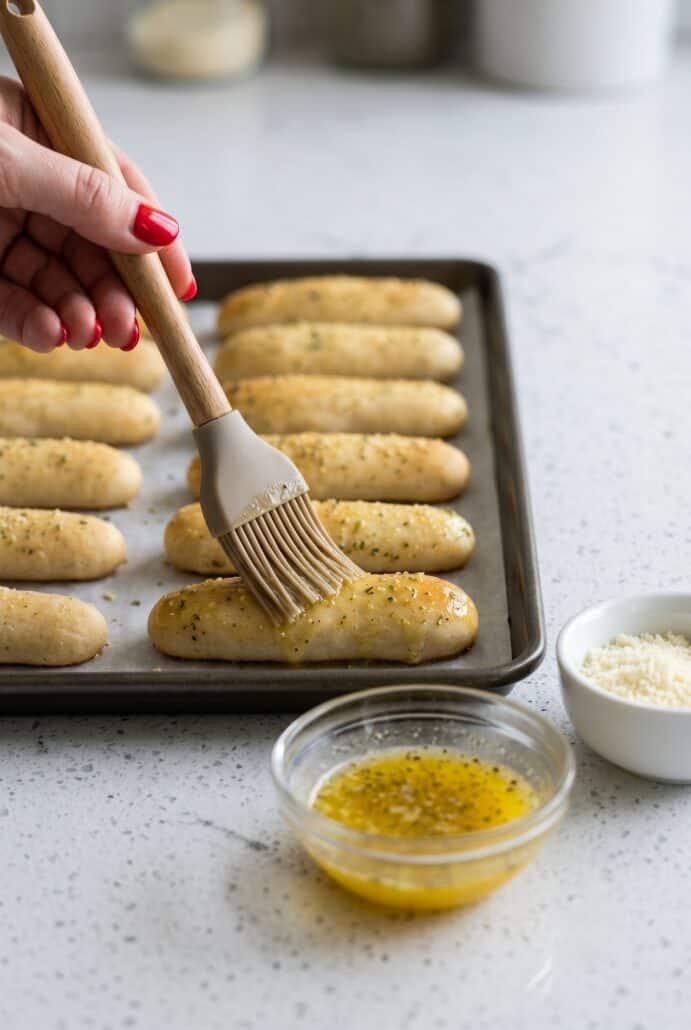
- Brush the hot breadsticks with garlic butter, sprinkle with Parmesan cheese, and serve warm.

Serving Suggestions
- Serve these homemade breadsticks warm with a bowl of pasta and cherry tomato sauce for dipping.
- Pair them with a cozy soup, such as Italian sausage tortellini soup, lasagna soup, or marry me chicken soup.
- Add them to a salad dinner for a simple and filling meal.
- Serve them as a side dish for cheesy baked pasta, homemade spaghetti, or classic Italian chicken parmigiana.
- Put them in a bread basket lined with a clean kitchen towel to keep them warm at the table.
- Brush them with a little extra garlic butter right before serving for even more flavor.
Tips For Success
- Add the flour slowly so the dough stays soft. This is one of the most important tips for making fluffy Homemade Breadsticks. If you add too much flour, the dough can become dry and heavy. The dough should feel smooth and soft, with just a little tackiness.
- Use warm water, not hot water. The water should be warm enough to help the yeast work, but not so hot that it damages the yeast. If the water feels very hot to the touch, let it cool slightly before adding it to the dough. Warm water helps the breadsticks rise and gives them a light texture.
- Let the dough rise in a warm place. A warm, draft-free spot helps the dough rise faster and more evenly. You can cover the bowl with a clean kitchen towel or plastic wrap while it rests. Even a short rise makes a big difference in how soft the breadsticks turn out.
- Keep the dough covered while shaping the breadsticks. This prevents the dough from drying out on the outside. If the dough dries out, it can be harder to roll into smooth breadstick shapes. Covering the pieces while you work keeps everything soft and easy to handle.
- Try to make the breadsticks the same size. This helps them bake evenly. If some breadsticks are much larger than others, they may need more time in the oven while the smaller ones are already done. Cutting the dough into 24 even pieces is the easiest way to get consistent results.
- Do not overbake the breadsticks. They are ready when they are lightly golden brown. If they bake too long, they can lose some of their soft and fluffy texture. Check them near the end of the baking time so they come out just right.
- Brush the garlic butter on while the breadsticks are still warm. The warm breadsticks absorb the butter better, giving them that delicious buttery garlic flavor. Sprinkle the Parmesan cheese on right after brushing so it sticks nicely. This simple topping makes the breadsticks taste extra special.
- Serve them warm for the best texture. Homemade Breadsticks are softest and most flavorful right after baking. They are still delicious later, but warm breadsticks always taste the best. Add a little extra garlic butter before serving if you want even more flavor.
Variations And Substitutions
- There are many easy ways to change these Homemade Breadsticks to fit your taste. This recipe is simple, so you can adjust the seasonings, flour, and toppings while still keeping the breadsticks soft and delicious.
- You can use active dry yeast instead of instant or quick yeast. Just remember that active dry yeast needs to be dissolved in warm water first. It may also need a longer rise time. This is a good option if active dry yeast is what you already have in your pantry.
- You can also use some whole wheat flour in place of all-purpose flour. For a lighter texture, replace just part of the flour with whole wheat flour. This gives the breadsticks a heartier flavor while still keeping them soft. If you use all whole wheat flour, the breadsticks will still taste good, but they may be more dense.
- For extra garlic flavor, add a little more garlic powder to the dough or the butter topping. This is perfect if you love really garlicky breadsticks. You can also brush on extra garlic butter after baking. Warm breadsticks soak up the butter so nicely.
- If you want a cheesier breadstick, sprinkle on more Parmesan cheese after brushing with butter. You can also add a little Parmesan to the dough for more flavor throughout. The cheese gives the breadsticks a savory finish that tastes amazing with pasta or soup.
- You can change the herbs, too. Italian seasoning is classic and easy, but you can use more of your favorite dried herbs if you like. A little extra oregano or basil would work well with the garlic butter flavor. Keep the herbs simple so they do not overpower the soft homemade bread.
- For a less salty version, use unsalted butter instead of salted butter. You can then add just a small pinch of salt to taste. This gives you more control over the final flavor. It is especially helpful if your Parmesan cheese is already salty.
- You can also make the breadsticks smaller or larger. Smaller breadsticks may bake faster, while larger ones may need a few extra minutes. Try to keep them similar in size on the same baking sheet. This helps them bake evenly and come out perfectly soft.
Storage And Reheating
- Store leftover Homemade Breadsticks in an airtight container or plastic bag at room temperature.
- For longer storage, let the breadsticks cool completely before freezing.
- To freeze, place the cooled breadsticks in an airtight freezer-safe bag and freeze for up to 3 months.
- To thaw, place the breadsticks on a plate lined with a paper towel and let them sit at room temperature.
- You can also thaw them gently in the microwave on a low setting, but do not overheat them or they may dry out.
- To reheat, brush the breadsticks with a little extra garlic butter.
- Wrap them in foil and warm them in the oven until heated through.
- You can also place them on a baking sheet and warm them in a low oven.
- Serve warm for the best soft and fluffy texture.
Frequently Asked Questions
Can I Use Active Dry Yeast Instead Of Instant Yeast?
Yes, you can use active dry yeast for these Homemade Breadsticks. The main difference is that active dry yeast needs to be dissolved in warm water before it is mixed with the flour. This helps the yeast activate properly and mix evenly into the dough. Active dry yeast may also need a longer rise time, so the breadsticks will take longer to make. Instead of the quick rise used with instant yeast, plan for the dough to rise until it looks puffy and soft. This may make the whole process take closer to a few hours instead of under one hour.
Want to save this recipe?
Can I Make These Breadsticks With Whole Wheat Flour?
Yes, whole wheat flour can be used in this homemade breadsticks recipe. For the best soft and fluffy texture, use part whole wheat flour and part all-purpose flour. This gives the breadsticks a heartier flavor while still keeping them tender. If you use only whole wheat flour, the breadsticks will still taste delicious, but they may be more dense and not as light. A mix of both flours is a good choice if you want a little whole wheat flavor without losing the classic soft breadstick texture.
How Do I Know When The Dough Has Enough Flour?
The dough should be soft, smooth, and slightly tacky. It should not be so sticky that it coats your hands, but it also should not be dry or stiff. Add the flour gradually so you can stop when the dough feels right. This is important because too much flour can make the breadsticks heavy instead of fluffy. As the dough comes together, add smaller amounts of flour at a time. The finished dough should be easy to shape and roll into breadsticks.
How Long Do Homemade Breadsticks Need To Rise?
These breadsticks need to rise for at least 20 minutes in a warm, draft-free spot. This short rise helps the dough become softer and lighter before baking. If you have extra time, you can let the dough rise longer. A longer rise can make the breadsticks even fluffier. Just keep the dough covered while it rises so it does not dry out. The dough should look puffy before you shape it into breadsticks.
Can I Make The Dough By Hand?
Yes, you can make the dough by hand. A stand mixer with a dough hook makes the process easier, but it is not required. Start by stirring the dough with a spoon, then knead by hand when it gets too thick to mix. Add the flour slowly and knead until the dough becomes soft and smooth. This is a great recipe for learning how to make yeast bread at home because the dough is simple and forgiving.
How Do I Store Leftover Breadsticks?
Store leftover Homemade Breadsticks in an airtight container or plastic bag. They can be kept at room temperature for a short time. Make sure the breadsticks are completely cool before storing them so extra steam does not make them soggy. For longer storage, freeze them in an airtight freezer-safe bag. Freezing is a great option because these breadsticks reheat well and taste delicious later.
Can I Freeze Homemade Breadsticks?
Yes, these breadsticks freeze very well. Let them cool completely first. Then place them in an airtight freezer-safe bag and freeze for up to 3 months. When you are ready to serve them, let them thaw at room temperature. You can also thaw them gently in the microwave on a low setting. Be careful not to overheat them because breadsticks can dry out if they get too hot.
What Is The Best Way To Reheat Breadsticks?
The best way to reheat Homemade Breadsticks is to brush them with a little garlic butter and warm them in the oven. You can wrap them in foil to help keep them soft. Warm them until heated through, then serve right away. You can also place them on a baking sheet and heat them in a low oven. The extra garlic butter brings back that fresh-baked flavor and makes the breadsticks taste soft, buttery, and delicious.
What Can I Serve With Homemade Breadsticks?
Homemade Breadsticks are delicious with pasta, soup, salad, or dipping sauce. They are perfect with marinara sauce or any cozy Italian-inspired meal. Serve them with spaghetti, baked pasta, lasagna soup, pasta fagioli, or a simple green salad. They also make a great snack on their own. Warm breadsticks with garlic butter are always a favorite at the dinner table.
Other Easy Bread Recipes
- Cottage Cheese Bread Machine Recipe
- Amish White Bread Recipe
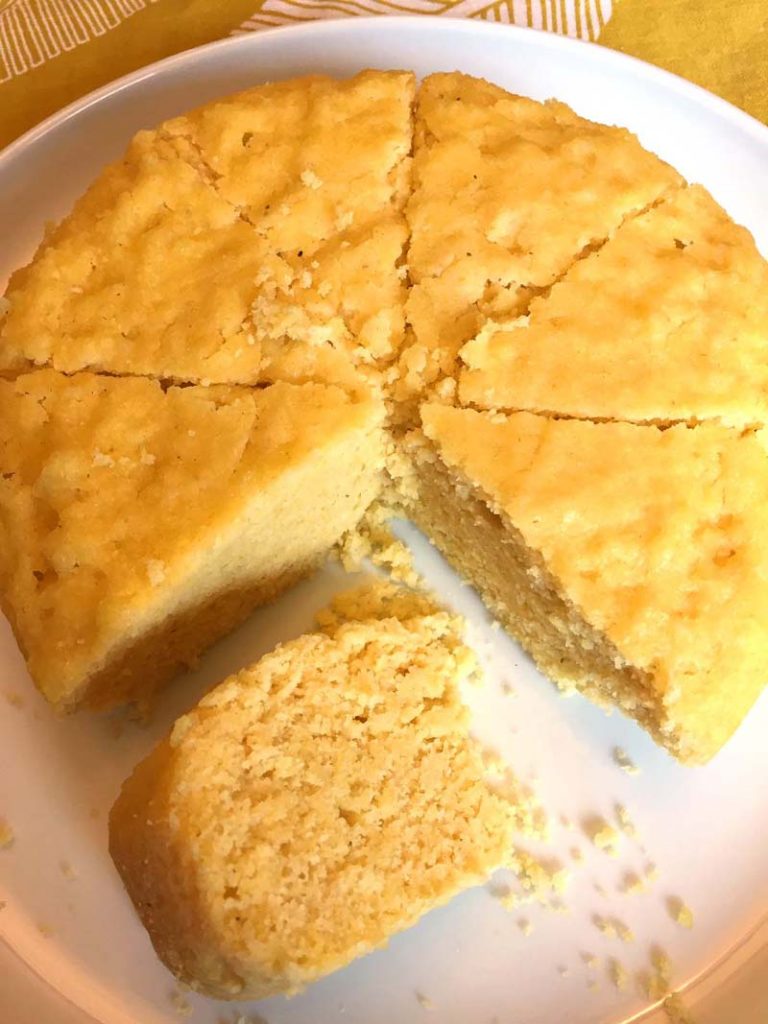
- Homemade Cornbread
- Sweet Potato Quick Bread
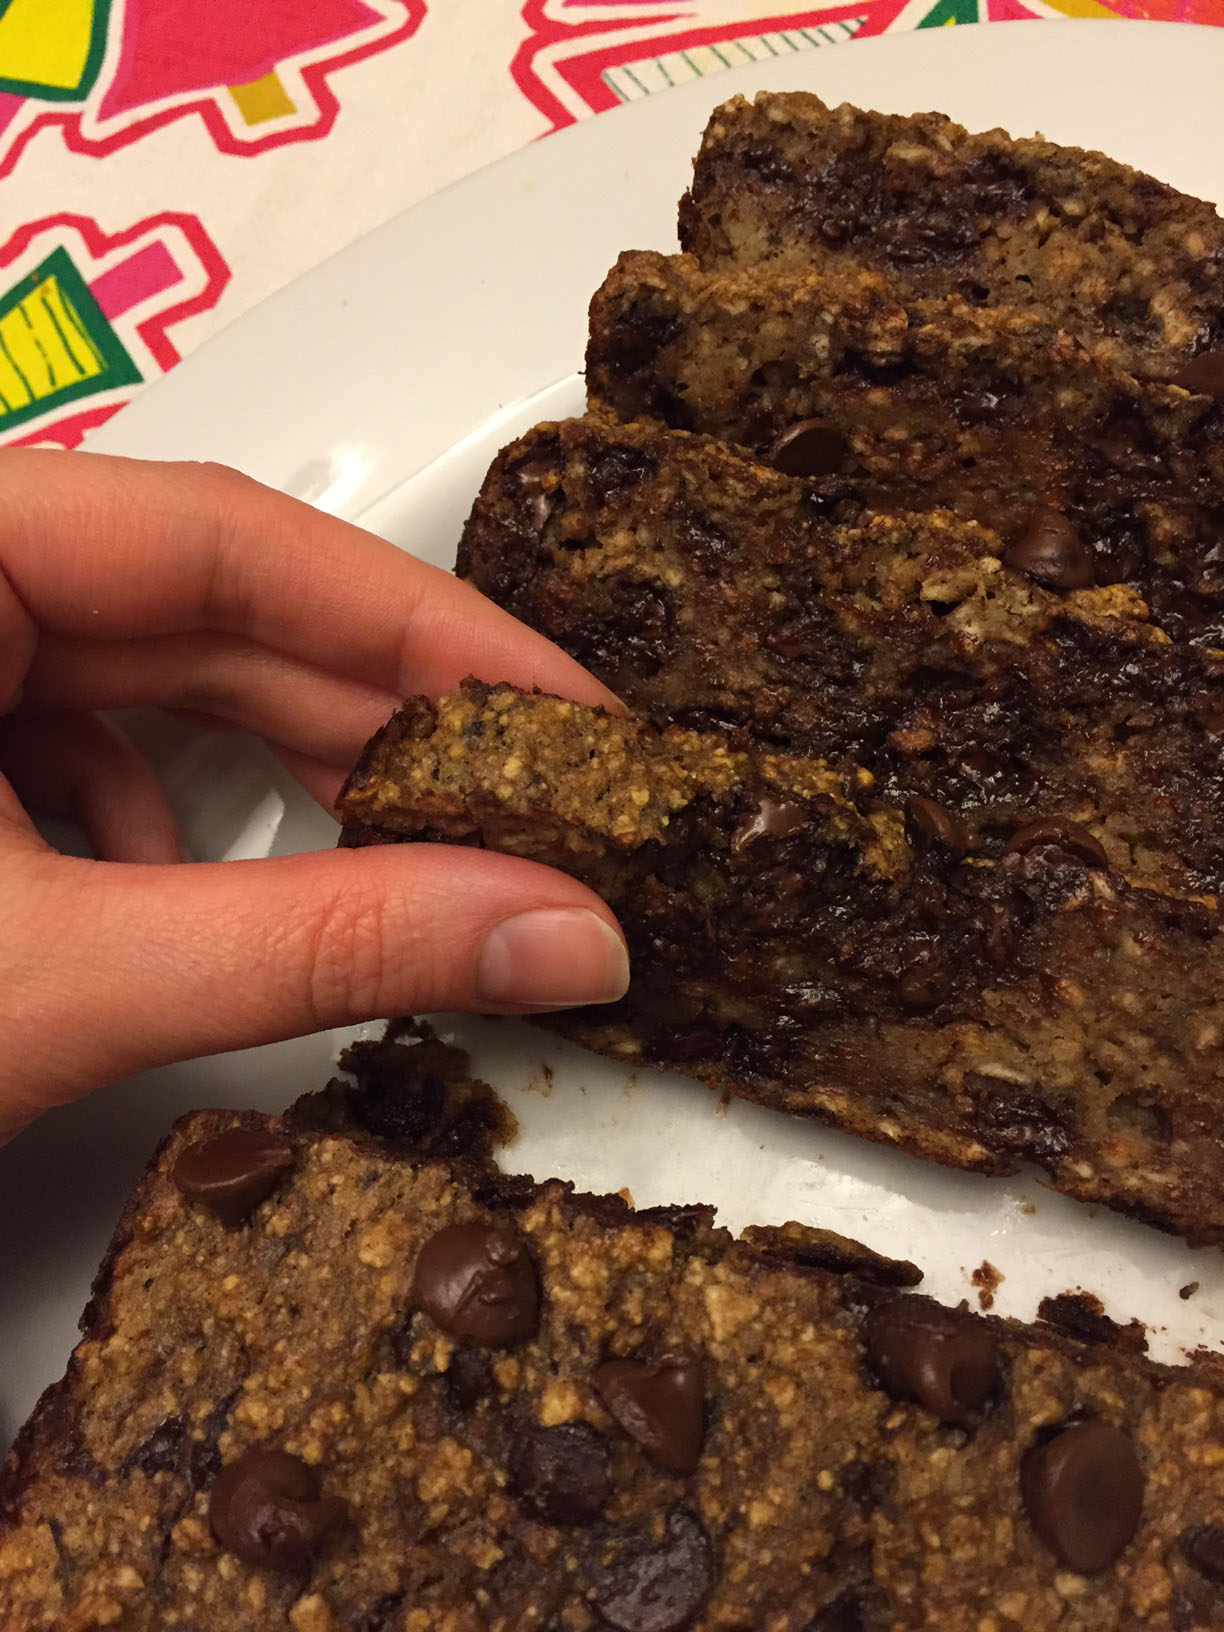
- Gluten-Free Almond Flour Banana Bread
- Crispy Indian Flatbread
- Brazilian Cheese Bread

Homemade Breadsticks
Want to save this recipe?
Ingredients
- 6 cups all-purpose flour divided, or 7 cups
- 1/4 cup granulated sugar
- 1 tbsp yeast instant or quick
- 1 tbsp salt
- 1 tsp Italian seasoning
- 1/2 tsp garlic powder
- 2 1/2 cups warm water 105 to 110 degrees Fahrenheit
- 1/2 cup salted butter melted
- 1/4 cup salted butter melted
- 1 tsp Italian seasoning
- 1/2 tsp garlic powder
- 1 pinch salt
- 2 tbsp Parmesan cheese grated
Instructions
- Add 1 cup of flour, sugar, yeast, salt, Italian seasoning, and garlic powder to a large mixing bowl and stir to combine.
- Pour in the warm water and 1/2 cup melted butter, then mix until combined.
- Add 2 more cups of flour and stir with a spoon until the dough starts coming together.
- Use a stand mixer with a dough hook, or knead by hand, and gradually add the remaining flour until a soft dough forms.
- Stop adding flour when the dough is smooth and slightly tacky, but not too sticky.
- Cover the dough and let it rise in a warm, draft-free spot for at least 20 minutes.
- Preheat the oven to 400 degrees Fahrenheit and line two baking sheets with parchment paper.
- Divide the dough into 4 equal pieces, then cut each piece into 6 smaller pieces to make 24 pieces total.
- Roll each piece into a breadstick shape about 6 inches long and 1 inch wide, then place on the baking sheets about 1 inch apart.
- Bake for 13 to 15 minutes, or until lightly golden, then brush with a mixture of the remaining melted butter, Italian seasoning, garlic powder, and salt. Sprinkle with Parmesan cheese and serve warm.
Notes
- Active dry yeast works, but needs more rise time.
- Whole wheat flour works, but breadsticks may be denser.