Food Processor Shredded Cheese
Freshly shredded cheese is so easy to make using a food processor, plus it tastes much better than the packaged kind! You can use any type of cheese…
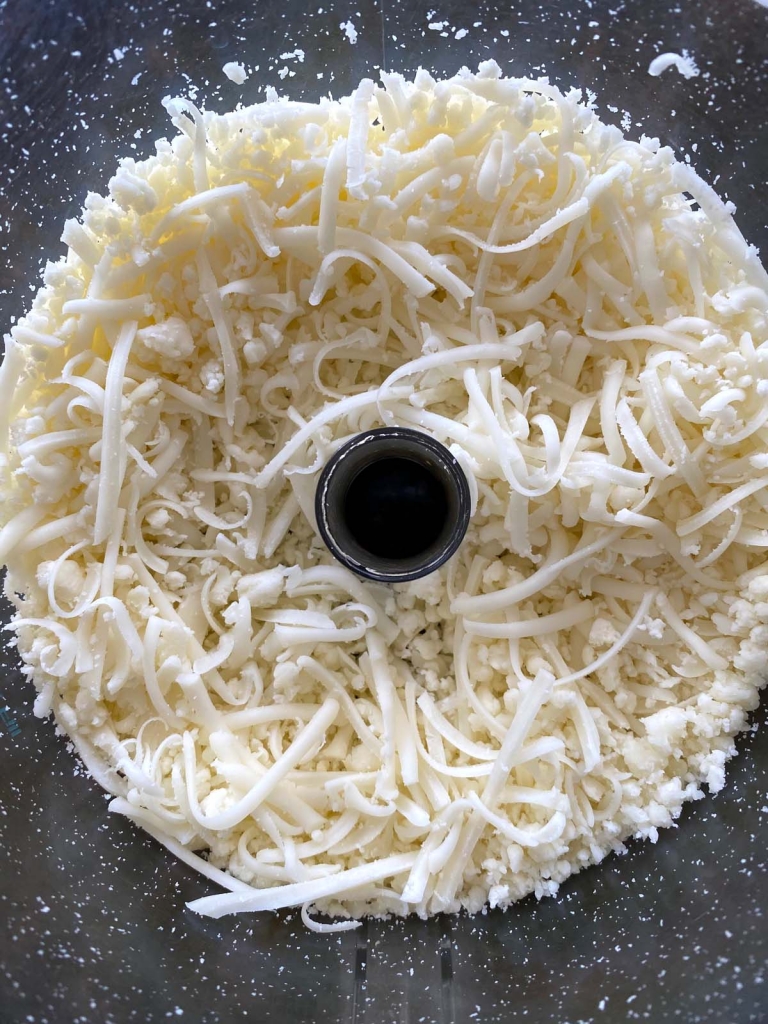
Freshly shredded cheese is so easy to make using a food processor, plus it tastes much better than the packaged kind! You can use any type of cheese…
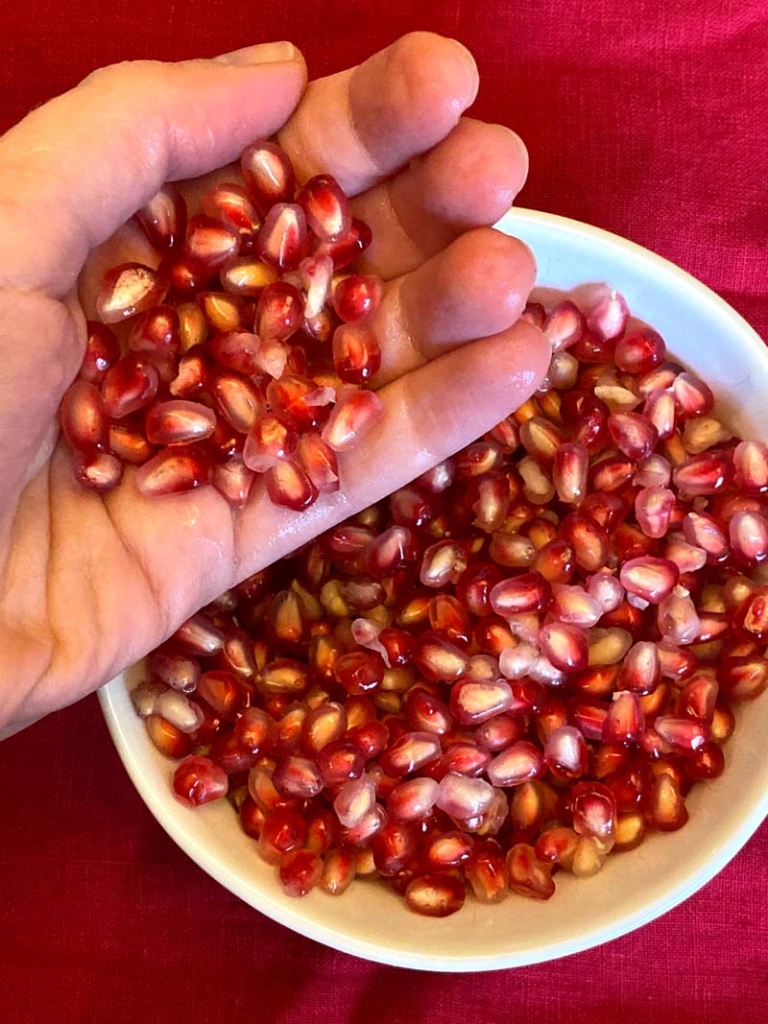
Cracking into a pomegranate can be a bit…daunting. Wrestling the seeds out of a pomegranate takes effort, and the juice inside stains everything from your hands to your…
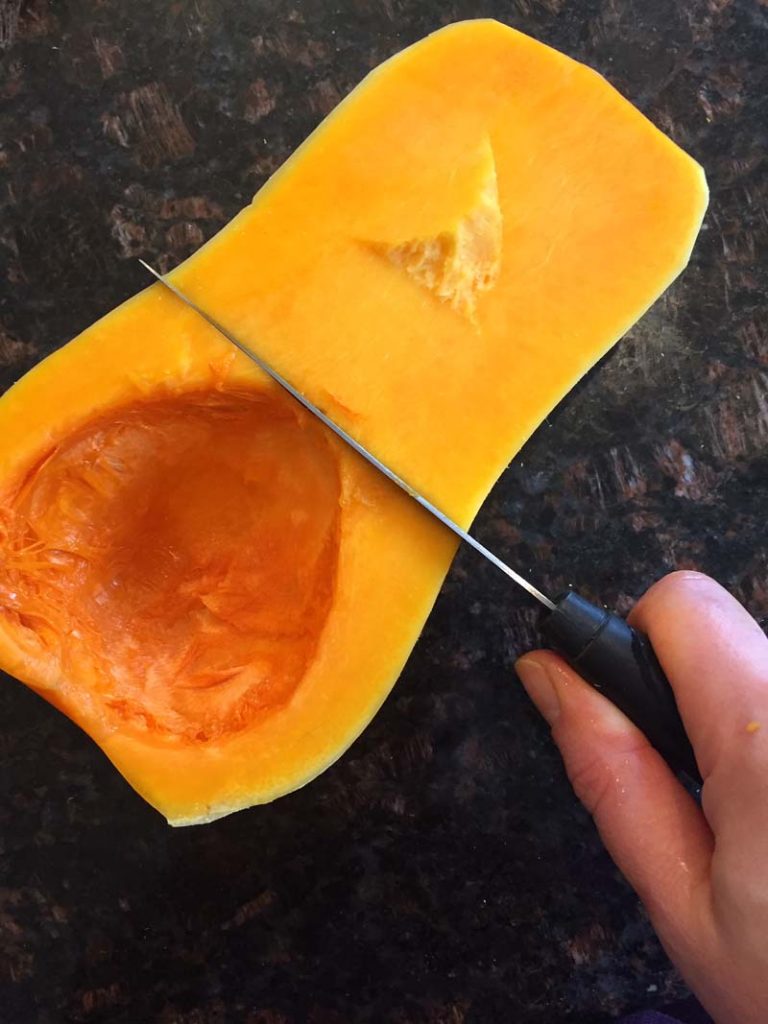
If you ever come across a recipe that calls for butternut squash chunks and found yourself not knowing how to get whole butternut squash into a chunk form,…
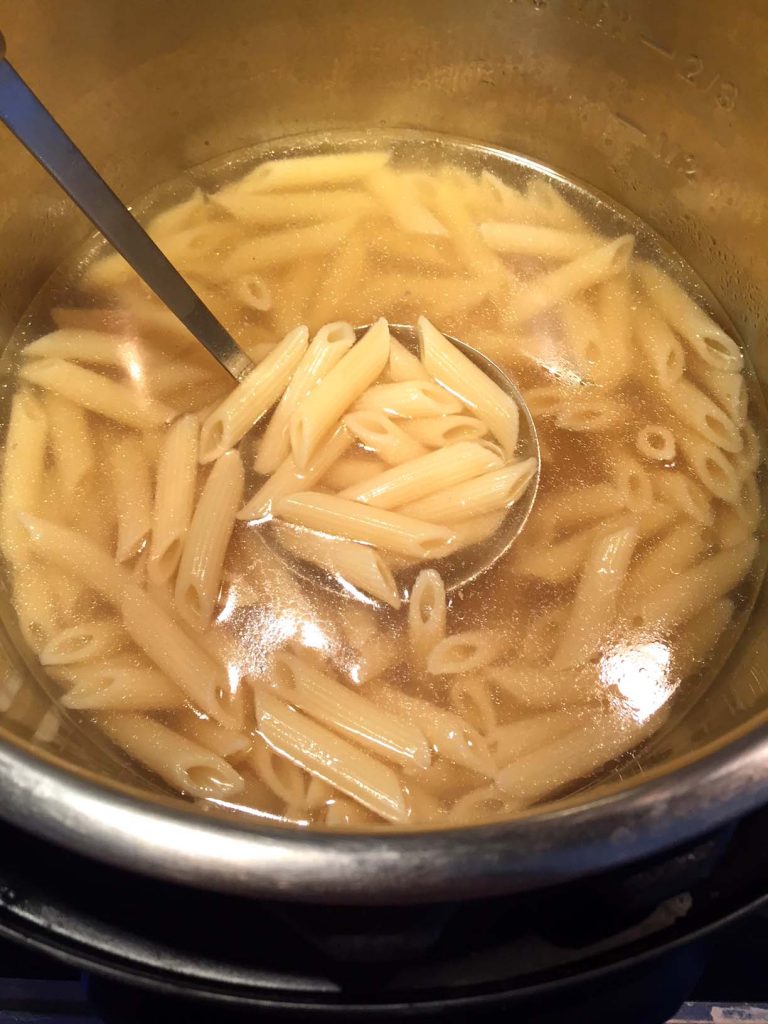
Reheating soup in the Instant Pot is so much quicker and easier than on the stove! It’s a true game changer! Once you learn how to reheat soup…

Bagels are a delicious food anytime, but especially in the morning. Bagels are available in hundreds of flavors, can be toasted, made into sandwiches, or schmeared with a…
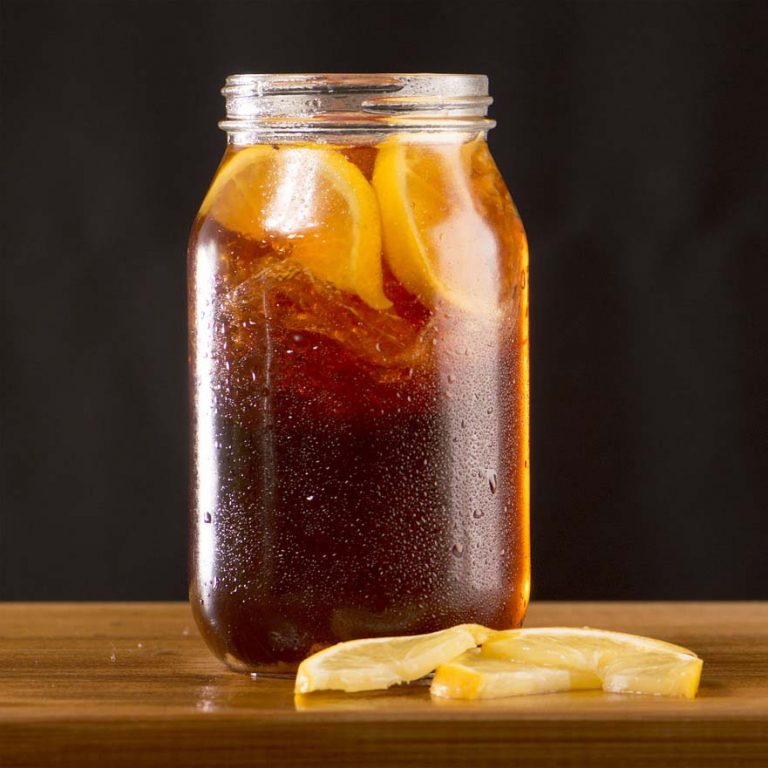
Iced tea is one of the most refreshing beverages you can make. It’s not carbonated, can be served to taste of your guests, and can be very healthy….
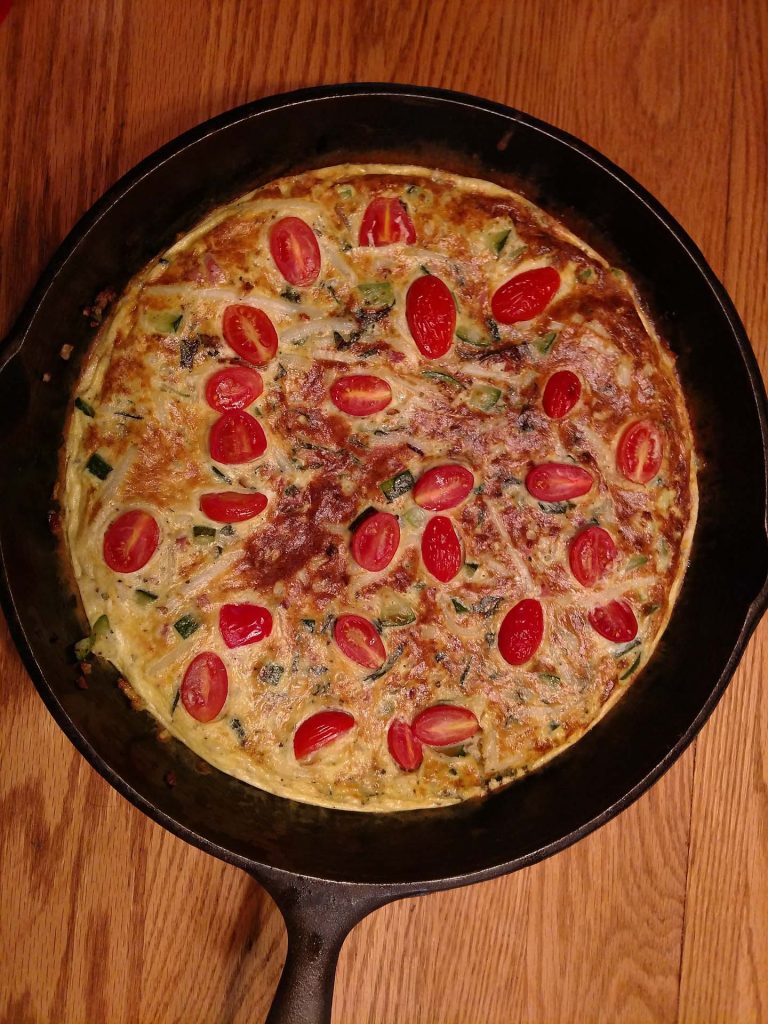
Cast iron skillets are one of the most versatile and useful tools you can have in your kitchen. Entire meals, even when entertaining, can be made in a…

Cheese is a great food to celebrate and party with – it can be used in so many ways, and there are so many unique flavors, it can…

A roast turkey or chicken is the best comfort food – it makes the house smell good, it brings the feeling of nostalgia and holidays, and they’re so…
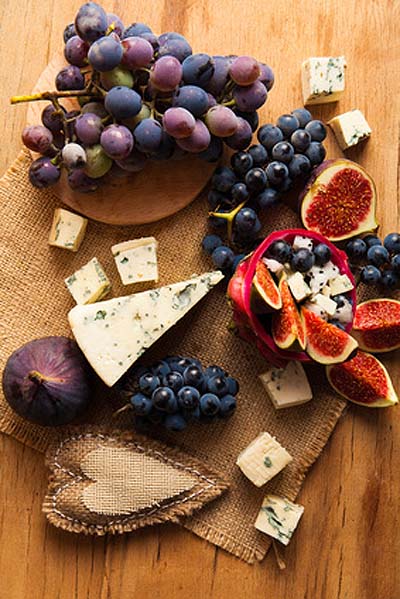
Cheese and fruit are a classic combination for a reason – the flavors of a sharp, salty cheese with sweet fruit, or a tart fruit with a creamy…